
Months ago, I was working on sprucing up the kids room. I wanted to add more color and storage without spending a fortune. I had my eyes set on the Vitaminer Vimpal duvet cover from Ikea. I love the bright primary colors, but it was more than I was willing to spend. So I decided to bring in those colors with a paint chip flag banner that didn’t cost me a dime. Paint chips aren’t the newest thing on the block, but they are one of the most frugal!

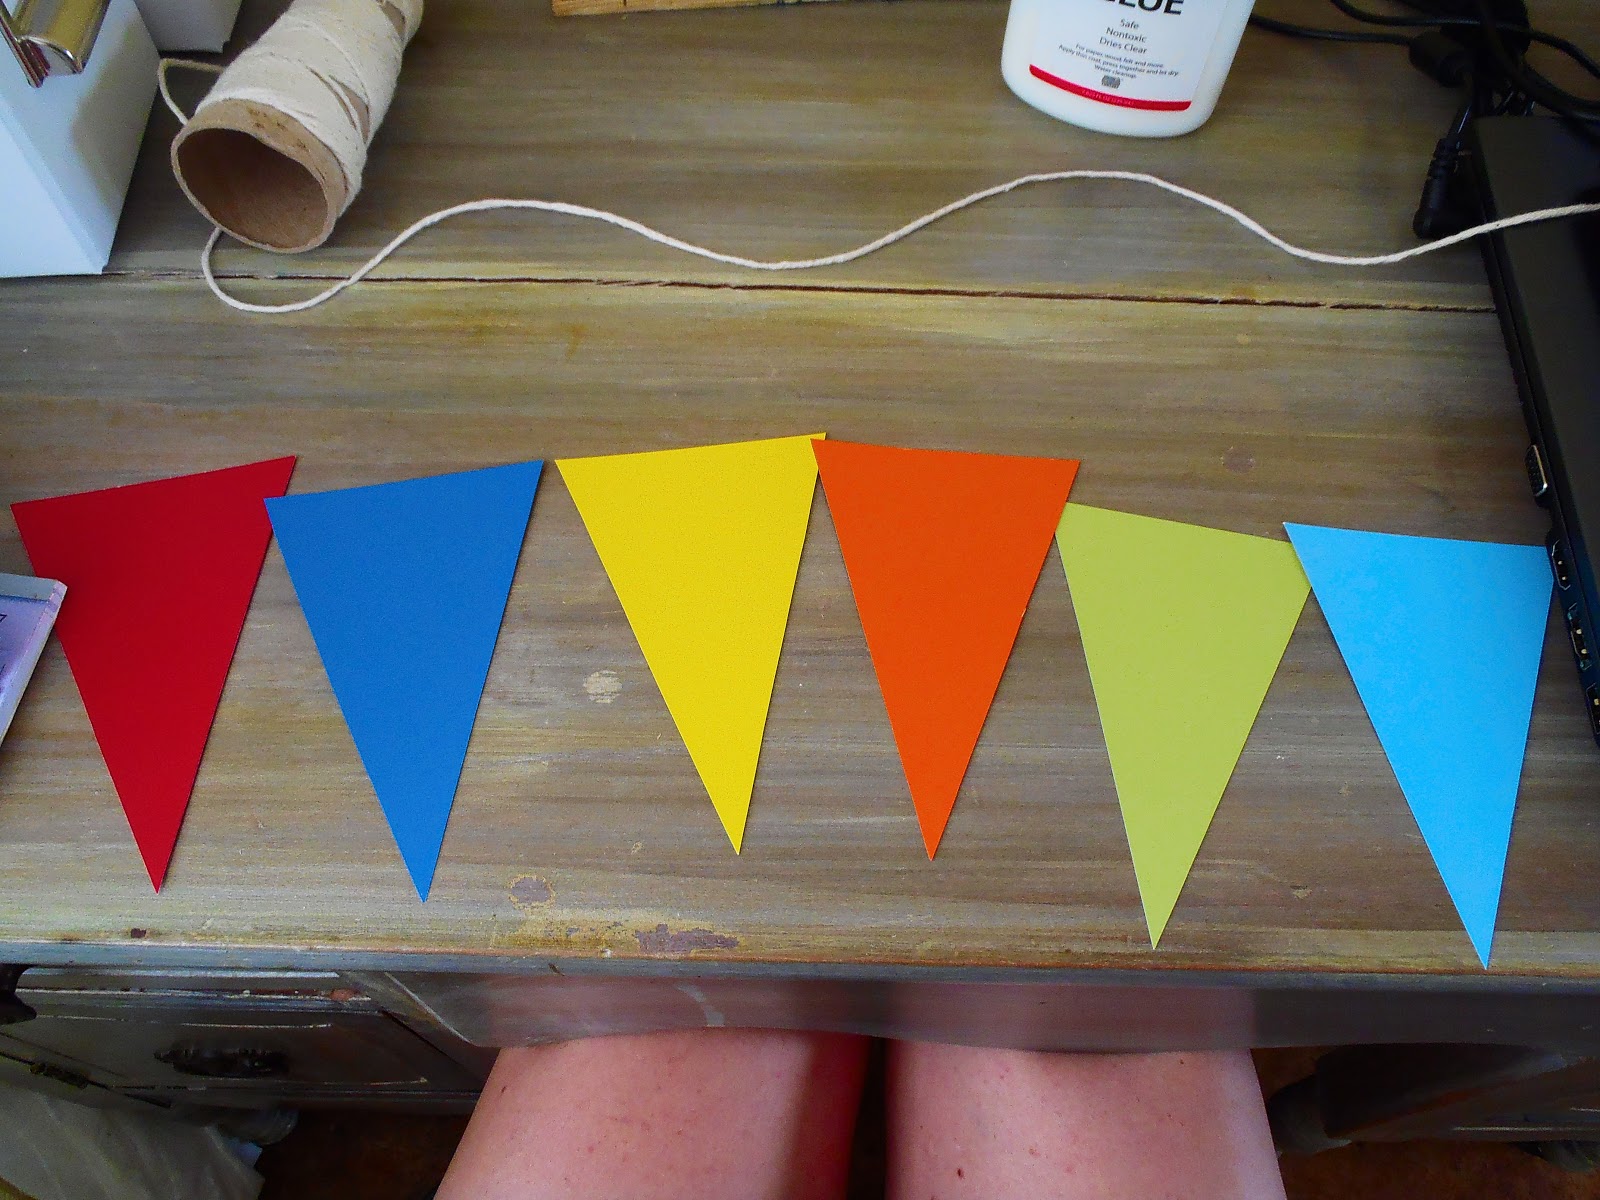
I simply went to my local home depot and picked up six of the largest paint chips in the colors I desired. I first tried cutting out a template using loose leaf paper and tracing it onto the back of the paint chips, but after a few times of tracing, the paper became worn. It was getting a bit tedious and I wanted to keep is simple and easy.

Then it dawned on me to find the center of one side of the paint chip and trace straight lines from the centered point to the opposite corners. That was a real DOH! moment… shoulda had a V8.

After tracing and cutting out each flag, I grabbed some string to attach the flag to. I used cooking twine because that was what I had on hand. It’s pretty self explained, glue the flag to the string making sure they are evenly spaced. Unless you could care less about spacing, then by all means, don’t evenly space them!
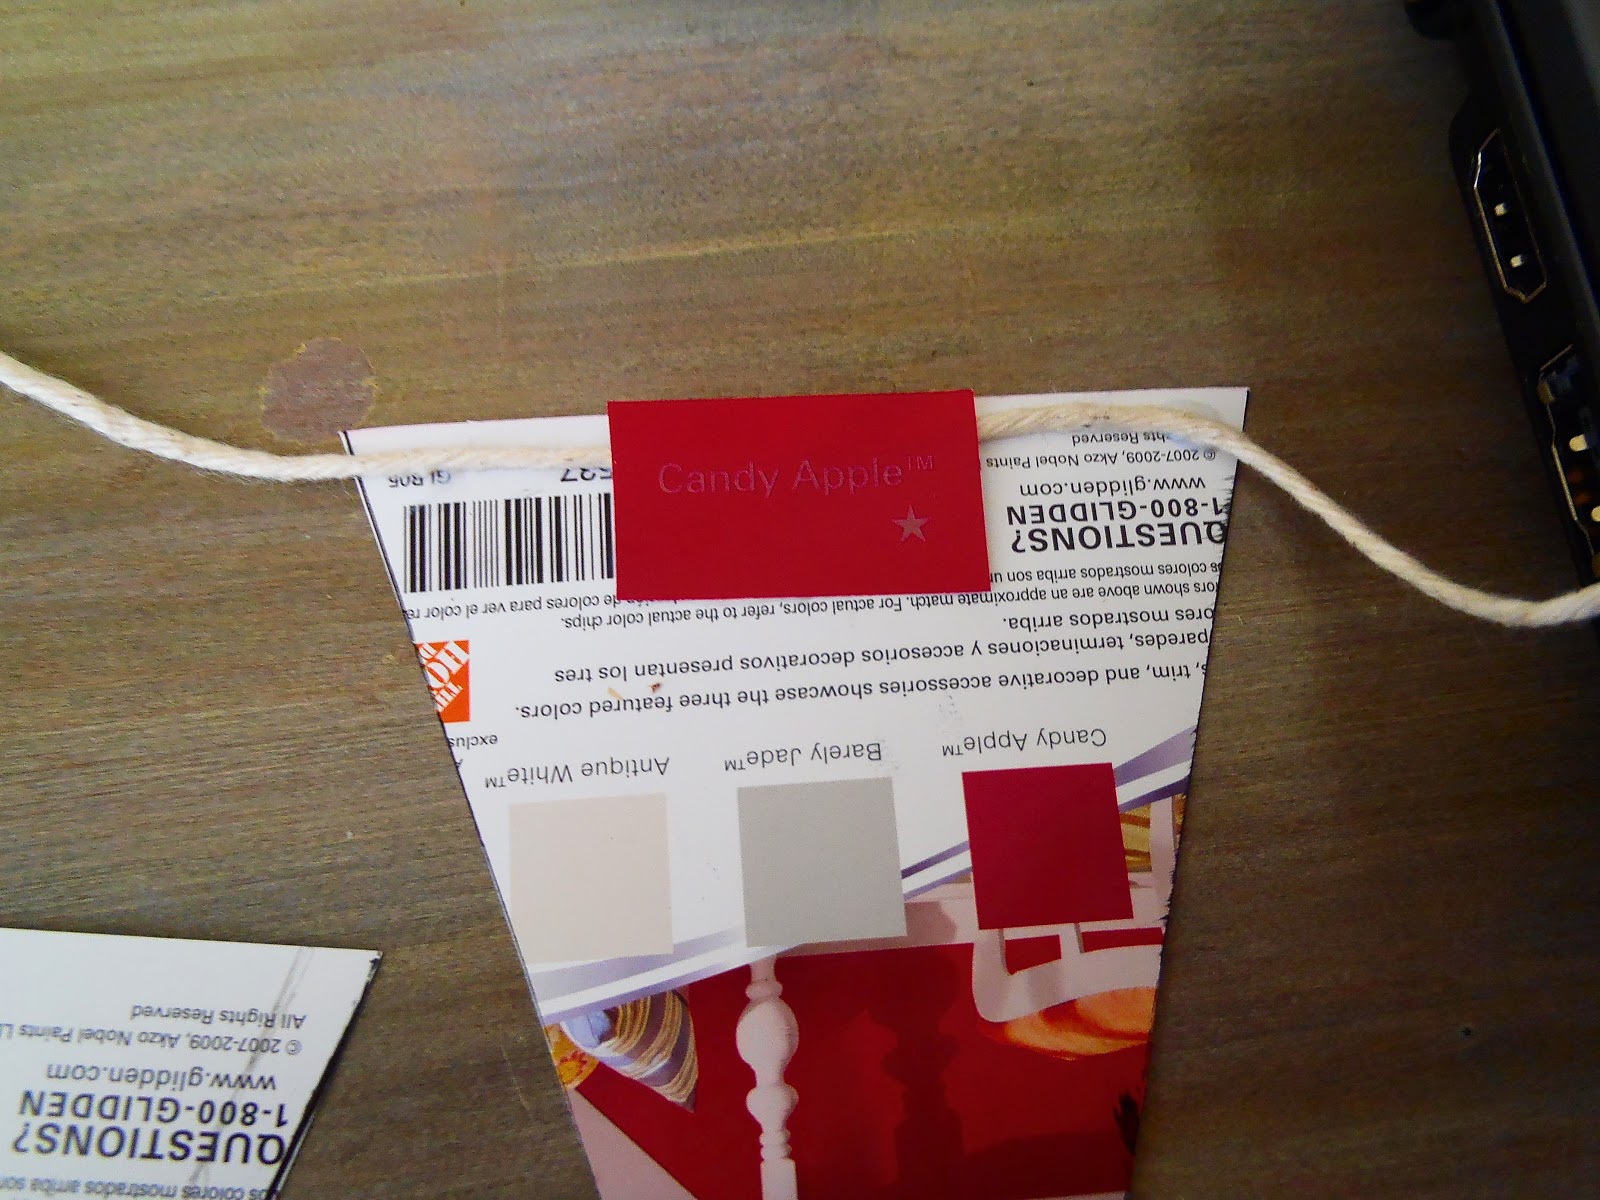
I also cut out the paint color name and glued that to the back as well.
I only made one string for now since I didn’t want to walk out of Home Depot with a huge load of paint chips. I am planning on eventually going back to grab some more for another string of flags. (That’s when the color names will come in handy.) For now, one string will do and it is serving its purpose of bringing color into the room.


