
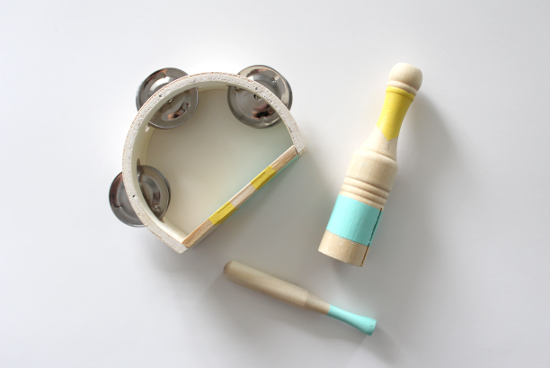
While browsing the One Spot at Target the other day, I came across these little wood instruments for $1 each. They’re cute but were missing something, so I decided to make them even prettier with some fun colors.
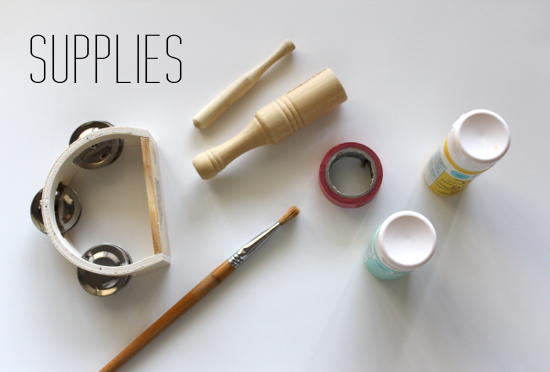
I used supplies I already had on hand; craft paint and a paint brush, washi tape, and a sanding block. These instruments come with the manufacturer label printed directly onto the wood. I sanded that down to start with a blank slate, which requires less coats of paint than just painting directly over the text.
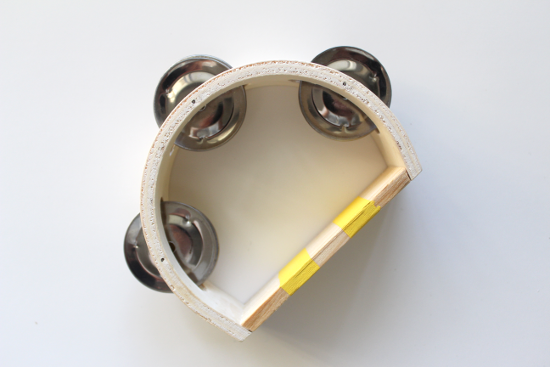
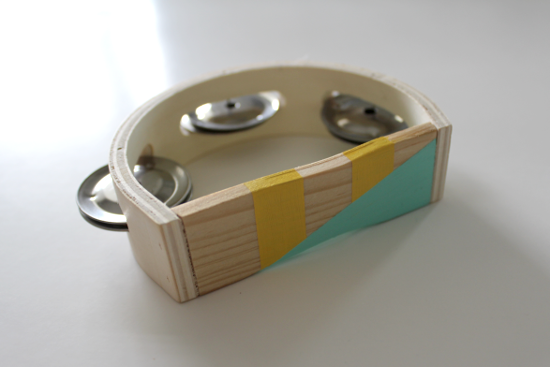
I first taped off stripes, painted, then immediately removed the washi tape. Removing the tape while the paint is still wet is key to getting a decent straight line.
After the stripes were dry I put on the tape diagonally and repeated the same steps.
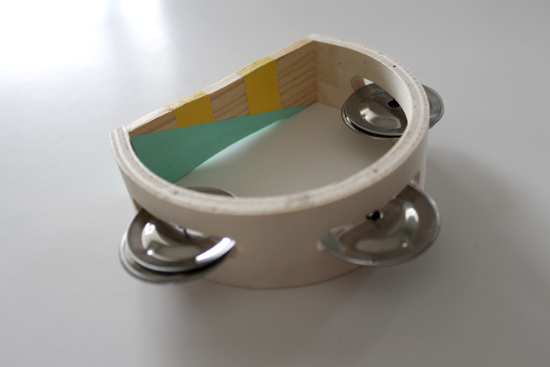
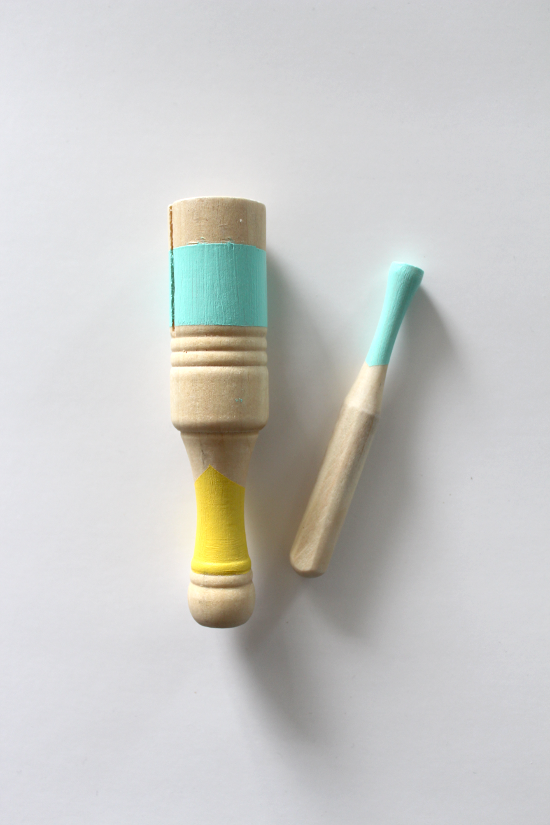
It took maybe one hour of time total but really only 15 minutes of hands-on time. I used the same tape-paint-remove method on the tone block as I did with the tambourine but didn’t overlap the colors.
I really like how they turned out! And even though I would usually want to keep these for myself my children, they are headed north as Christmas presents to my niece. Because only the best aunts gift loud noise making toys, right?!
So, Target did it again with affordable and awesome products in their One Spot. Don’t worry, I’m only slightly obsessed.


