
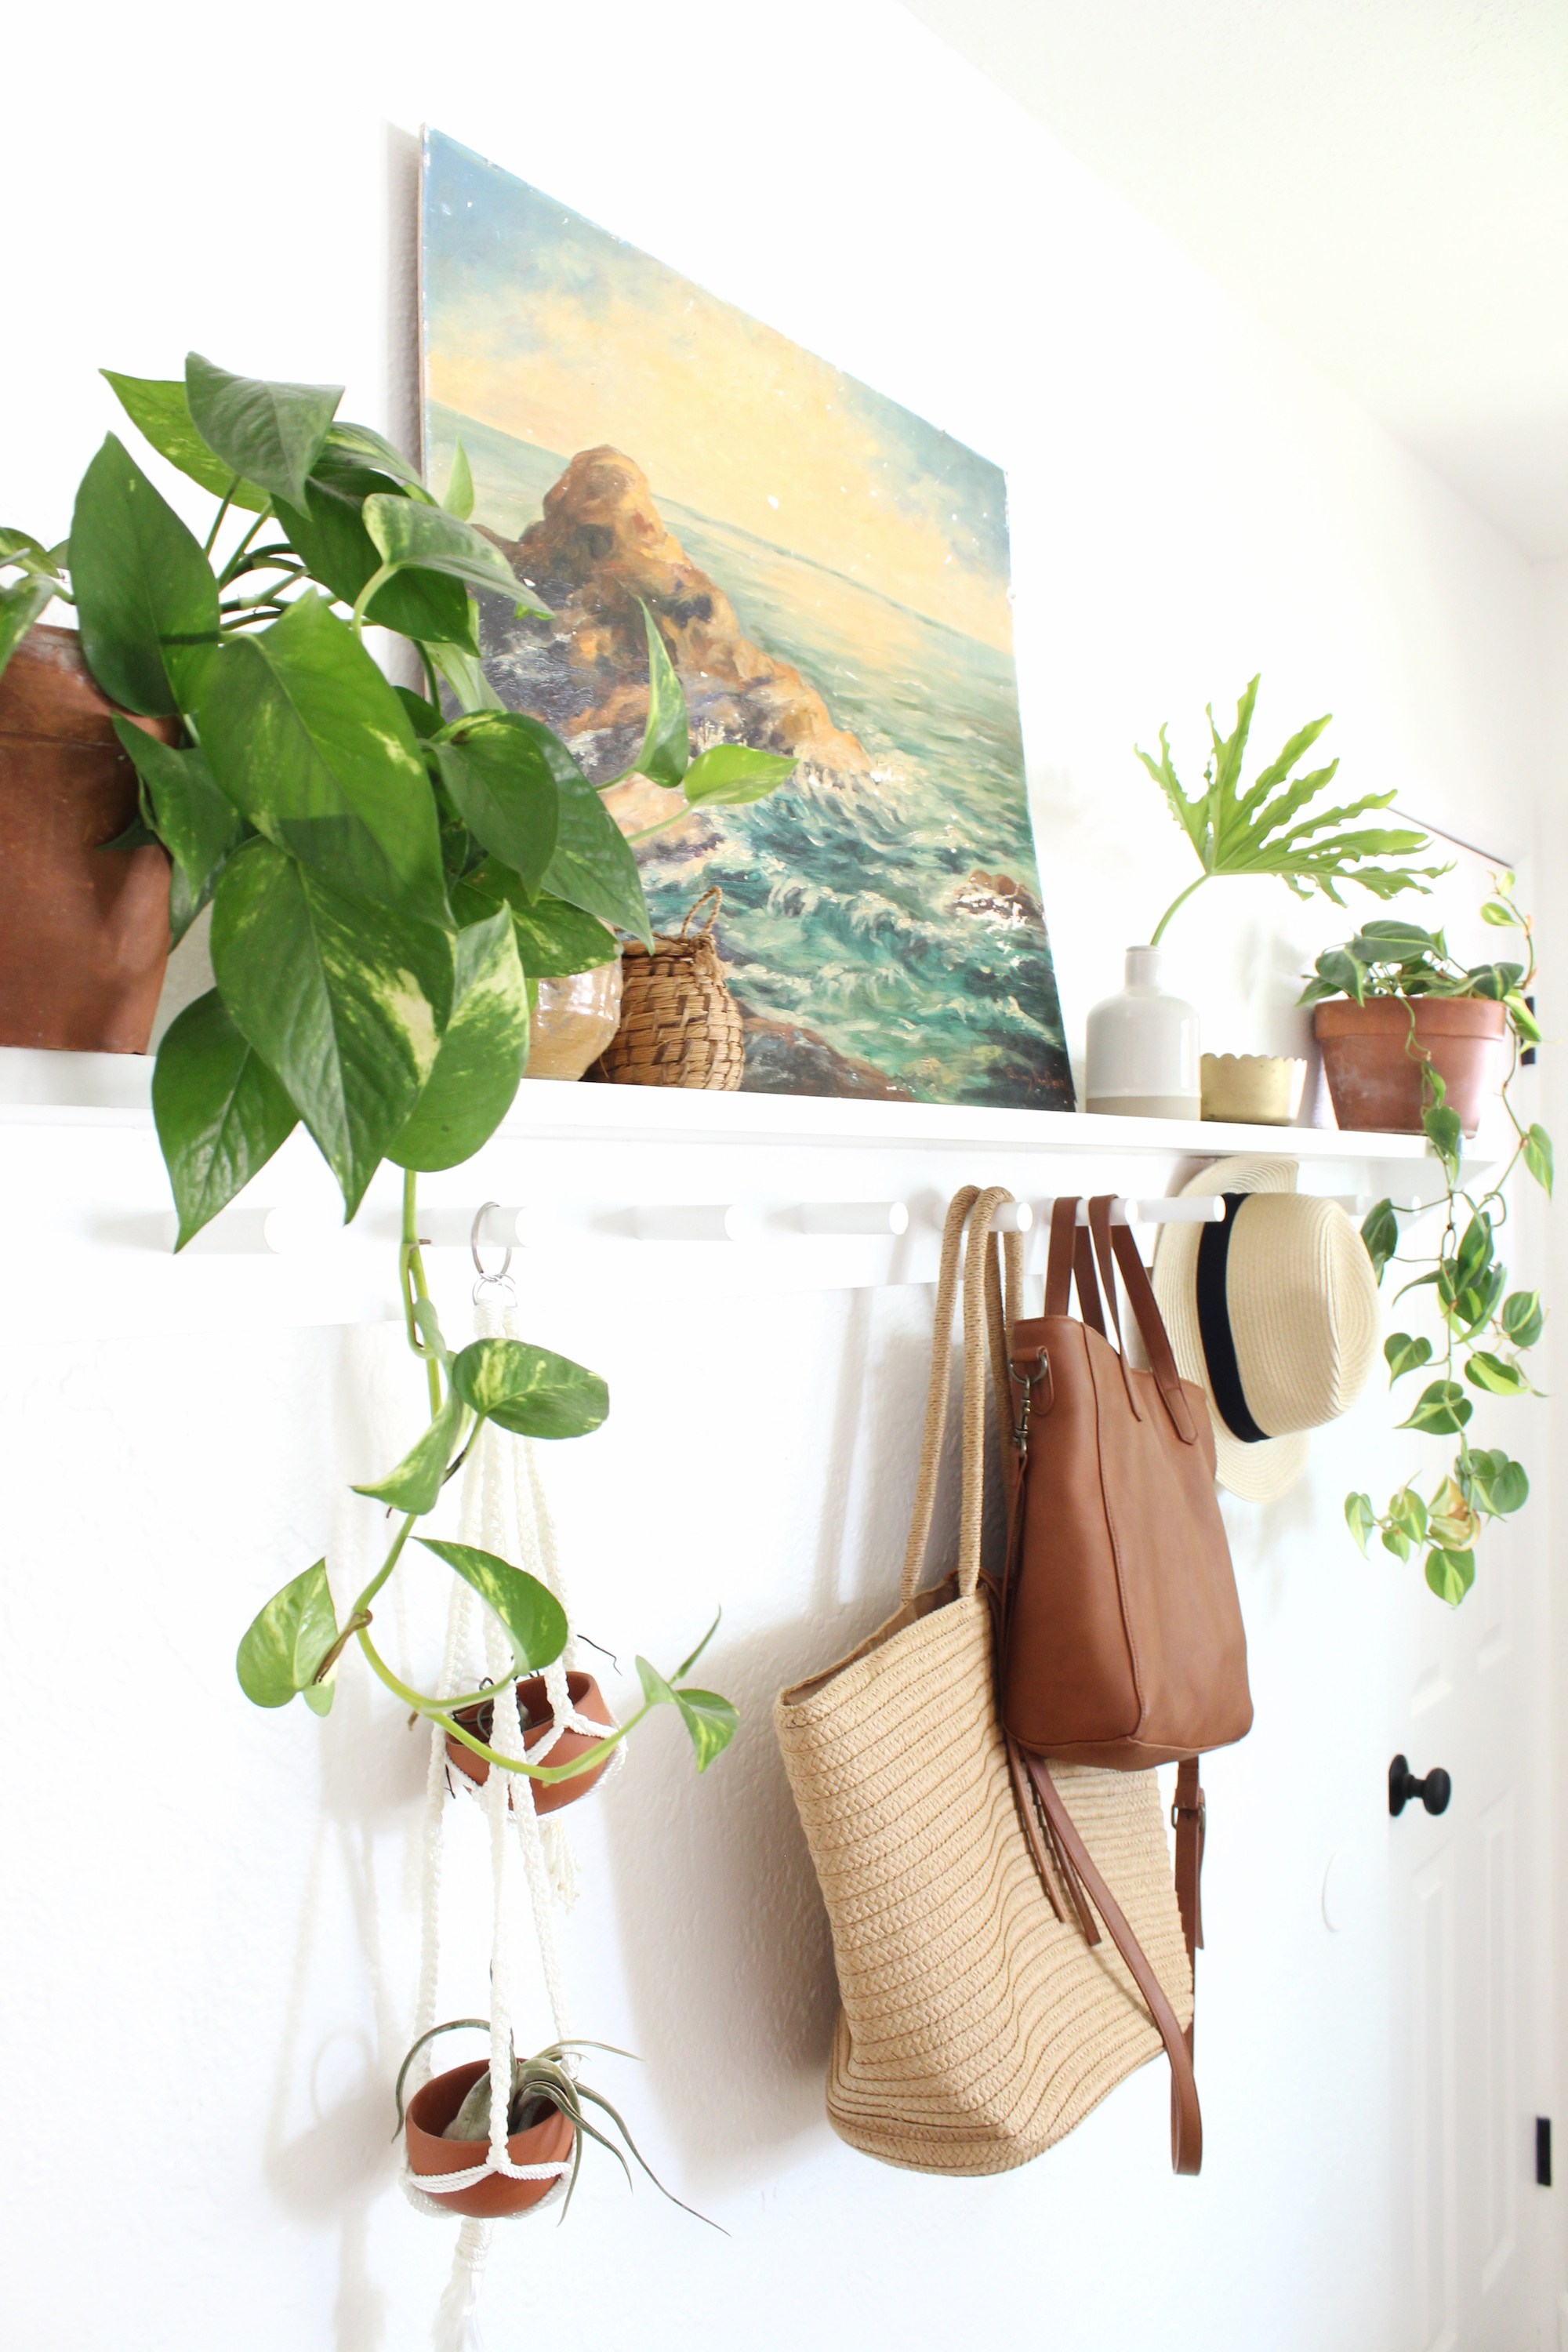
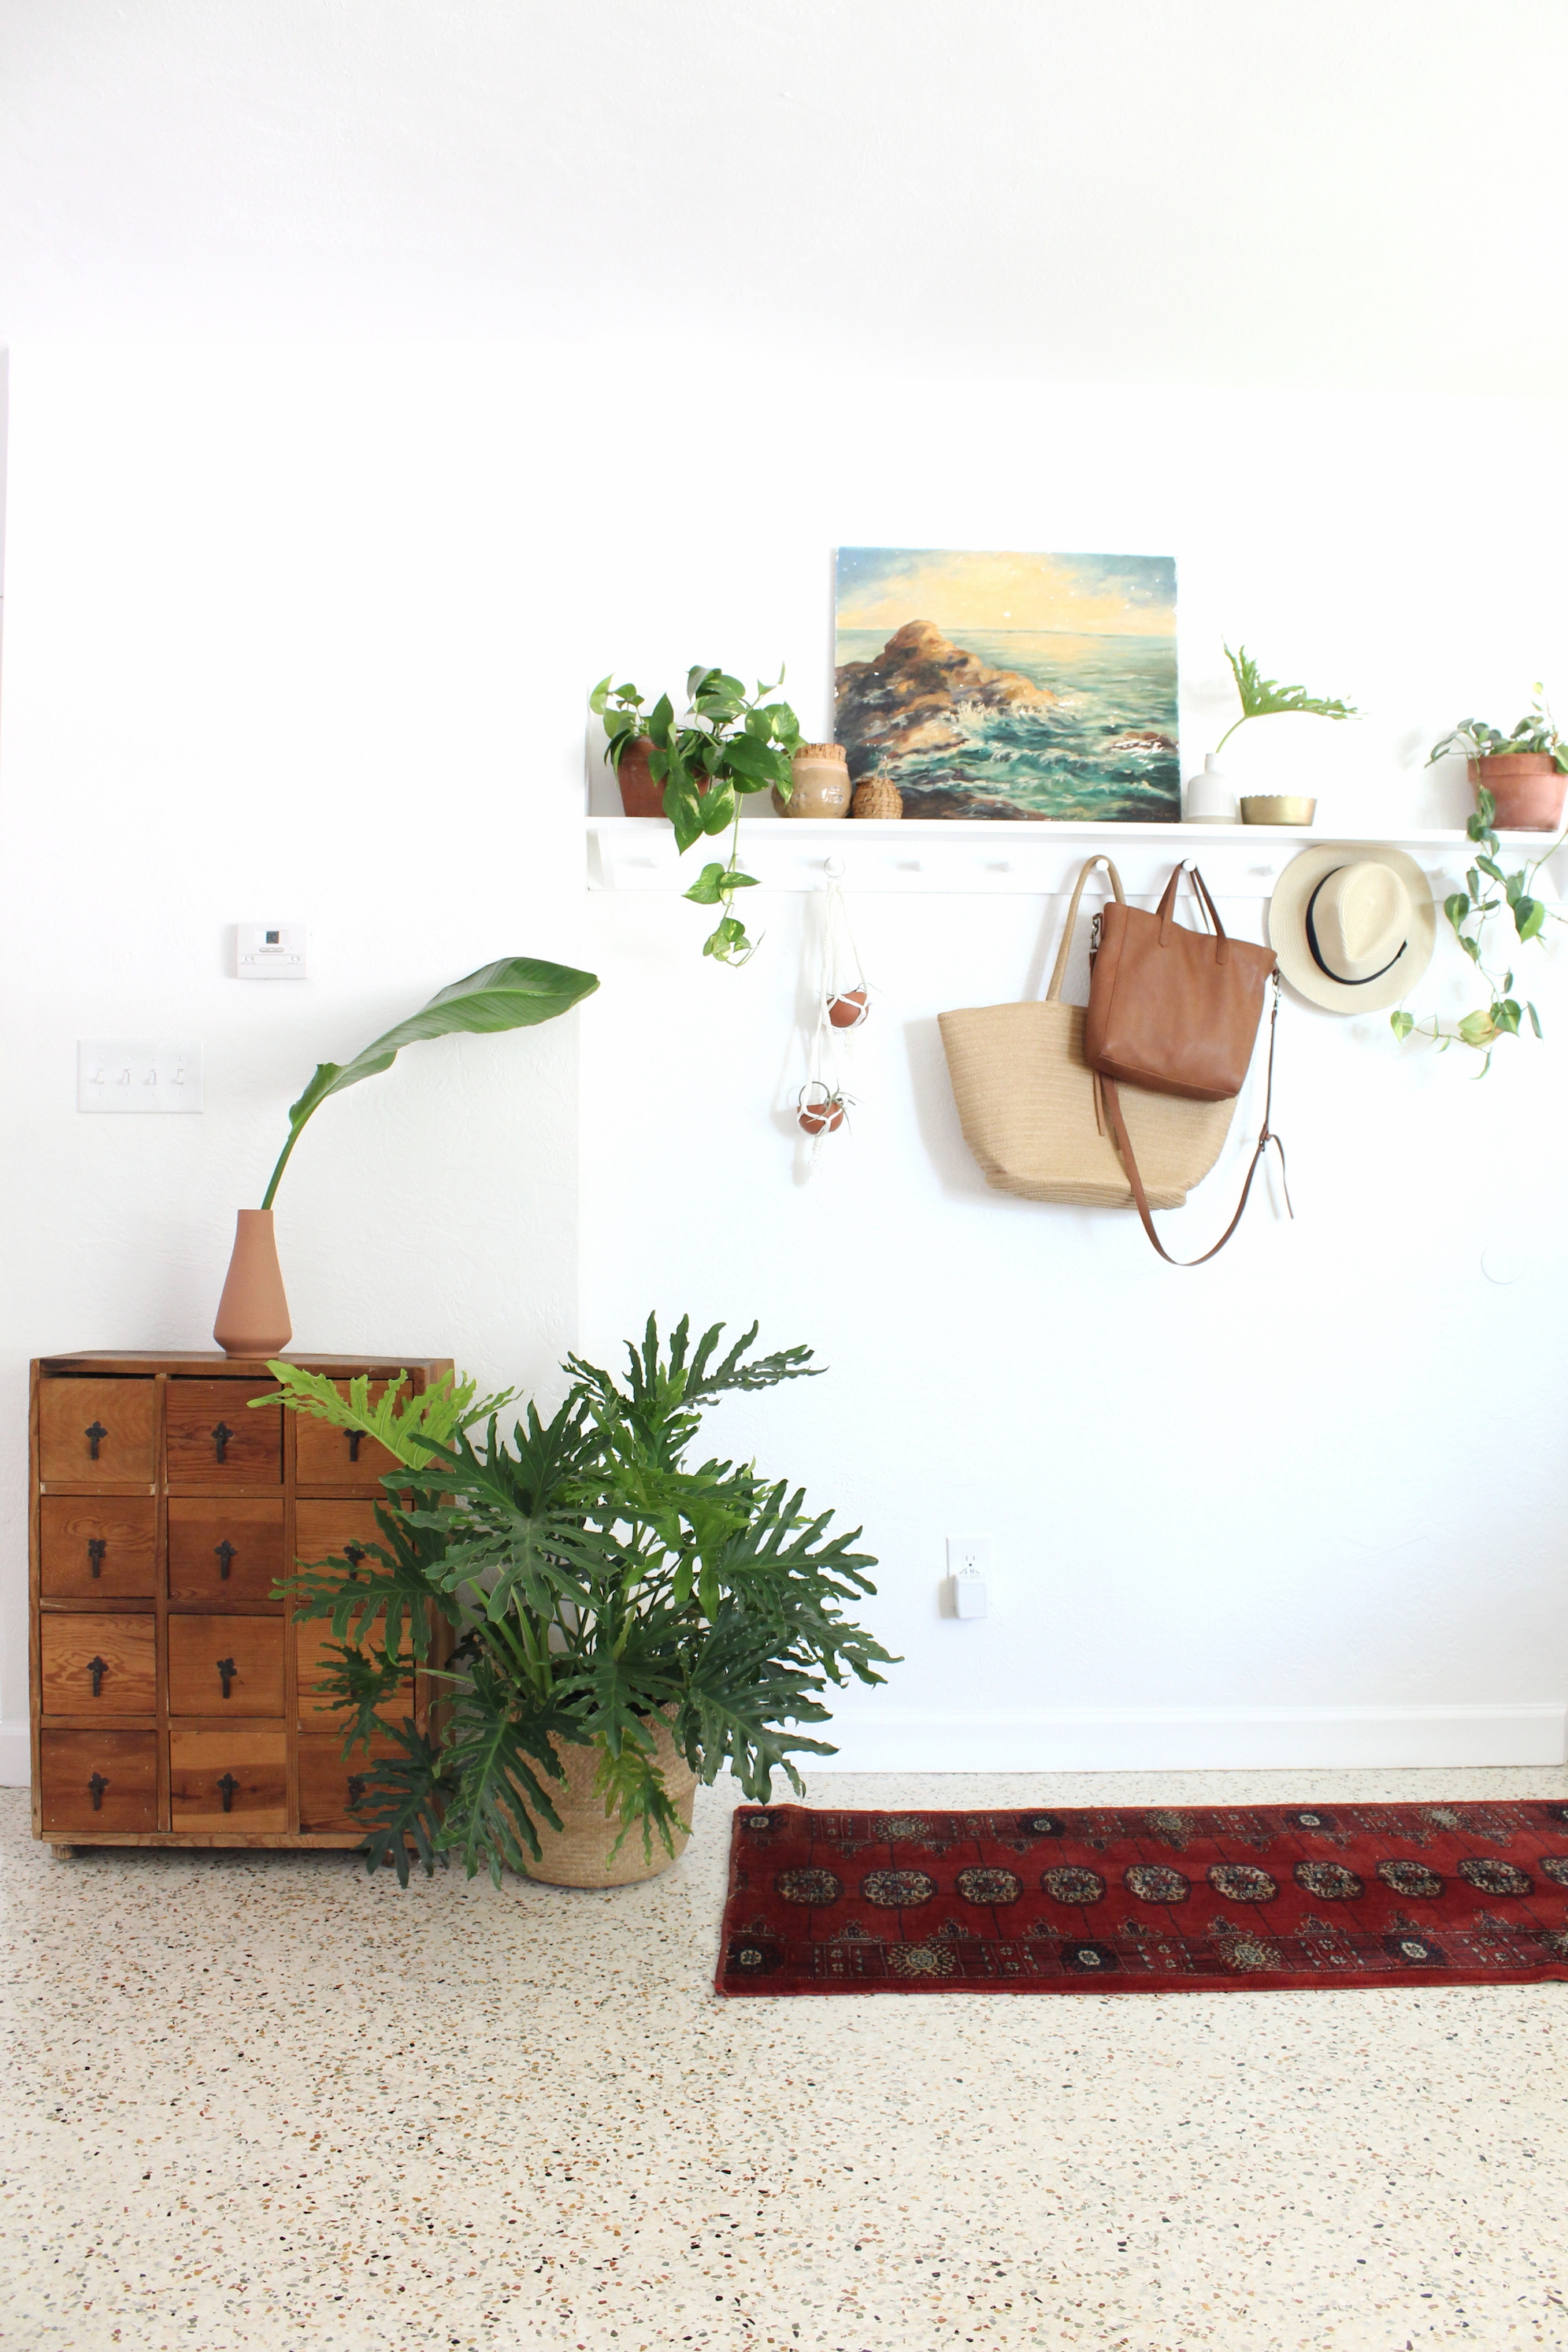
The diy peg rail shelf was a must have in our entry way and after deciding to make it myself, it quickly became my favorite project. It faithfully holds all of my purses (when I just can’t choose which one I like the best), the baby carrier to grab as I walk out of the door (I’ve used a Baby K’tan for all my babies), and my keys when I manage to not misplace them.
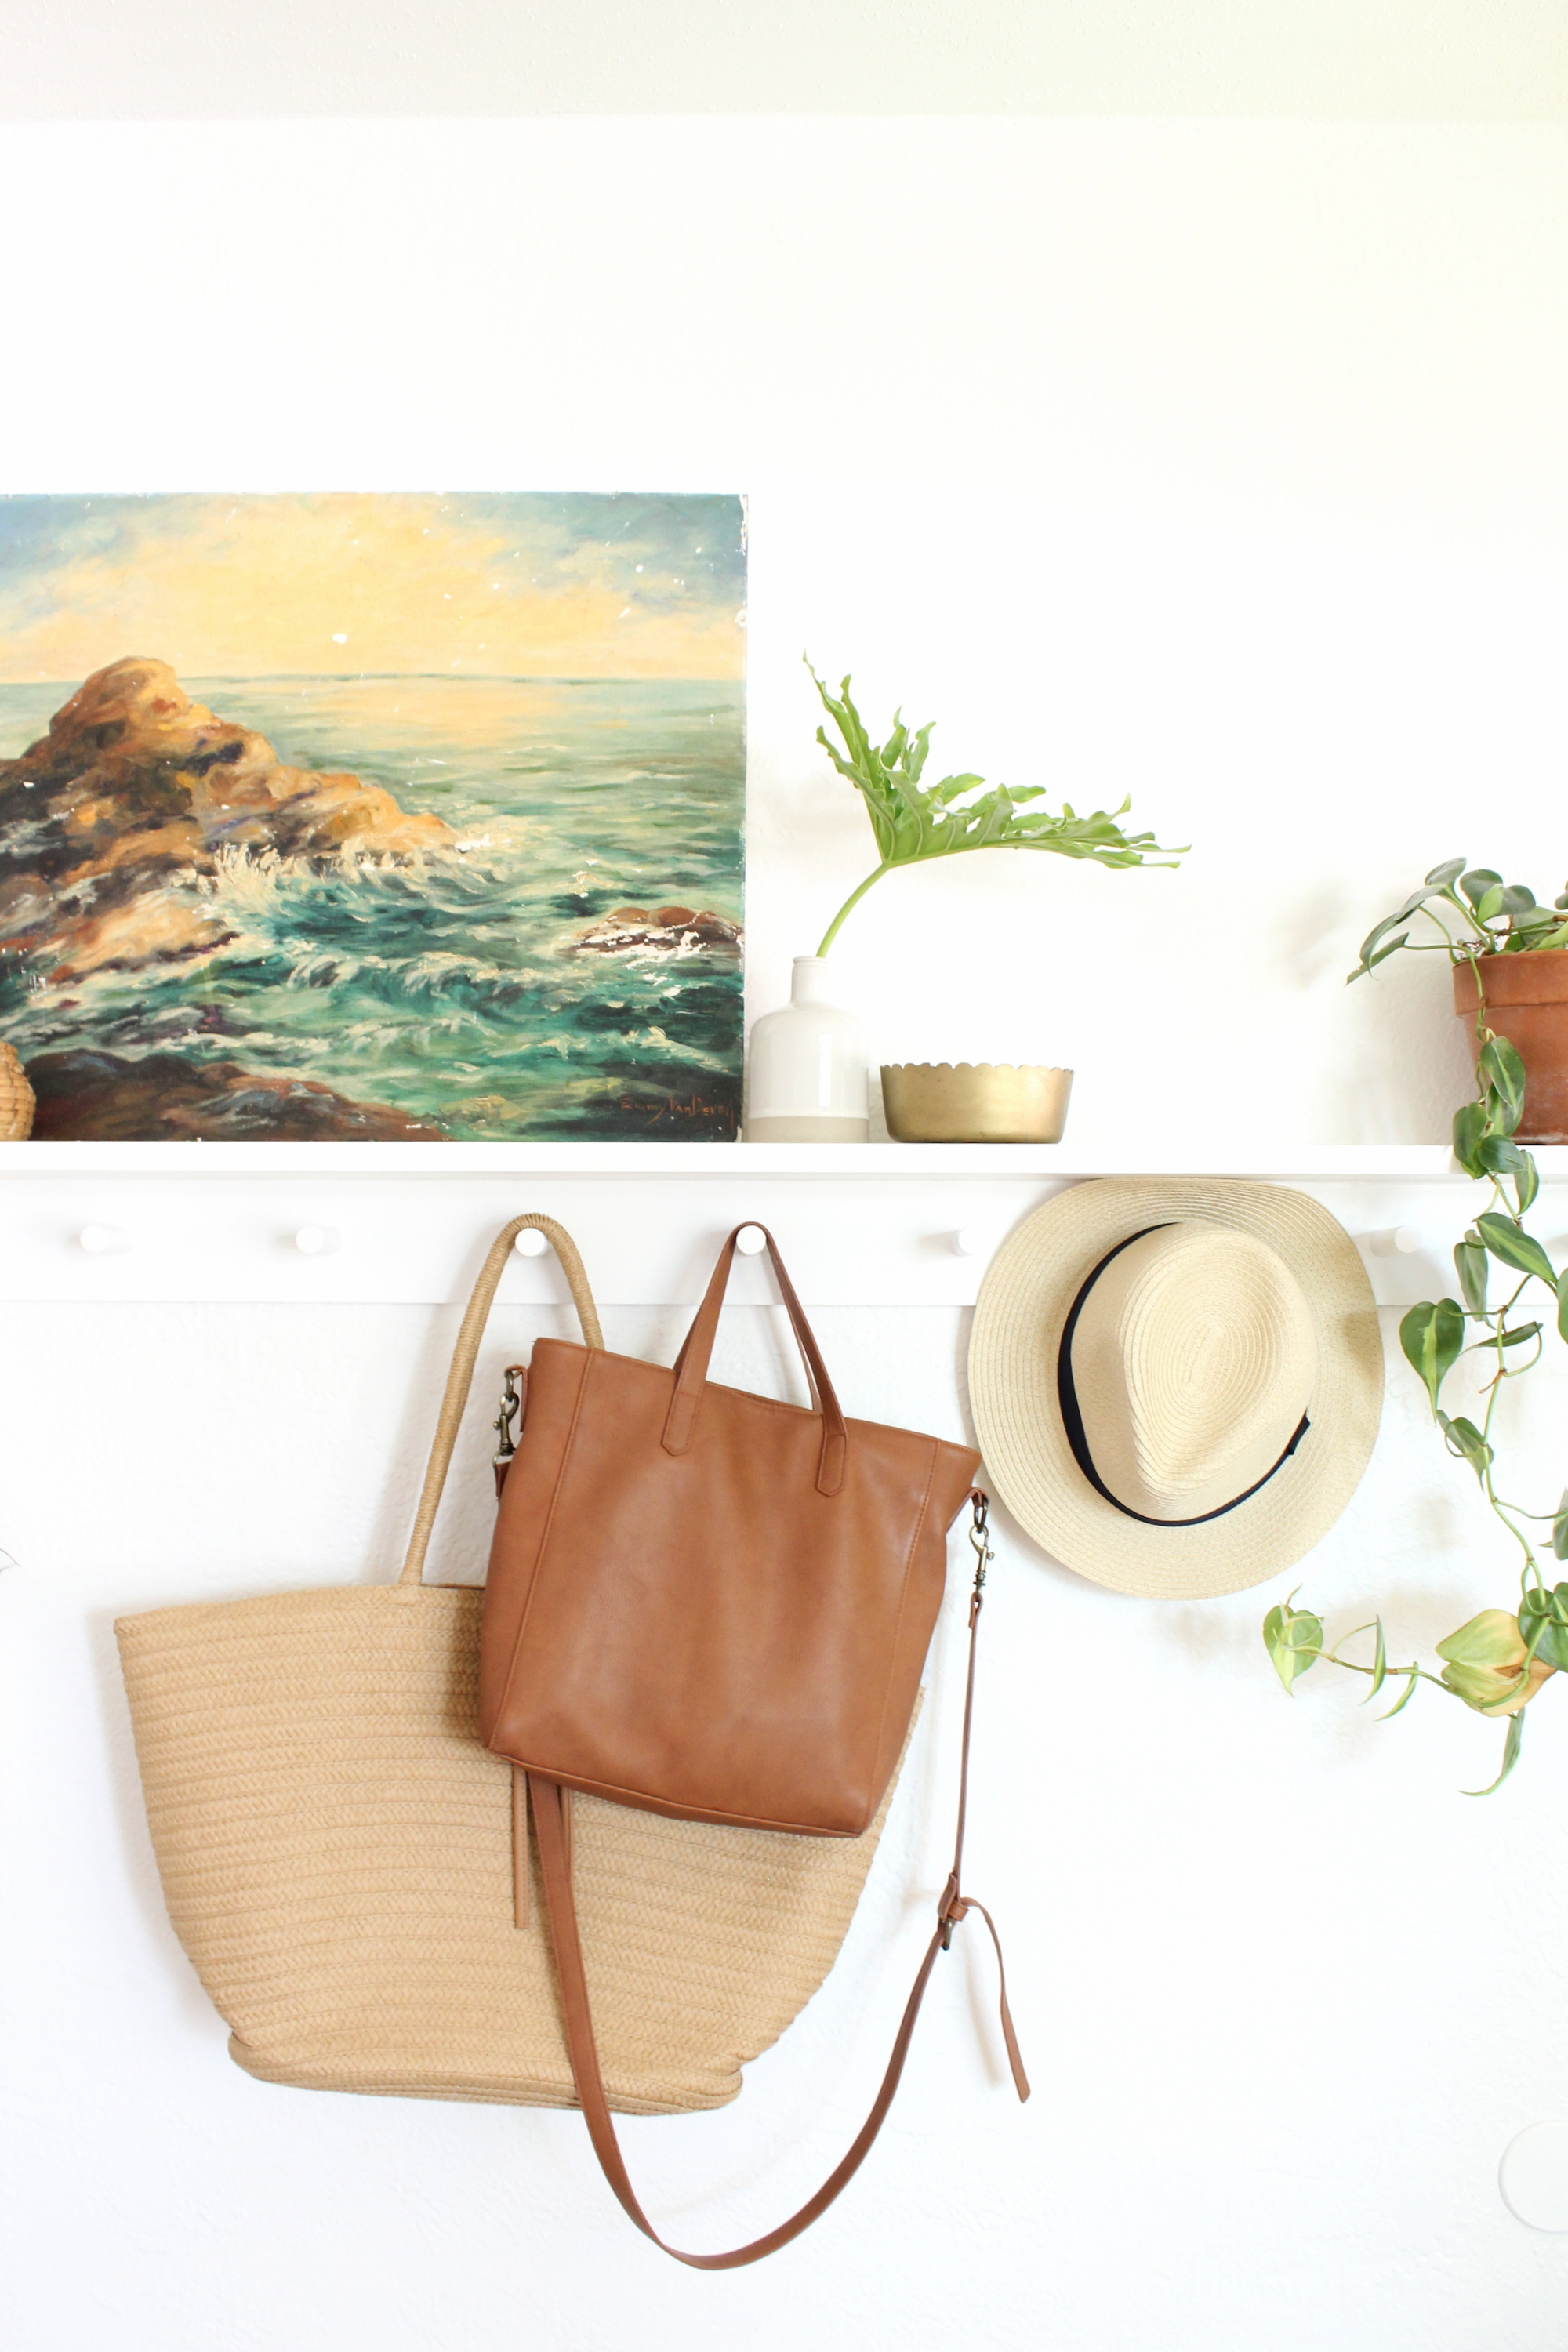
I was in my third trimester of pregnancy when I built this diy peg rail shelf – so I’m confident you can too. I love it so much that I made a miniature version, just a shaker peg rail (without the shelf), for my girls’ to hang their hobby horses and dress up clothes. See of a picture of it here.
DIY Peg Rail + Shelf
Here’s what you’ll need:
Primed 1″ x 4″ at desired length, plus an extra 4 3/4″ piece for the brackets (I needed one that was 69 1/2″ long for our space)
Primed 1″ x 6″ at the same length
1/2″ wooden dowel cut into 3″ pieces (or you can purchase these pre-made pegs)
Wood screws
Drill gun with a 1/2″ spade drill bit
Here’s how it’s done:
Start by marking the placement for the pegs on the 1″ x 4″. Play around with the measurements to find a placement that suits you. Keep in the mind the brackets that will need to be attached when finding the placement for the pegs. I ended up centering one peg and evenly spacing five on either side.
Using the spade bit, drill partially into the wood at a similar depth for each peg. To be consistent, use painters tape around the spade bit to mark where to stop drilling.
Attach the pegs with wood glue and a mallet (or a scrap piece of wood set on the pegs and a hammer), leaving two or more (depending on the length of your peg rail) evenly spaced pegs unattached. This will be where you will attach the peg rail to the wall.
Next, prepare your brackets with the small piece of 1″ x 4″. Draw a straight line from on corner to the opposite, leaving you with two right angle triangles. Using a circular saw (be careful!), miter saw, or (what I used) a band saw, cut along the line. If you aren’t able make this cut, inquire with a local lumber yard who may be willing to help. Attach the brackets to the peg rail by marking the location and drilling from the back of the 1″ x 4″.
Hang your peg rail by screwing through the 1/2″ peg hole directly into wood studs or use heavy duty anchors. Attach the remaining pegs into the holes once the peg rail is attached. Do not use wood glue for these pegs.
Place the 1″ x 6″ on top and screw down into the rail and brackets.
Finally, caulk the edges for a seamless look and paint!


How fun! Love the pictures!
very neat
Turned out super cute!
Thanks!
Turned out so good! Such a great project!
Thank you!
What a great project, I’m going to have a go at this.
This is so simple but so great, I need to install one in the entrance