Remember when Avril Lavigne made ties styling for women? Yeah, I guess they were never really stylish. At least not the ways I saw them worn.
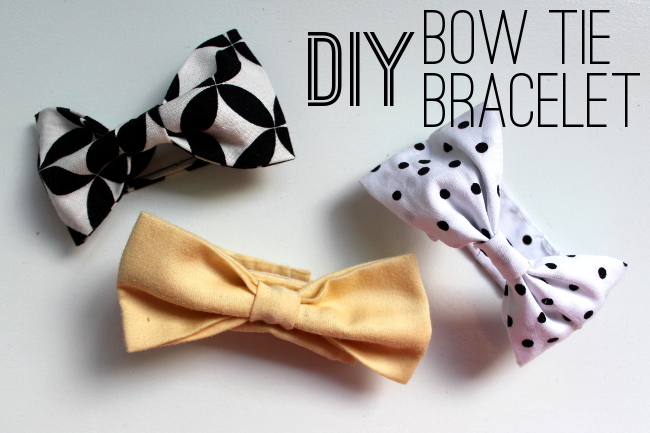
But let’s move on from ties and onto bow ties. Because bow ties are cool, right? And everybody could use an easy DIY in their life. For the record, this tutorial is brought to you by the world’s worst seamstress. You have been warned.
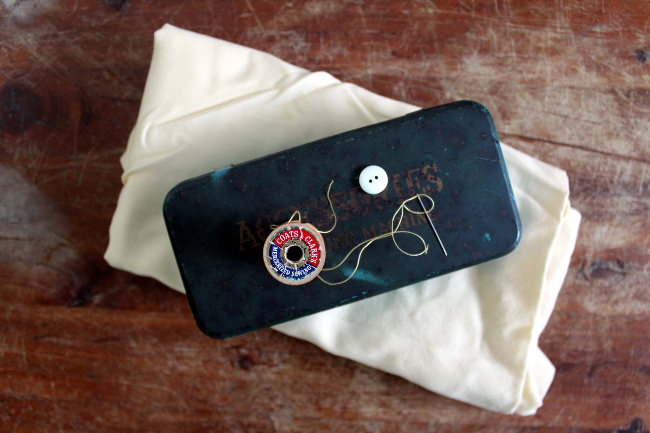
Let’s get down to business, here’s what you’ll need.
- Enough fabric for a bow tie and bracelet. I used a pillowcase I found at Goodwill for 75 cents, a baby bloomer I had leftover from one of Eliana’s old dresses, and scrap fabric from Amanda Rydell.
- Thread and a needle. A sewing machine is also helpful, but this could all be done by hand.
- An iron
- A button
I used a bow tie tutorial from
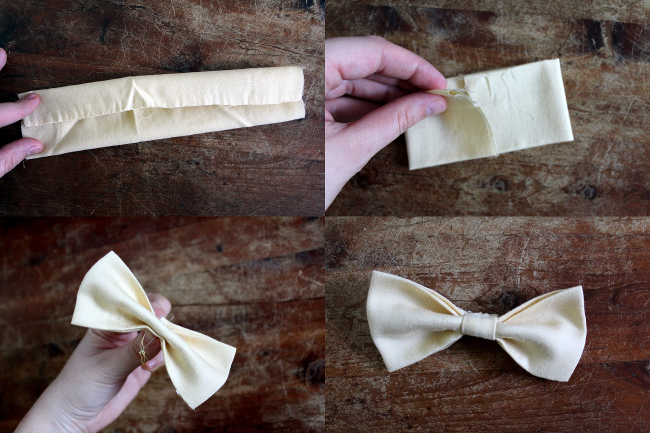
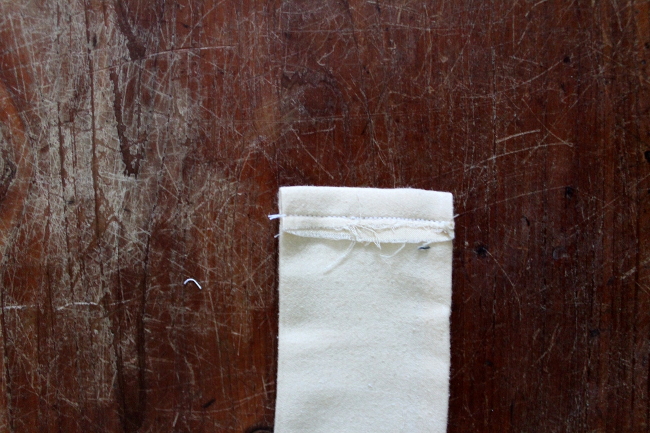
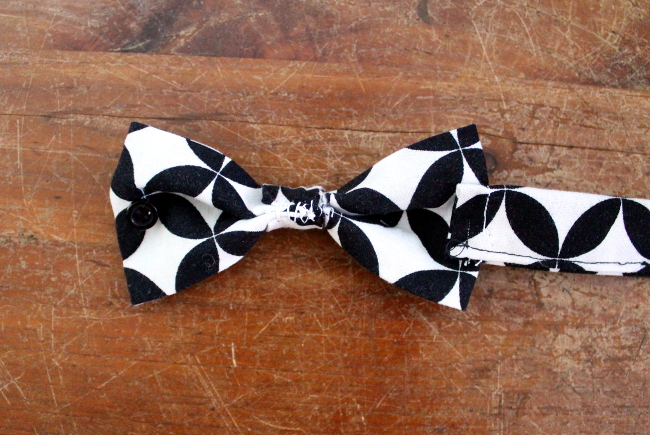
A Beautiful Mess which was pretty straight forward. Cut two pieces of fabric, one at 9 x 4.5 inches and a smaller one at 2.5 x 1.25 inches. Fold the long edges in towards the center (pictured) and press with your iron. Next, fold the remaining outer edges in towards the center and press (pictured). Now, fold that fabric into a bow tie shape and stitch it at the pinch. Fold your smaller piece of fabric like you did with your first and press, then wrap it around the bow tie pinch and sew into place. Don’t worry if it doesn’t look pretty in the back, it won’t be seen when it is worn.
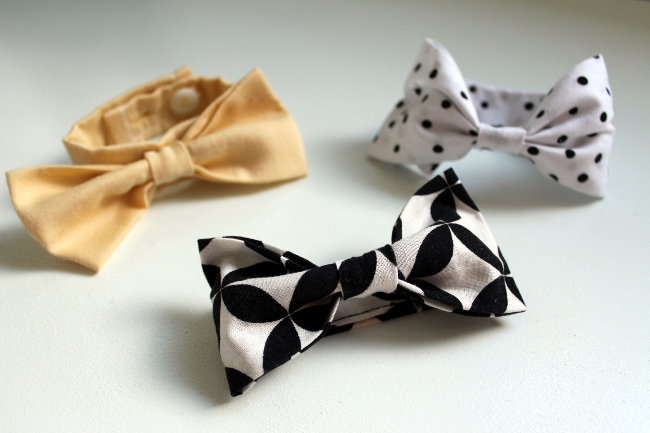
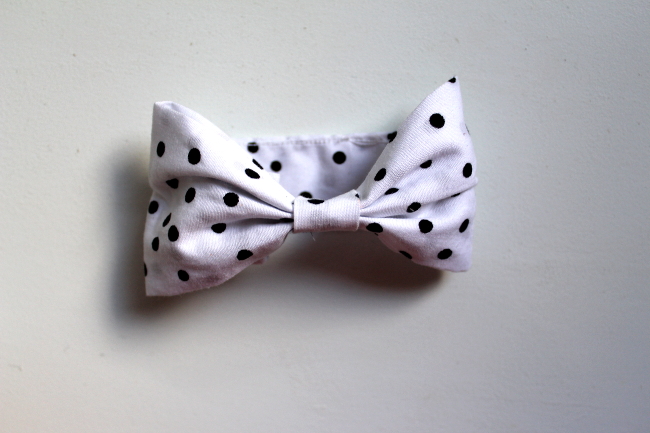
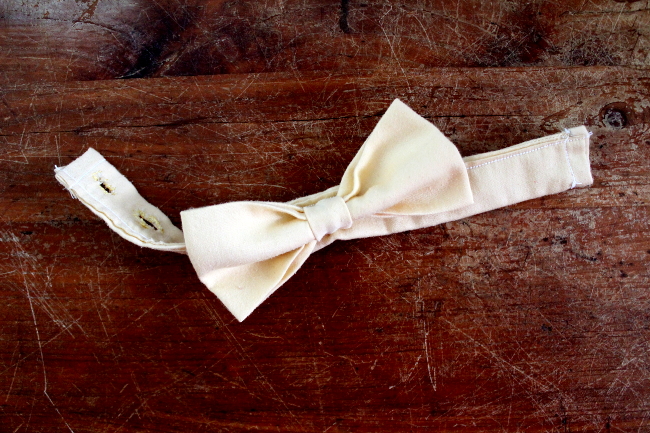
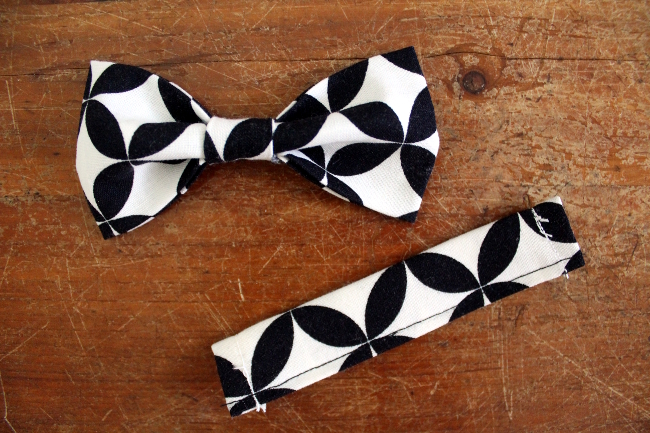
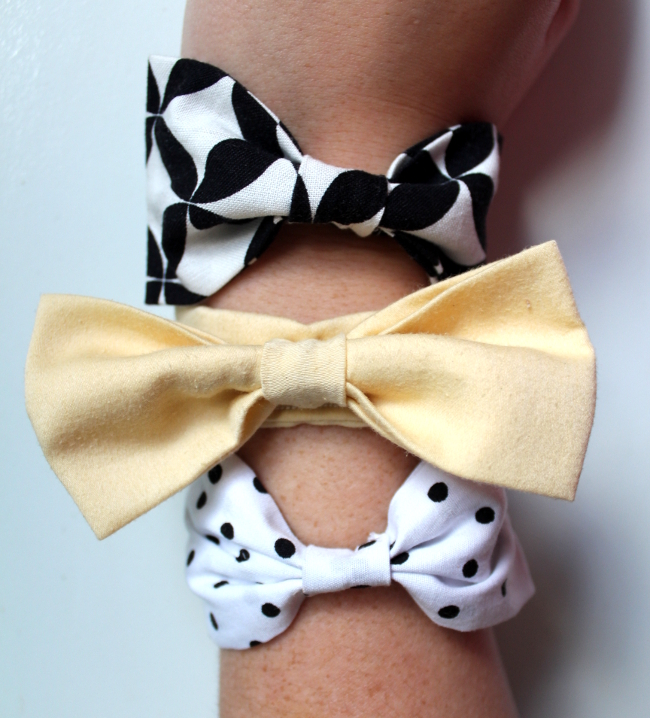
The difference between a bow and a bow tie is the fold. A bow has about five folds accordion style and a bow tie has three, with the middle fold pushed out further than the outer folds. Does that make sense? For instance, the black and white polka dot bracelet is a bow.
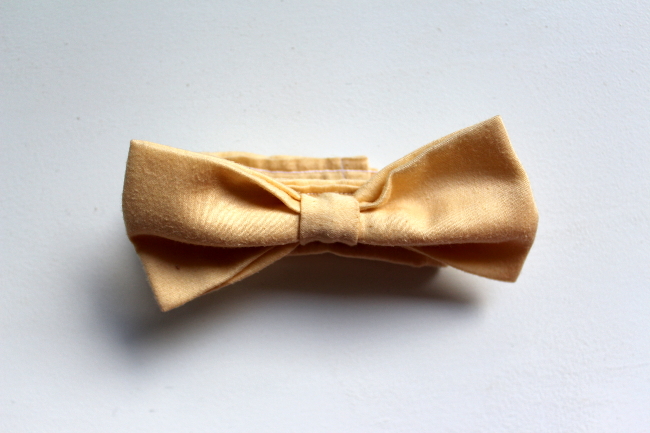
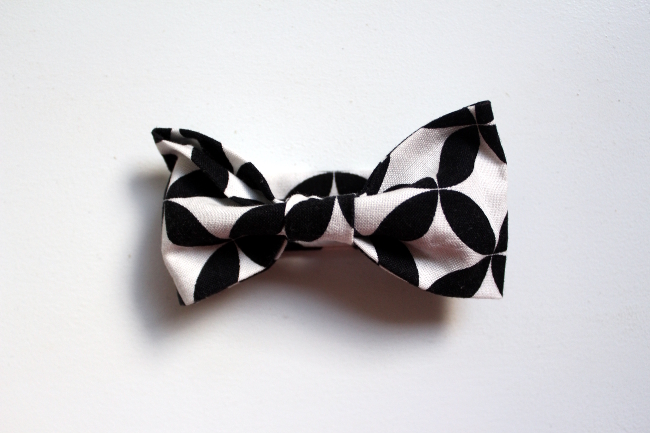
But the yellow and other black and white bracelet are bow ties since their folds aren’t the same. So if you’d rather make a bow instead of a bow tie, just fold your pinch differently.
To make the bracelet, cut a strip of fabric at least 4 inches wide and as long as you need. I guestimated what I would need by wrapping the fabric around my wrist and adding an inch for the hems. Remember… you can also sew additional button holes if you need to make it smaller but you cannot easily make it longer.
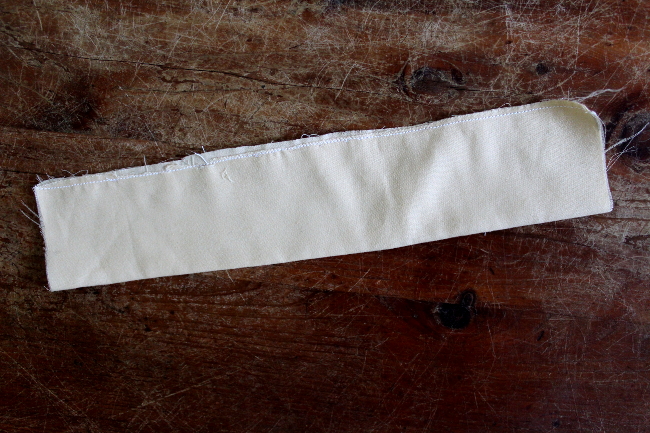
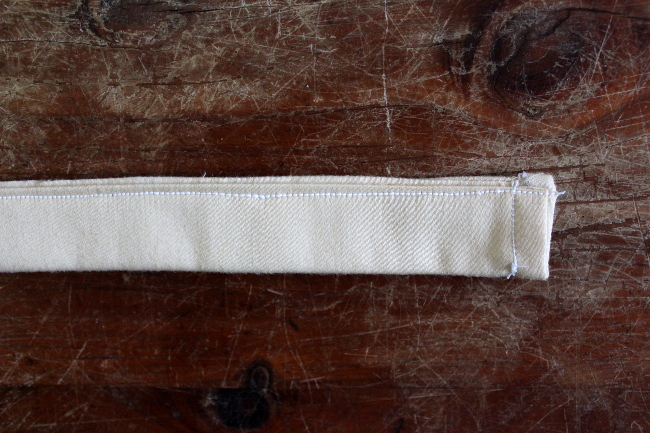
Fold that strip of fabric in half, right sides touching, and sew the edges together.
Flip the fabric right side out and press. Then take the outer edges, fold them in a quarter of an inch, press and sew. Remember… I’m the world’s worst seamstress, so I don’t know any technical terms for what I am doing. Not to mention, my photography skillz are less than superb.
Now fold lengthwise, wrong sides touching, press and sew the edges together. I seamed less than a quarter of an inch in.
Next you need to sew your button, button holes and bow tie onto the bracelet. Do not use my button holes as an example of how it should be done. Please, just don’t. You also may want to cover your eyes.
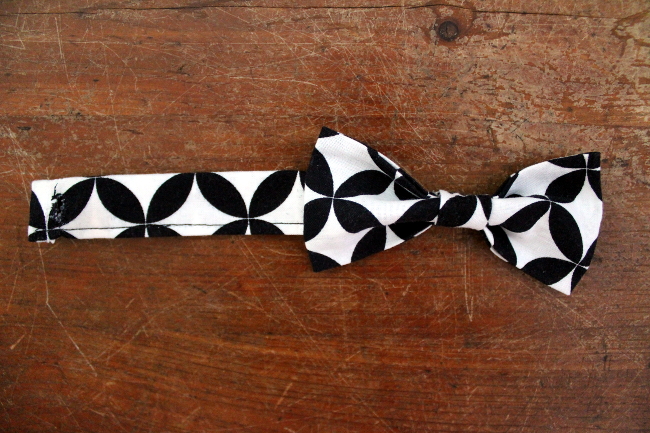
Now you have a bow tie bracelet! Not too shabby, eh?
If you’re not impressed, there is another way to attach the bow tie to a bracelet, a way that uses less fabric and a way I actually prefer.
Here’s how: sew the bracelet strap the same way as you would above, but make the fabric shorter. On one end of the bow tie attach the bracelet strap, and on the other side sew on a button.
On the other side of the strap, sew your button holes.
Remember, don’t worry if the back of the bow tie doesn’t look pretty… no one will be seeing it when it is on your wrist. If they do, then I’d venture to say they’re a little too close to your wrist and should be counting the ratio of hairs versus freckles rather than worrying if the back of your bow tie is up to par. Because that would be the only rational thing to do, right?
So there you have it, a sewing tutorial from a gal who has no idea what she is doing. Oh, the irony. Happy bracelet making! Next up, a fez!


Really cute idea, they look professional to me! Great tutorial, thanks for sharing!
http://healthybodyhappywallet.blogspot.com
Thank you, Brittany!