
In grade school, jump rope was my life. That and dodgeball, but since I was much better at jumping than running, I tended to cower in the back, using my classmates as human shields. When a ball would find its way to me, I’d snatch it up and sheepishly attempt to throw it to the other side. Eventually I came to the conclusion that I was better suited for jump rope. Oh, and let’s not forget the parachute tent.
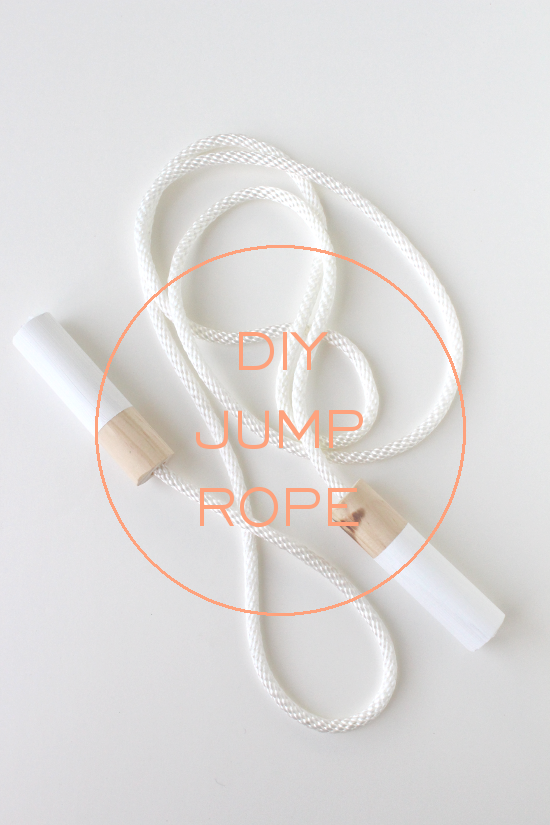
Back to the subject at hand: jump rope. I spotted this on Pinterest and, like most things on Pinterest, my reaction was, Ooh, I need that, right? Then I got to thinking, hey, I could make that. So I did, obviously, and I lived to tell the tale.
Without interruptions and not counting drying time, it is a relatively fast process. It’s inexpensive, too. It cost me less than $10 to make two.
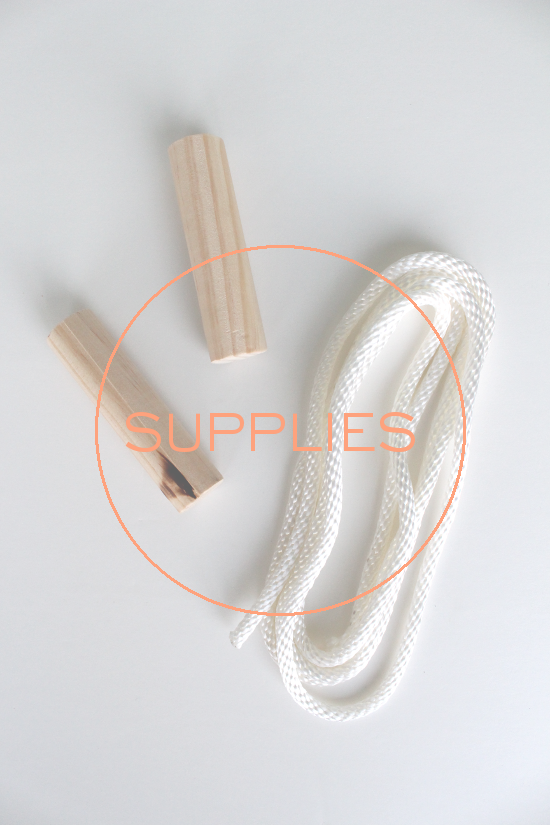
Here’s what you’ll need:
Wooden rod, 1-inch thick and cut to 4 inches (although 5 or 6 inches long would work, too)
Rope, I found mine for 22 cents per foot at Home Depot near the hardware and chains
A power drill and appropriate drill bits: 1/8-inch, 3/8-inch, and 5/8-inch
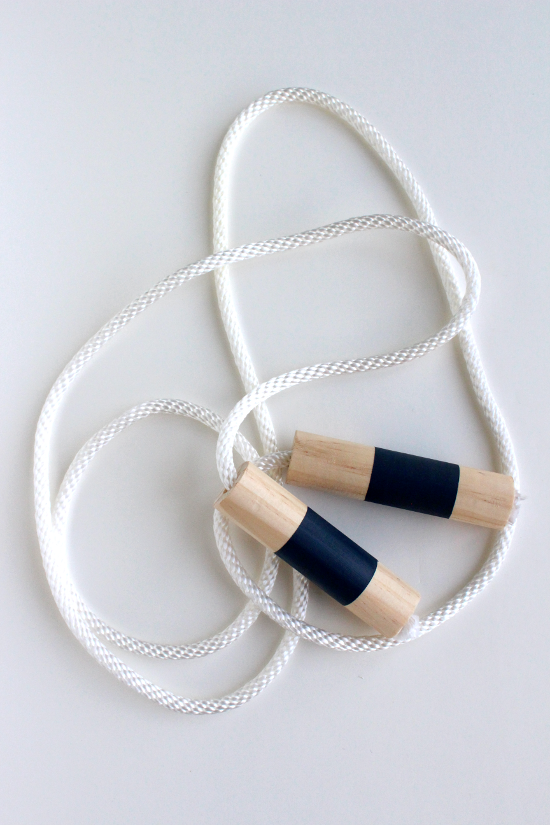
Craft paint, if desired
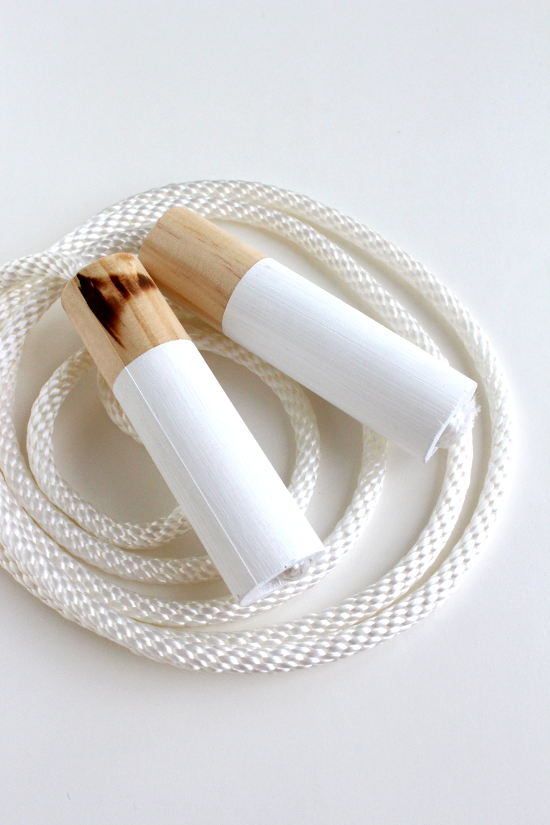
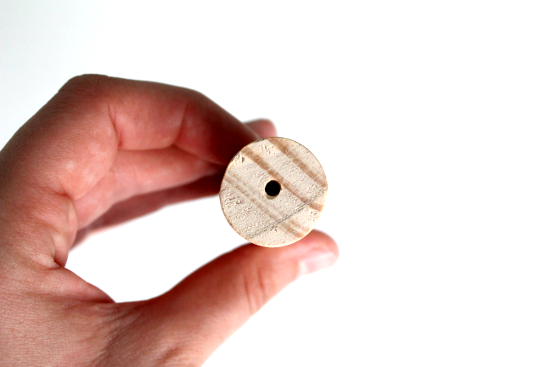
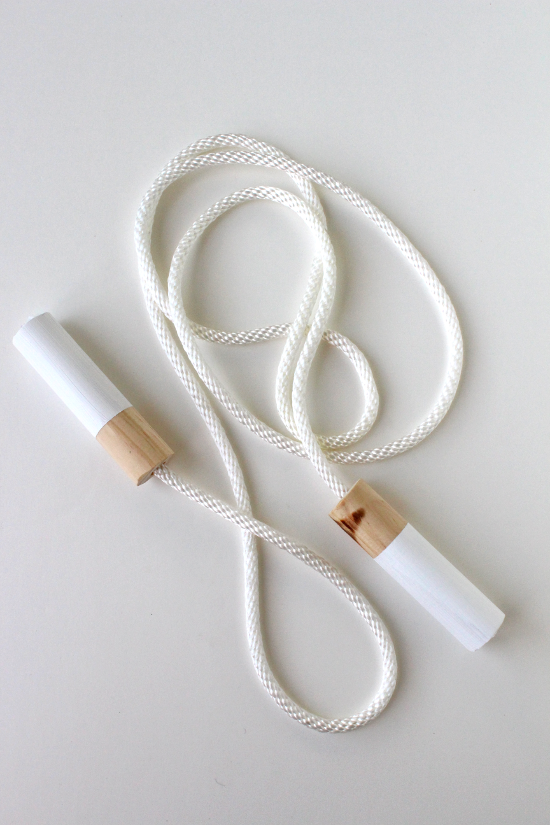
Begin by cutting down the wooden rod to the desired length for the handles (mine were 4 inches). Then, drill a pilot hole using the 1/8-inch bit in the center of both ends of the handle. I attempted to drill the hole as centered as possible but failed miserably. This one came out the best, although that’s not saying much.
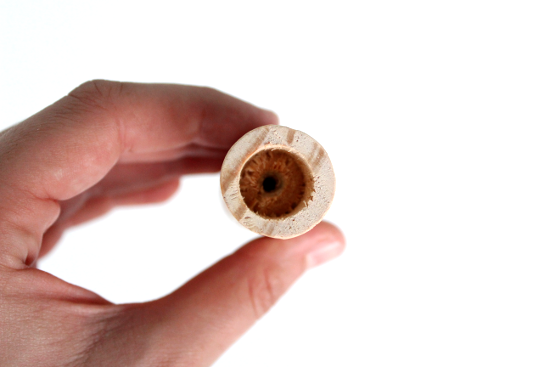
Next, using the 5/8-inch bit, drill deep enough for the knot of the rope to fit snugly in, about 3/4 to 1 inch deep.
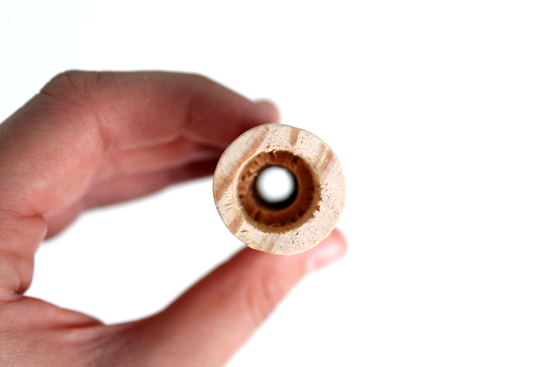
Now drill the rest of the way through with the 3/8-inch bit. Is this getting a bit familiar by now? I used the same method for the copper lamp and the glass door knob coat rack.
Unfortunately, this side was very troubled and uncentered which leads me to believe it misplaced its zen-garden.
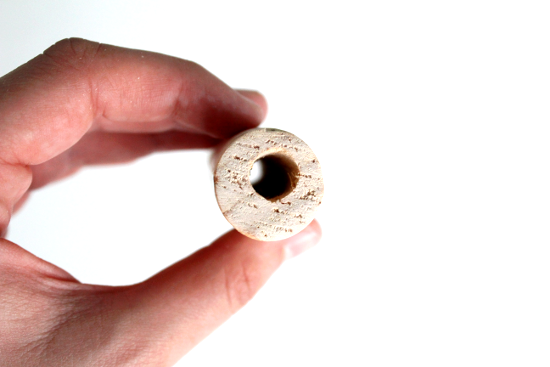
Before painting, sand both ends until they are smooth – receiving splinters while jump roping is not the definition of a good time. Once the paint is fully dried (I allowed mine to rest overnight), string the rope through and tie a knot at the end.
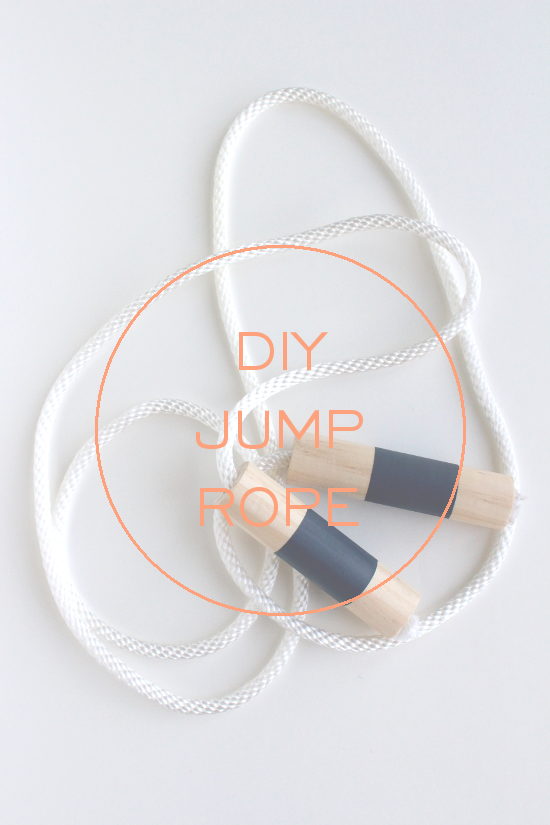
It’s that simple. The rope for these measured about 8 inches and they are a bit too short for me. For a jump rope long enough for double dutch, I’d suggest 20 feet.
Speaking of which, did you know there is a such thing as a Double Dutch Tournament? I better start practicing my Miss Mary Mack’s. Who’s rooting for me?


very cute! Good job!
Thanks Ronja!
This comment has been removed by the author.
[…] face necklaces DIY wooden checkers game DIY pompom hair clips DIY wooden truck and alphabet blocks DIY skipping rope DIY cardboard dolls […]