Once upon a time, WAY back in March, a fair lady was wandering through a crowded thrift store. In a trance from all of the treasures, she was brought back to reality by her tantruming toddler. Just as she was preparing to run out the door, she saw it. It was an old brass lamp, dusty and lonely, and for just ten dollars she adopted the raggedy thing. That ends the tale of how the fair maiden came to bring home her beloved pear shaped lamp and look past all of its faults.
The fair lady in that story is me and it is a non-fiction story. Well, except for the part where she looks past all of its faults, I lied at that part. I know, it’s wrong to lie, and I hope I didn’t break your trust. If I did, then let me make it up to you with a tutorial on how to revive one of these beast.
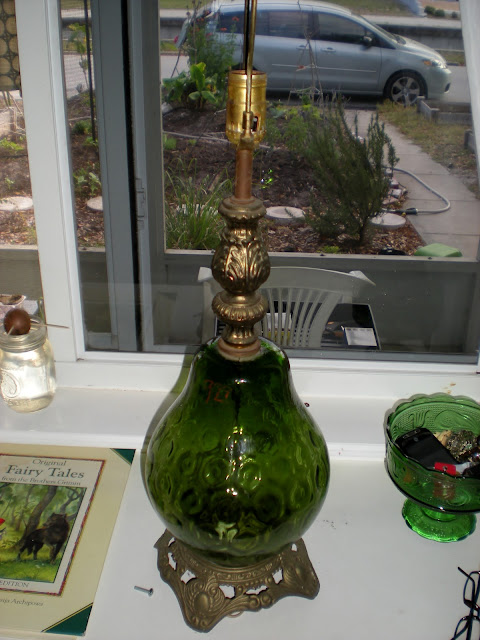
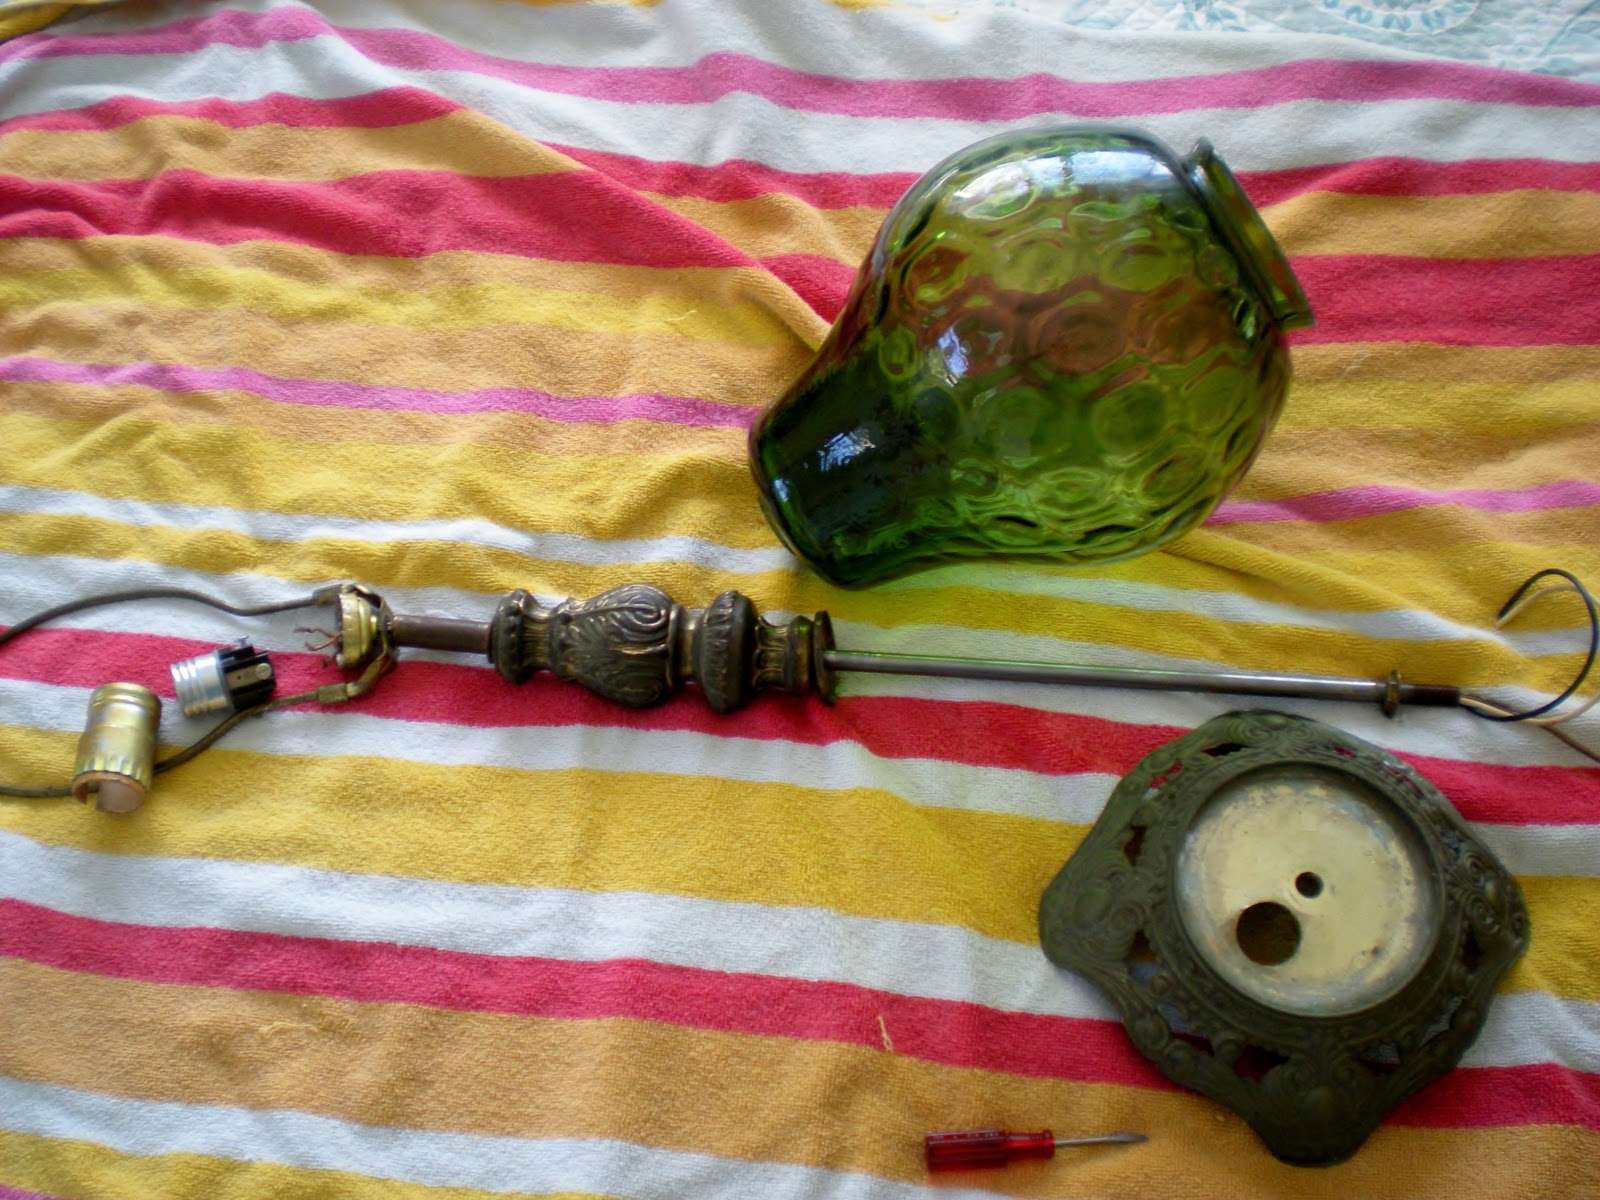
When I saw this lamp, I knew I wanted to paint the brass to bring out the glass pear-orb in the center. So first thing is first, spray painting. But there is a first thing before that first thing, dissecting the lamp. I am sure you could cover the parts you don’t want painted with painters tape instead of taking the whole lamp apart. But since I was too scared of testing the lamp to see if it would work or just blow up, I decided I would re-wire it while I was at it, which requires me to take it apart regardless.
I set up shop over a towel on our bed and started by shimmying the light socket apart from it’s base.
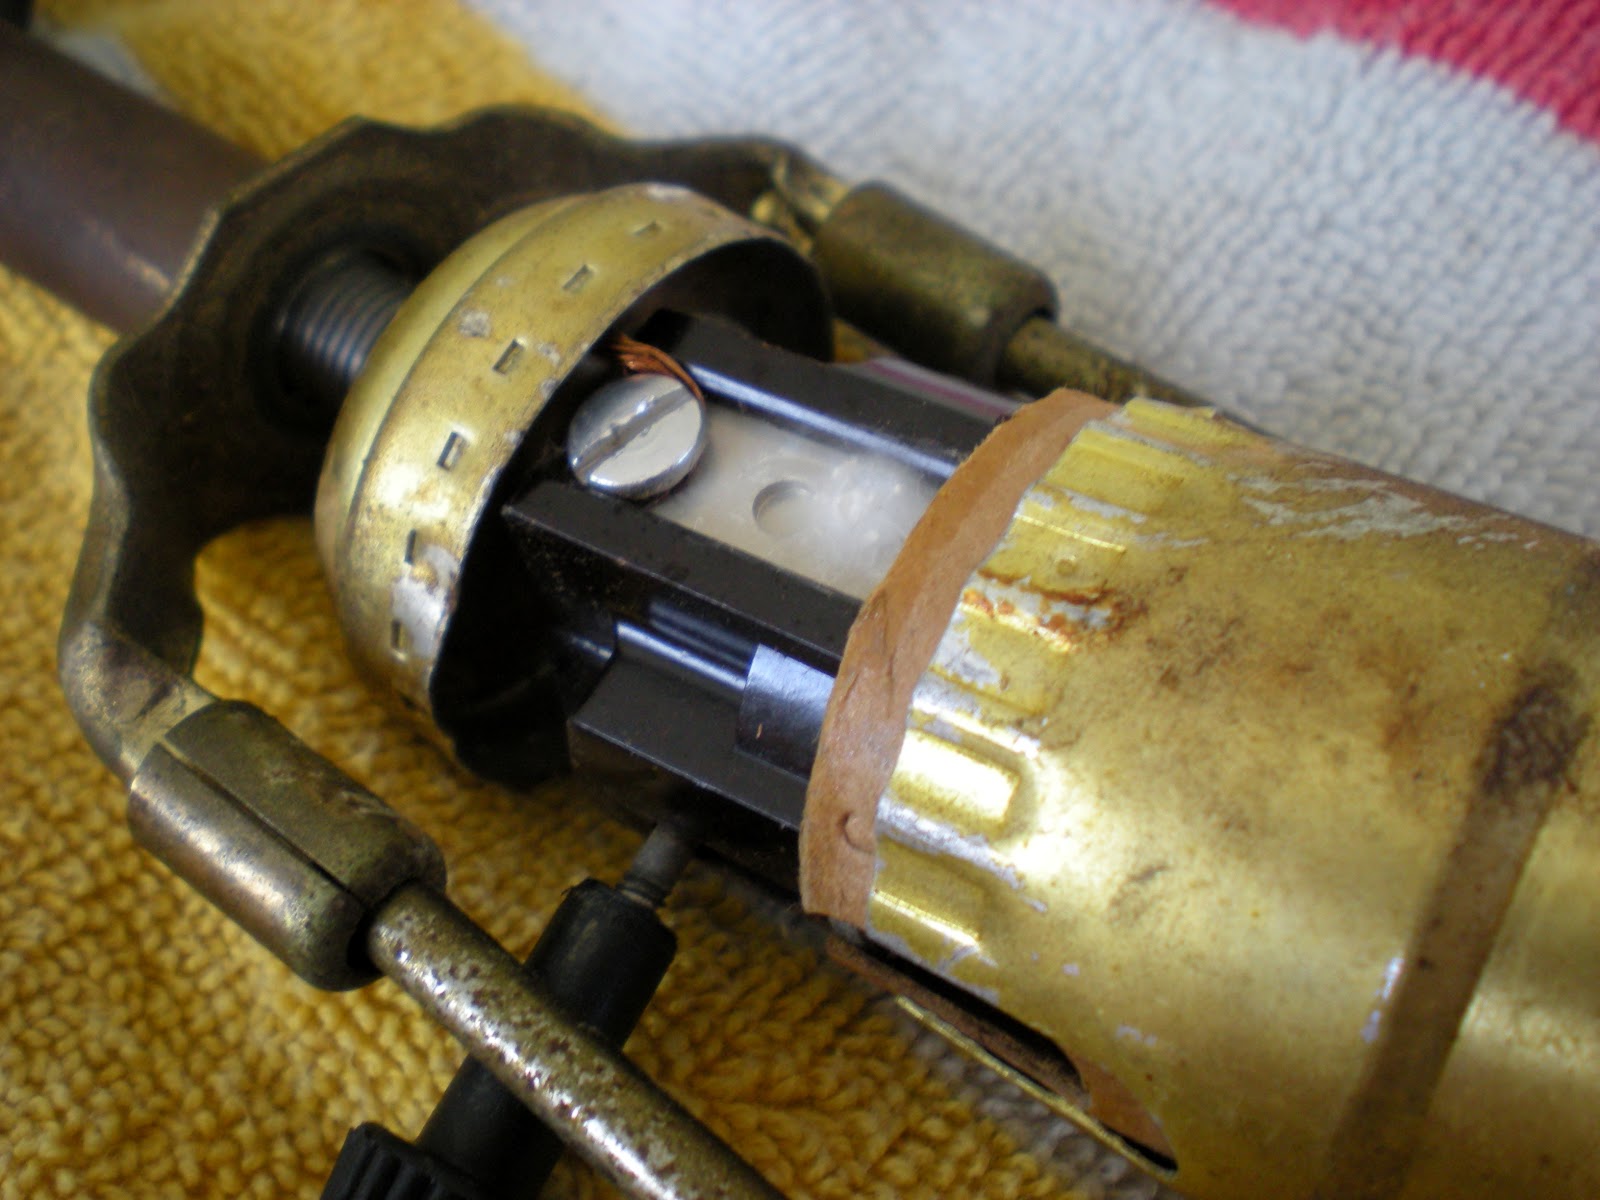
Then proceeded to loosening the screws that held the wires tight. I am sure there is a technical term for this, but I don’t know it. My husband probably does, but he has bigger and better things to focus on, like scooping me a bowl of ice cream.
During that, Robby the Roach popped out to pay me a visit. This is a great reminder to inform you to thoroughly wipe down any treasures you bring home. It may or may not help you sleep at night, or in my case, sleep between bathroom breaks.
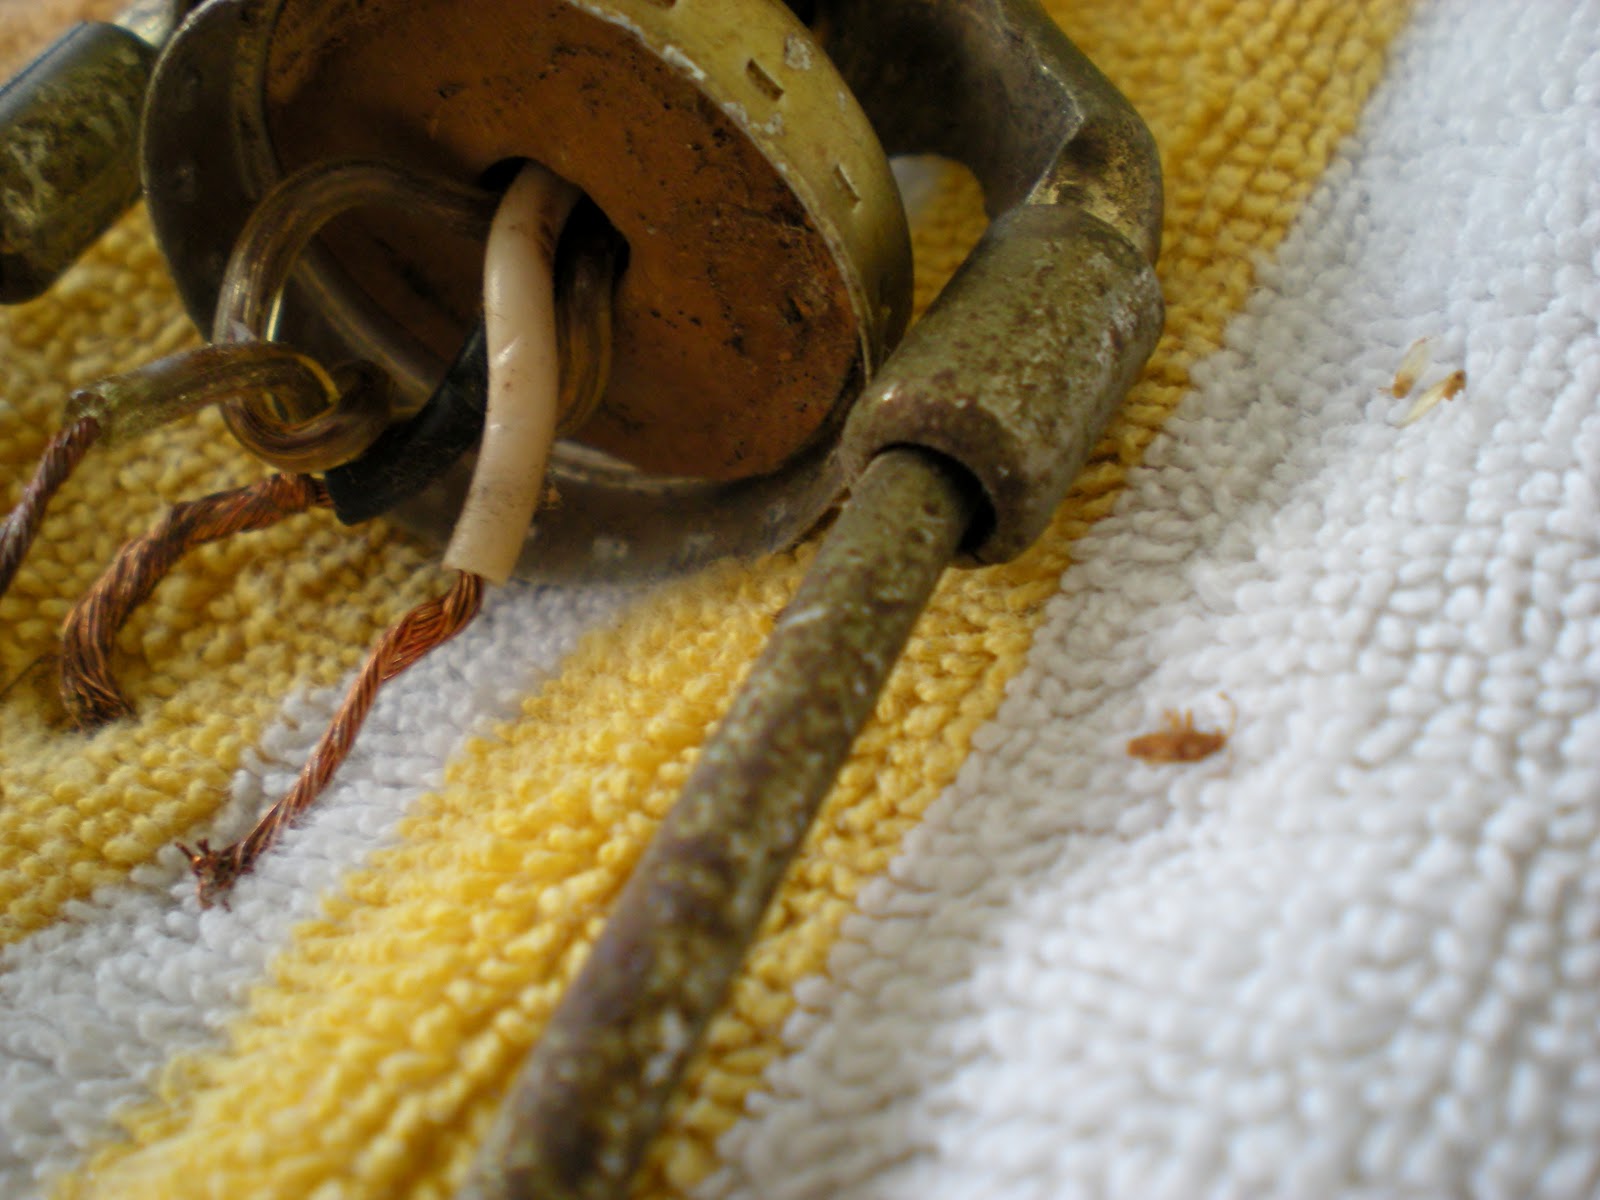
After this, the socket base just unscrews off of the pole that holds everything together. Righty tight, lefty loosey. Yes, I repeat that in my head whenever it is relevant. Okay, and sometimes just for fun when it’s not relevant. (Shh, don’t tell, someone might make fun of me.) The lamp shade harp just falls off once the socket is removed.
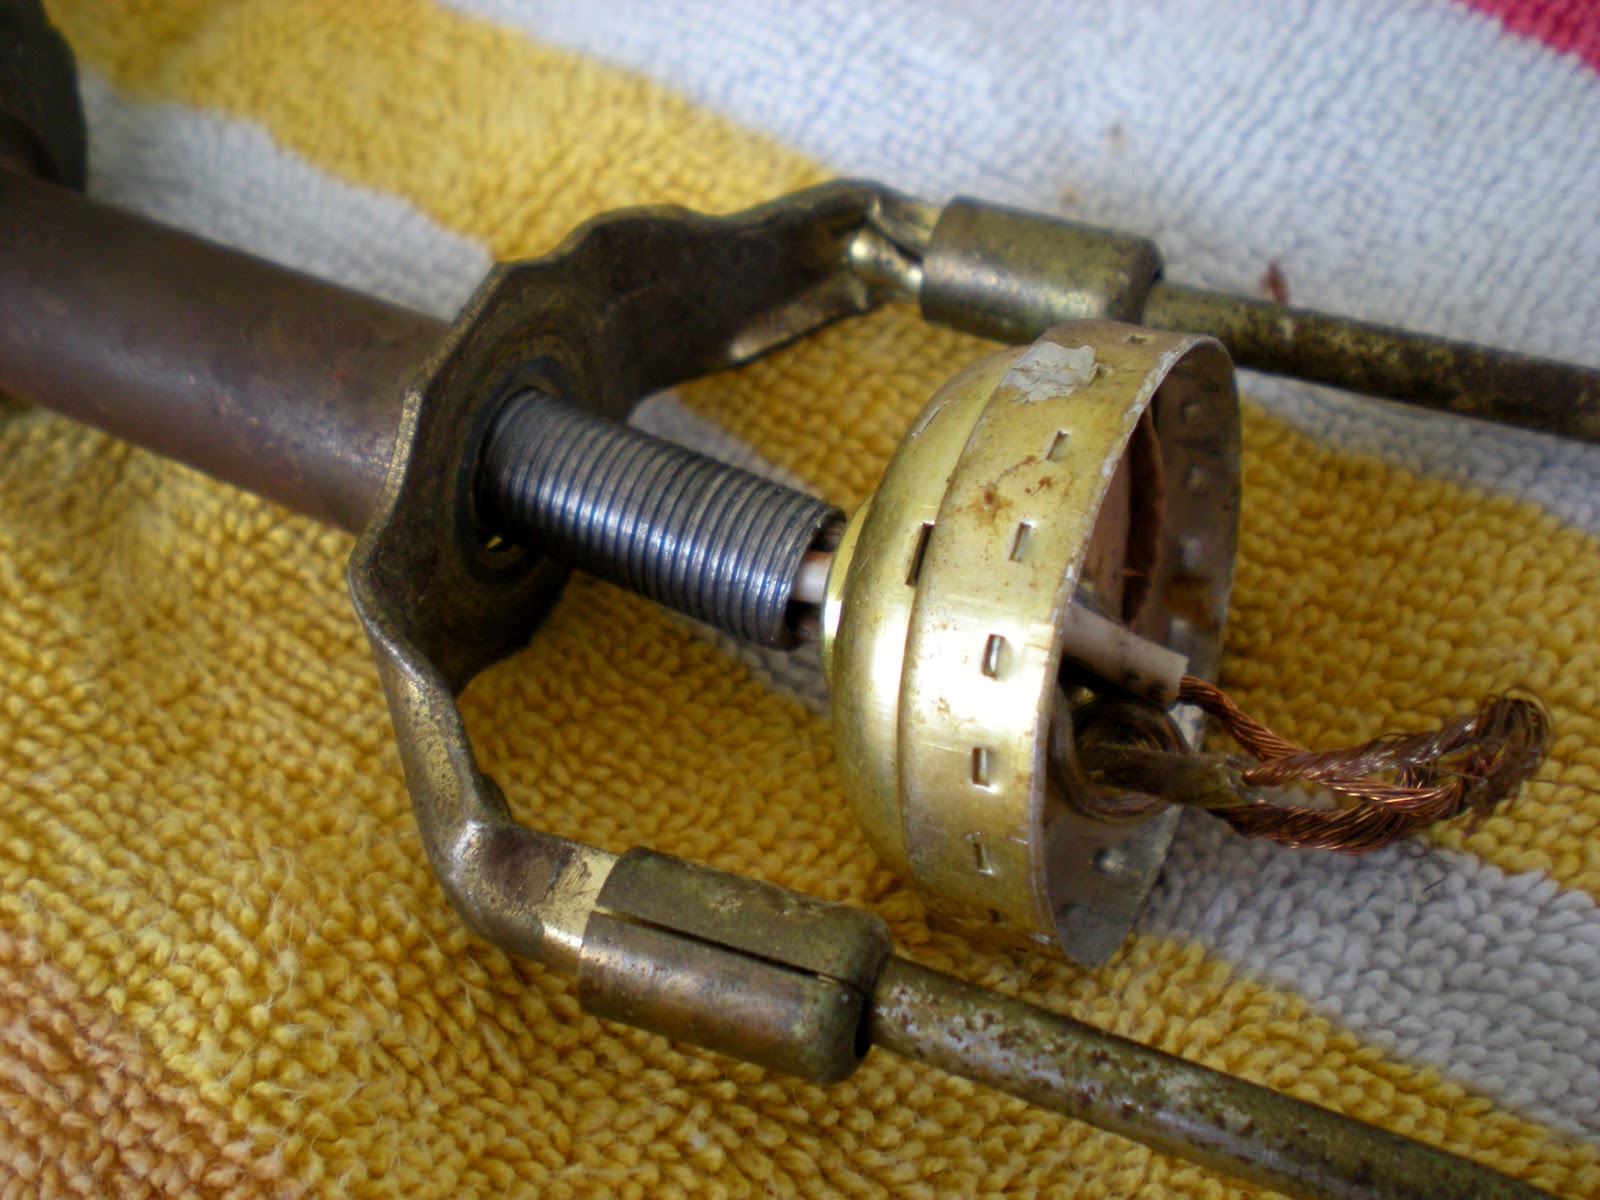
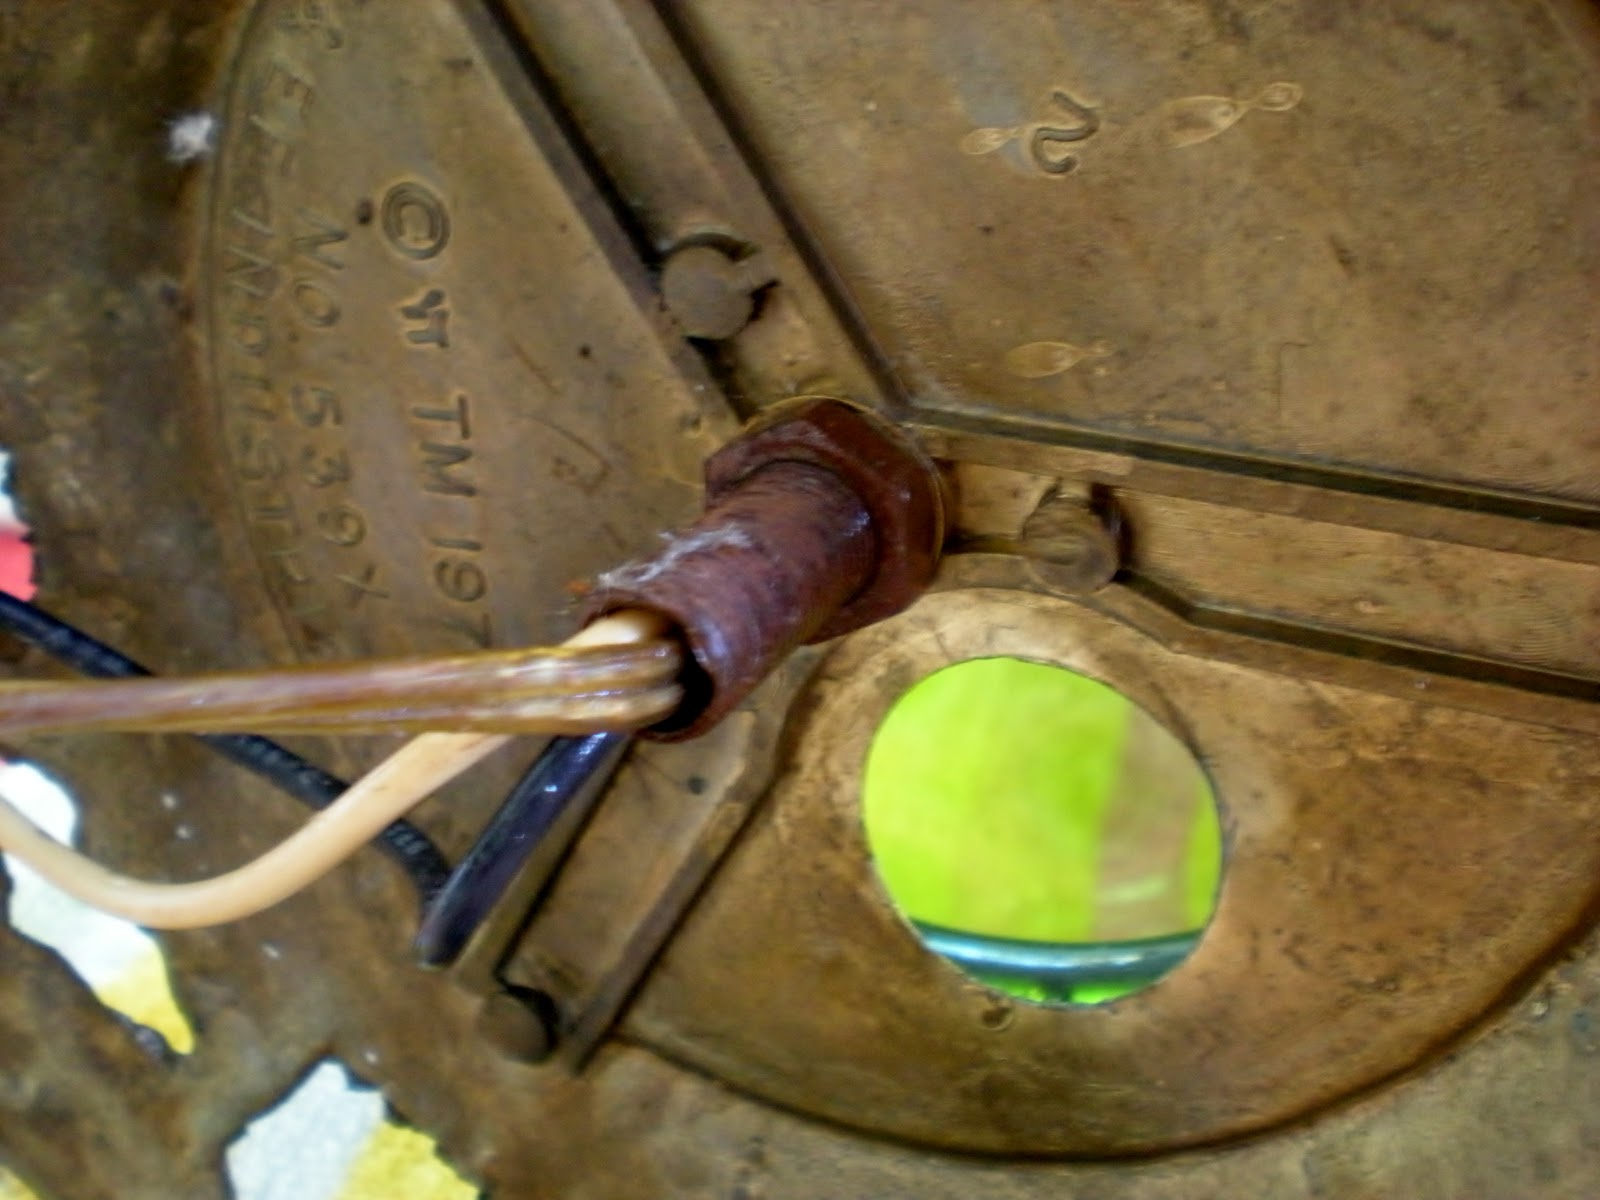
At the bottom of the lamp there is a bolt that holds the base up. Cut the wires, unscrew the bolt and remove it. Or unscrew the bolt, try to remove it, then cut the wires so you can remove it. Whatever works best for you, three steps or five. Heck, maybe you can even bump it up to ten steps, that would earn you a pat on the back.
There was a small light that was placed inside the globe in this lamp, so I removed that as well.
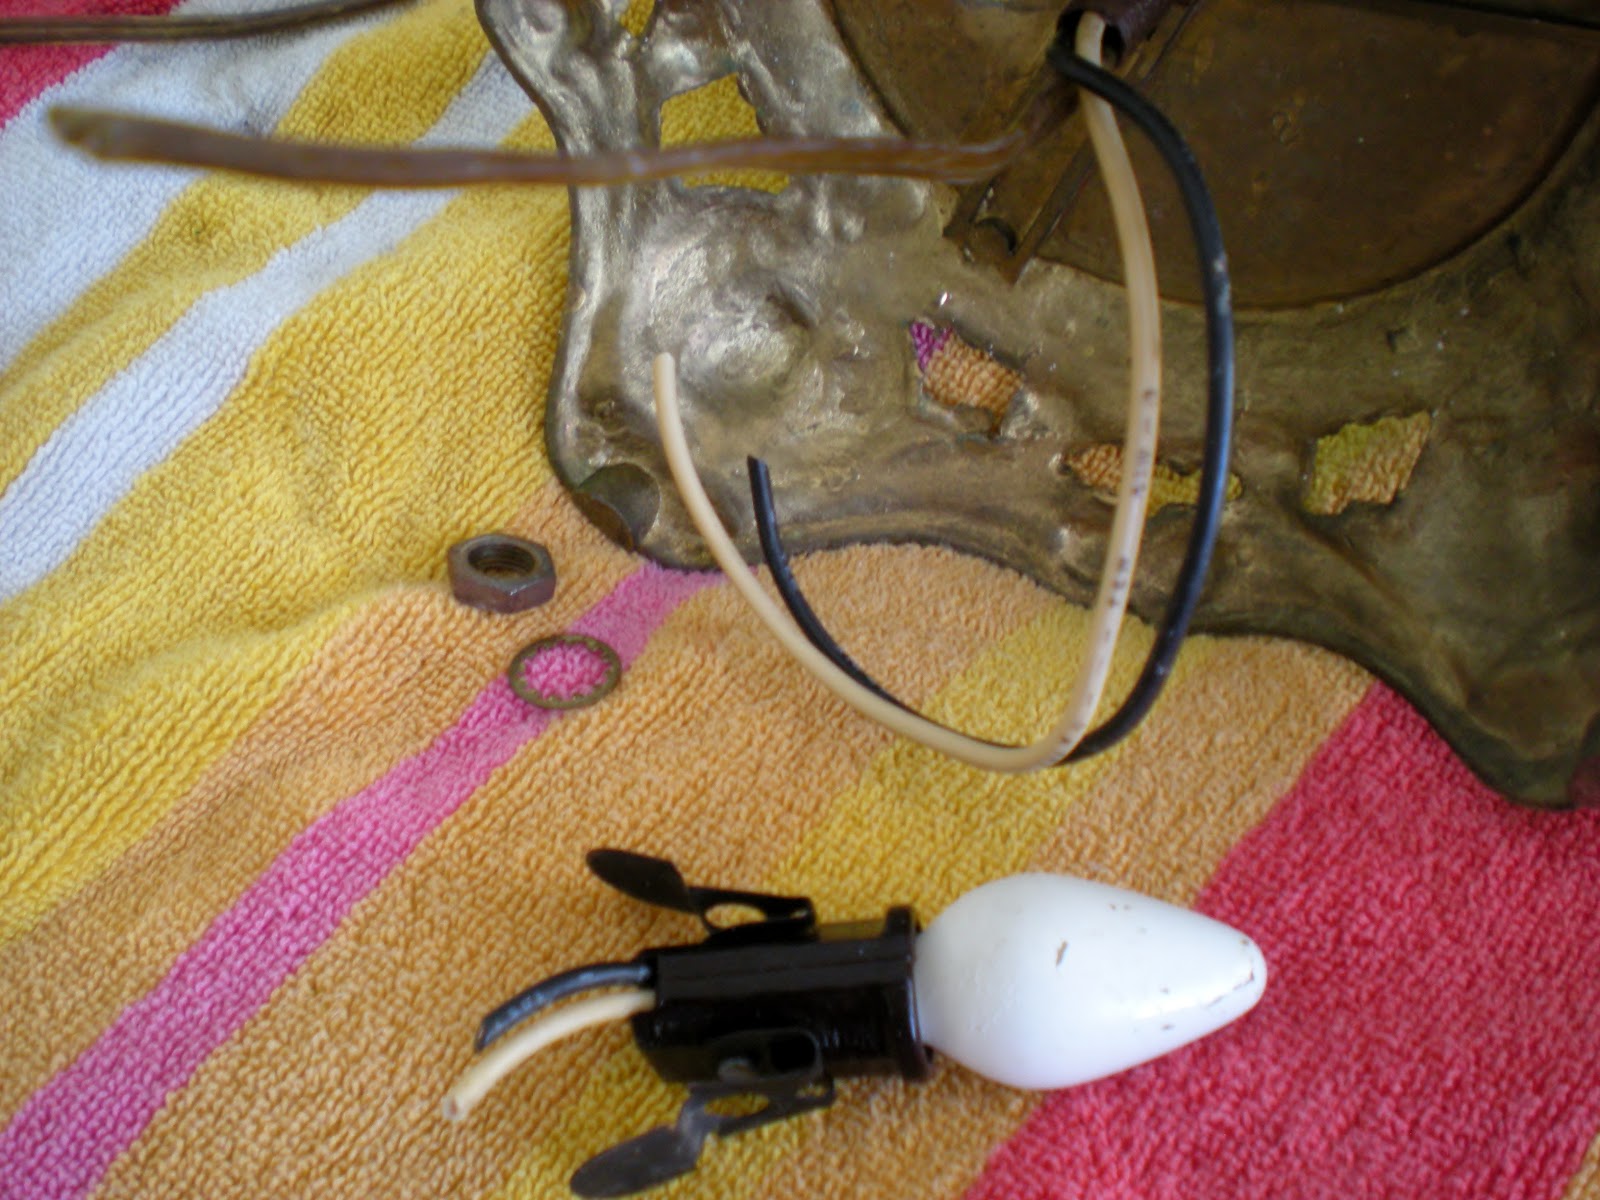
This is a good time to take a reference picture of everything in the position it should go, just in case you try to reassemble it and draw a blank. Once the bolt is removed, everything comes off very easily. Now you are ready to spray paint it to your hearts desire.
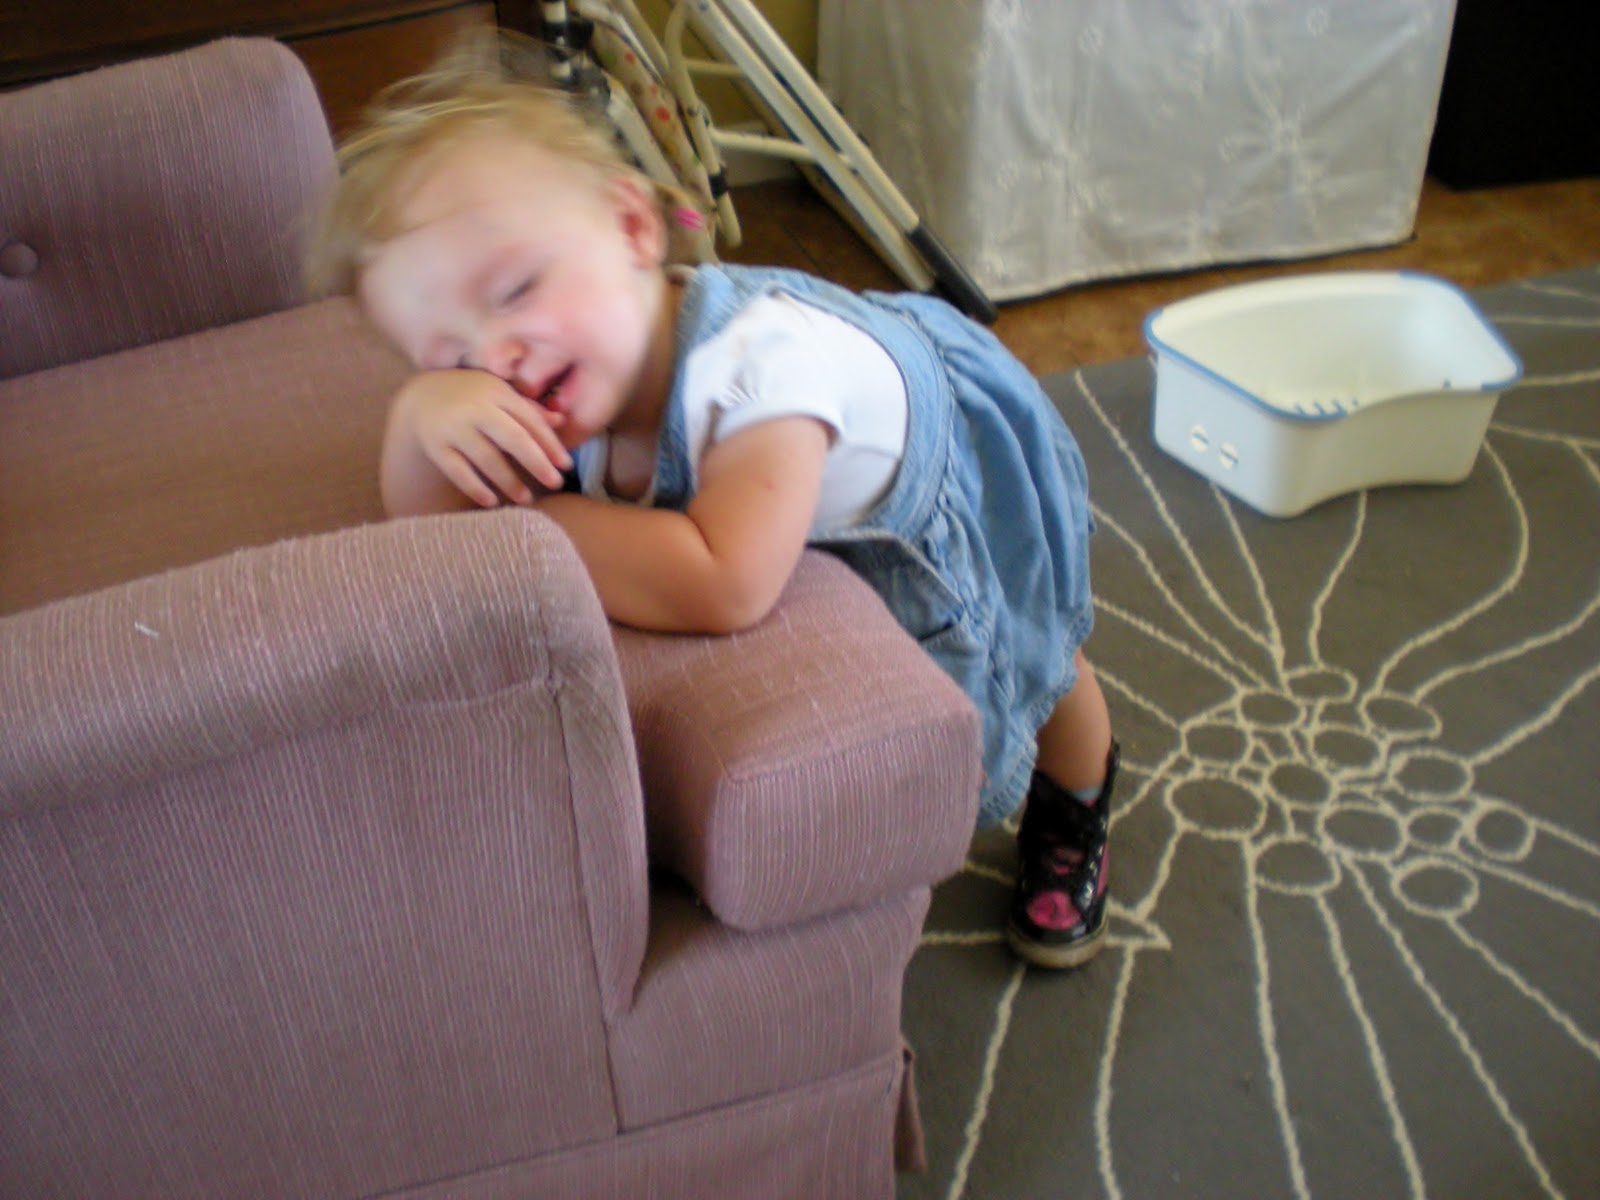
I, however, was not ready to paint, as my little princess was ready for me to take a break. She sure did not like having to compete for attention.
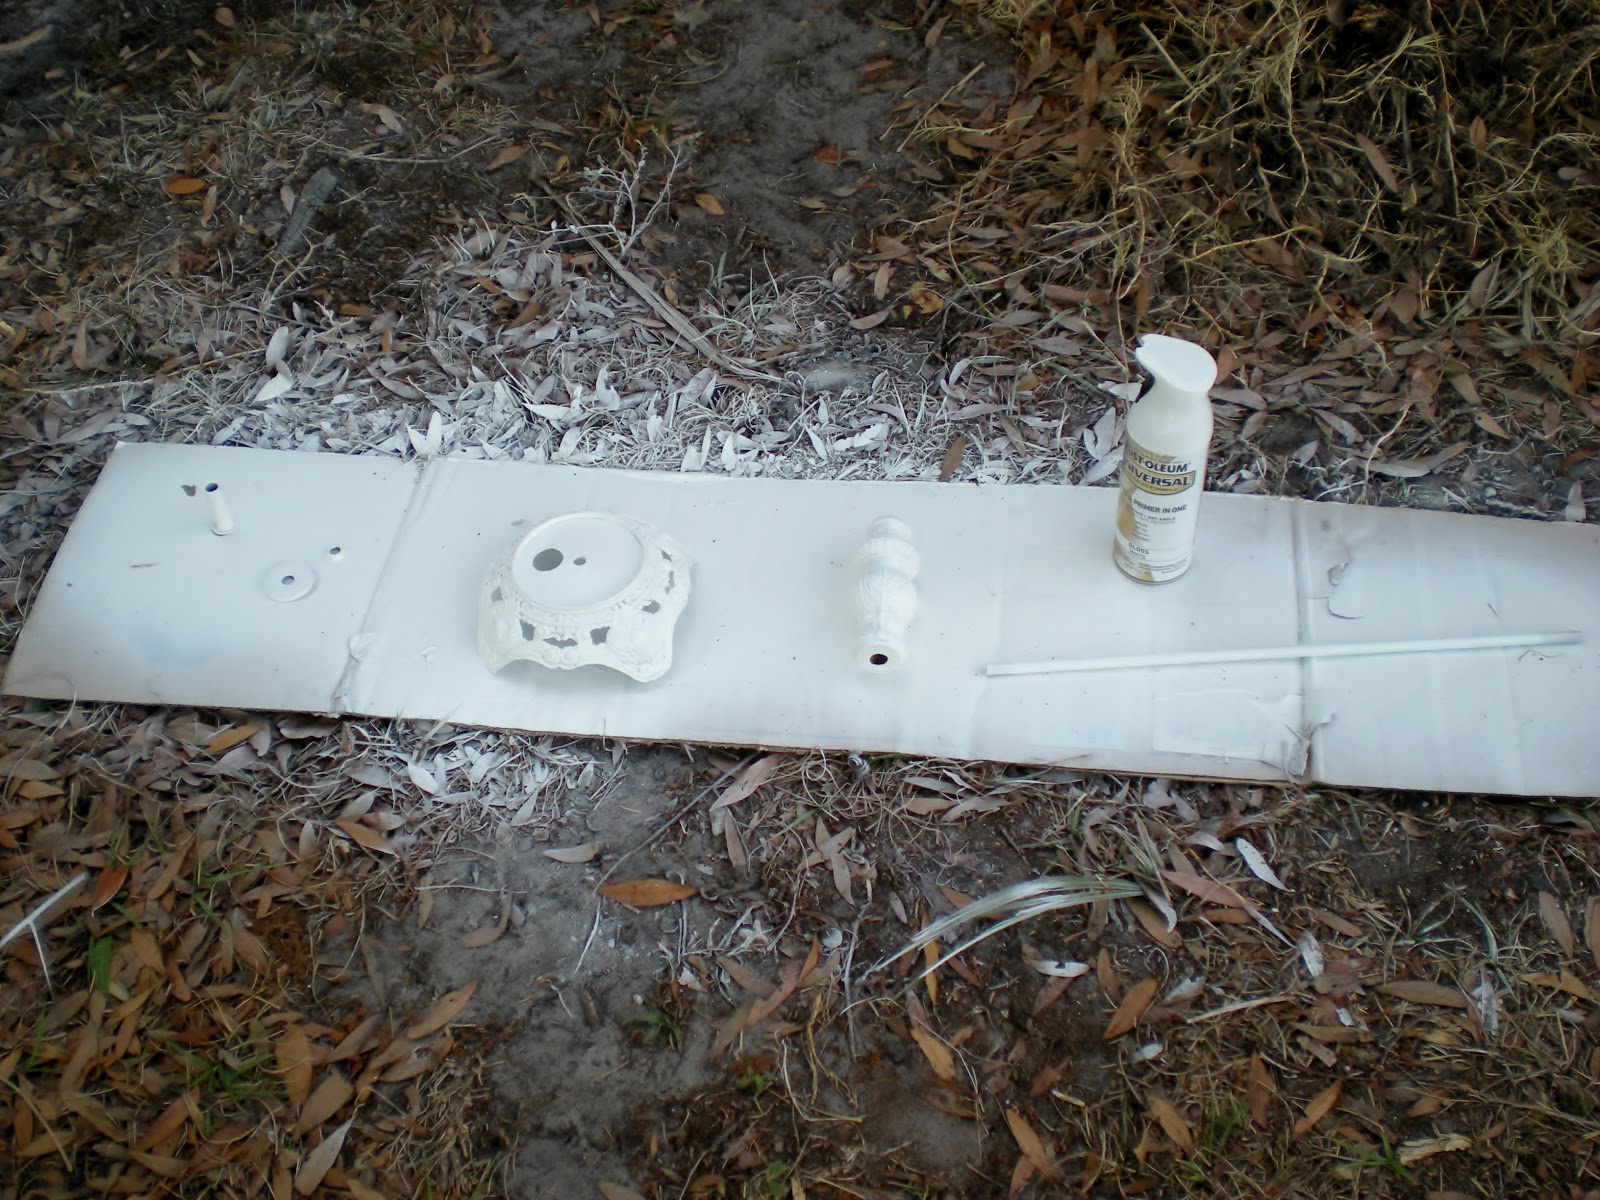
Once Eliana fell asleep, I pulled out my good ol’ trusty spray paint. I decided to use Rustoleom’s paint and primer all in one to save time. I set up on a piece of cardboard and sprayed on multiple thin layers, giving a couple of minutes between each coat. I decided to freshen up the dead leaves and grass by painting them as well.
After two or so days of letting the spray paint dry and cure, it is time to put some order back to the chaos. I had gone to Home Depot and purchased an on/off socket and a 8 ft cord lamp set, which is just the plug. This cost me less than ten dollars.
I started the reassembling process by attaching the socket base to the top of the pole.
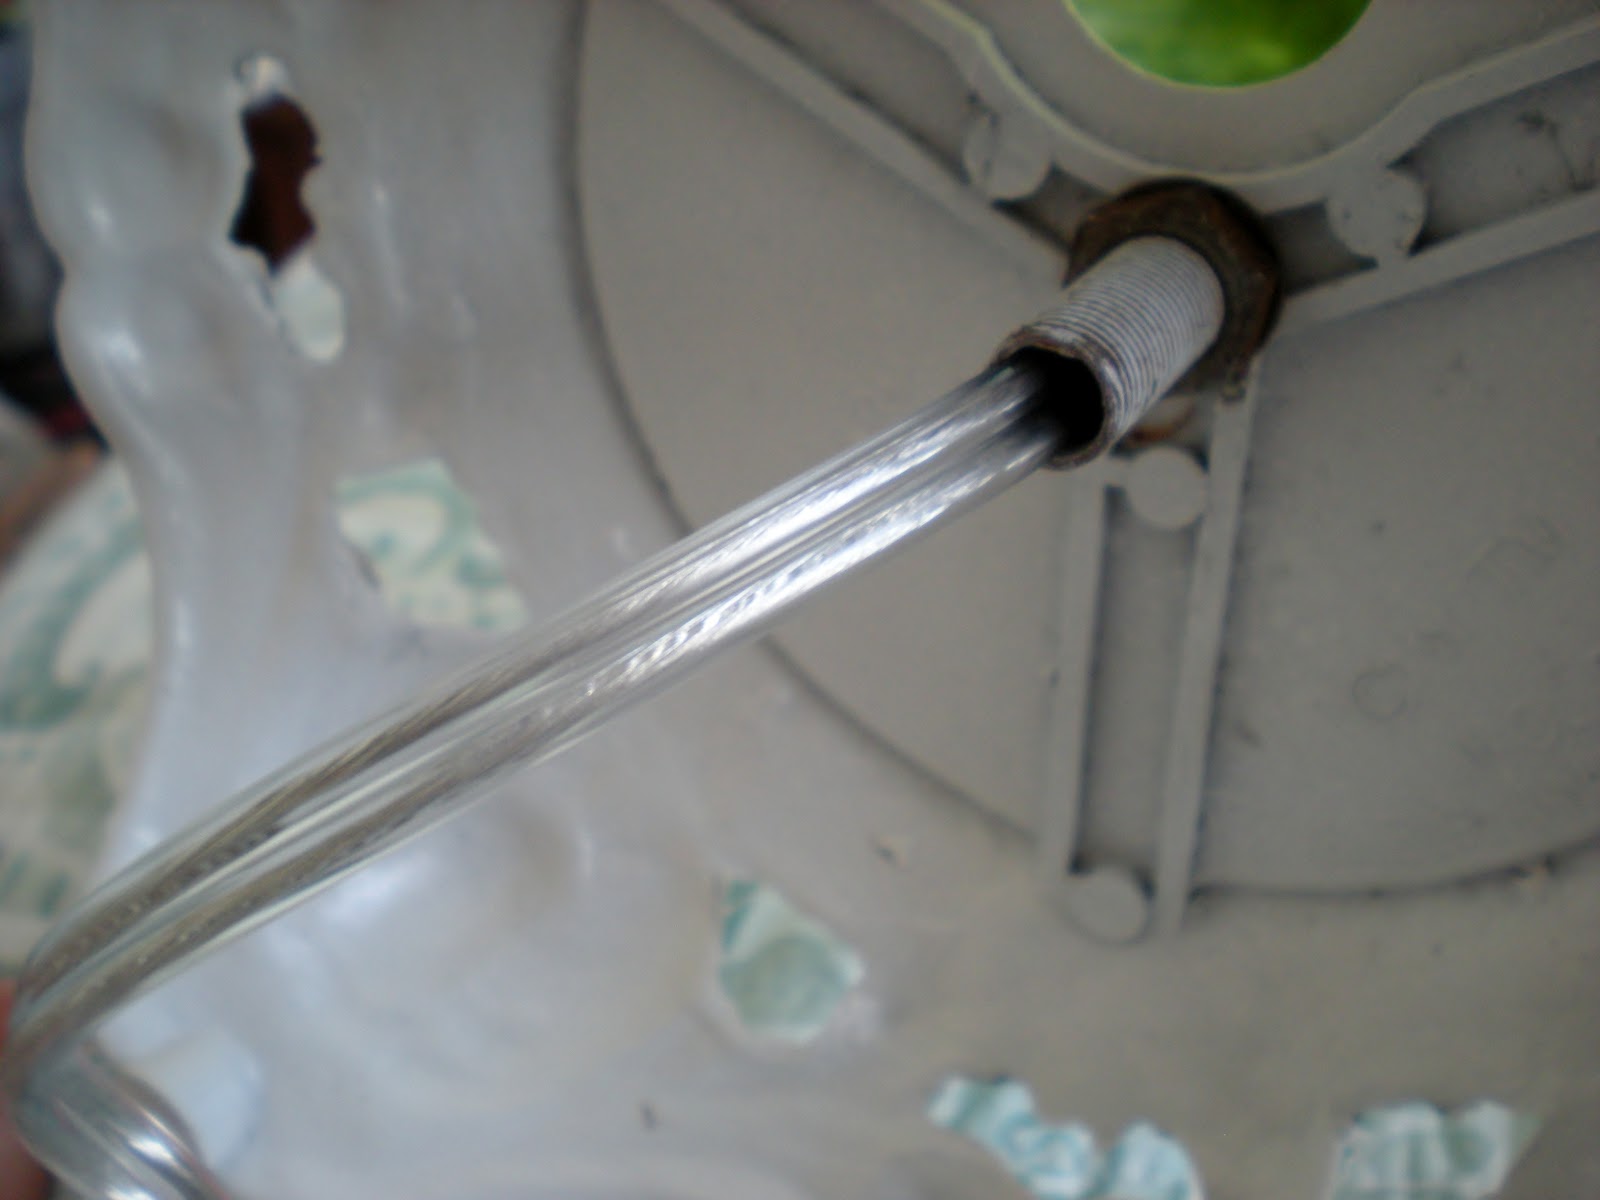
Then after sliding everything back in its rightful place, I tightened the bolt to secure everything and fed the cord through the pole.
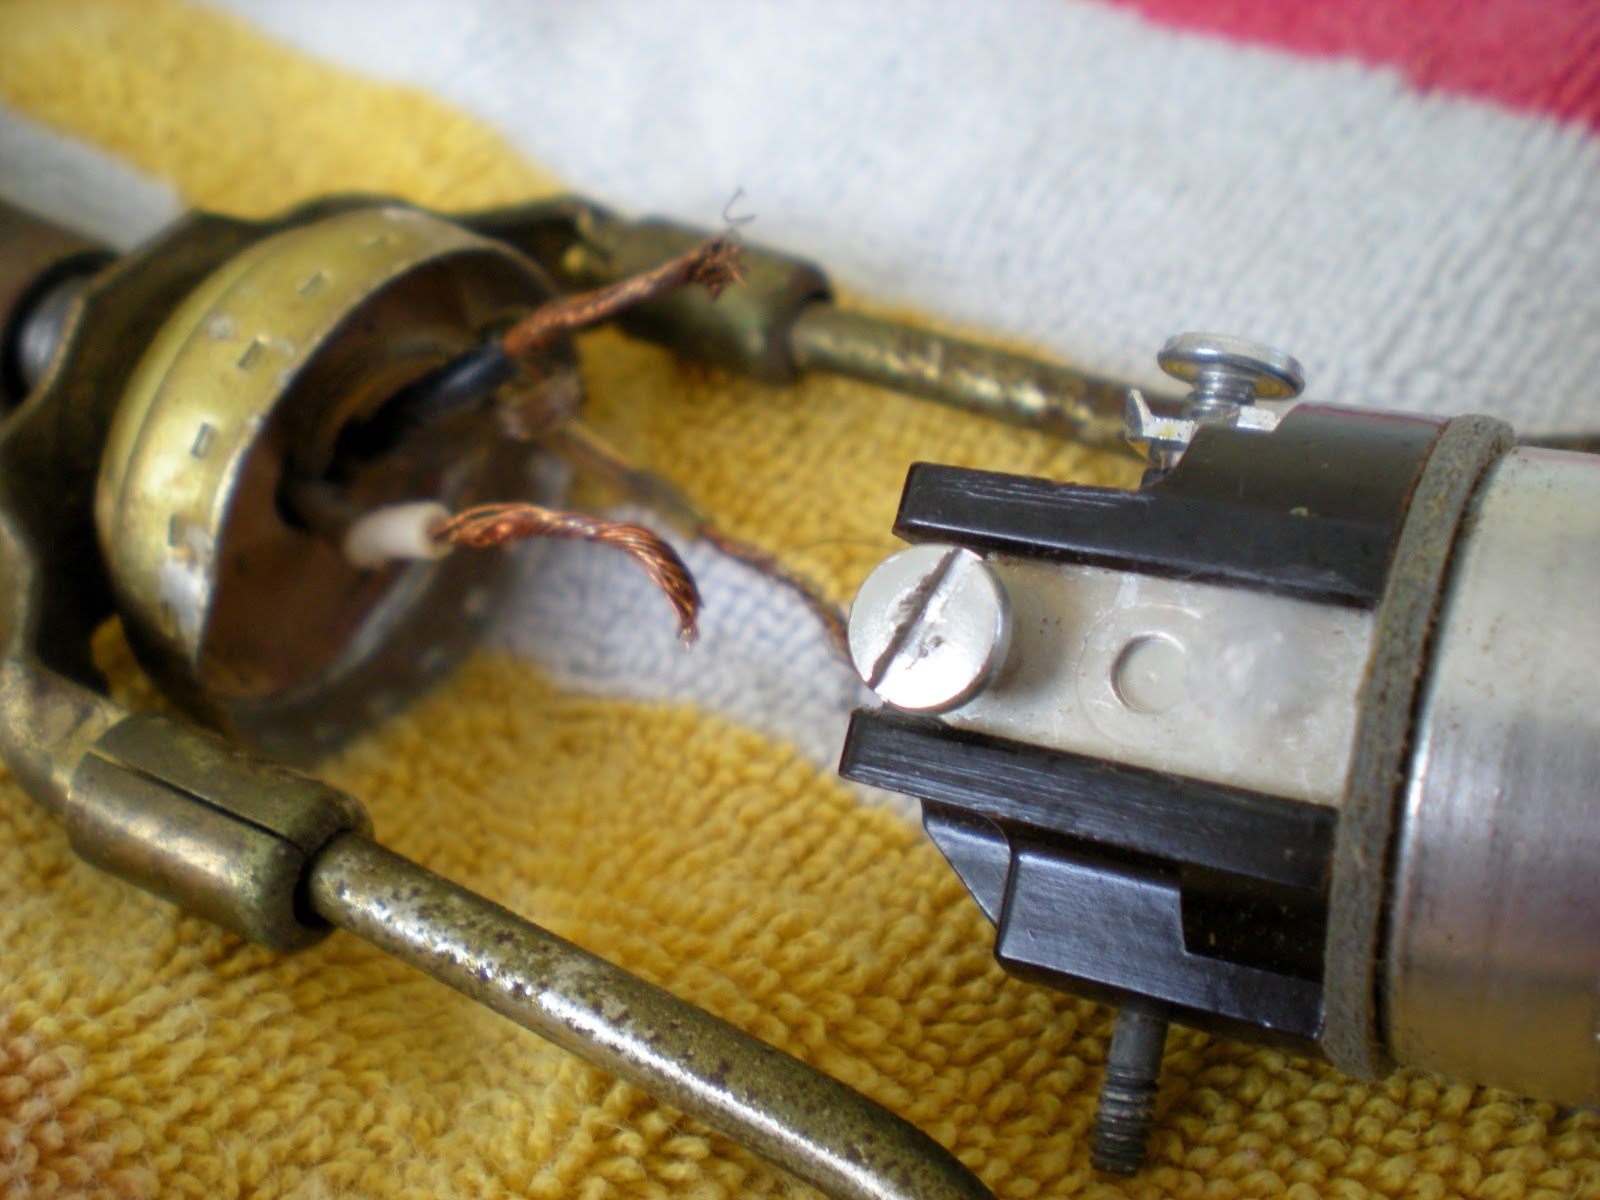
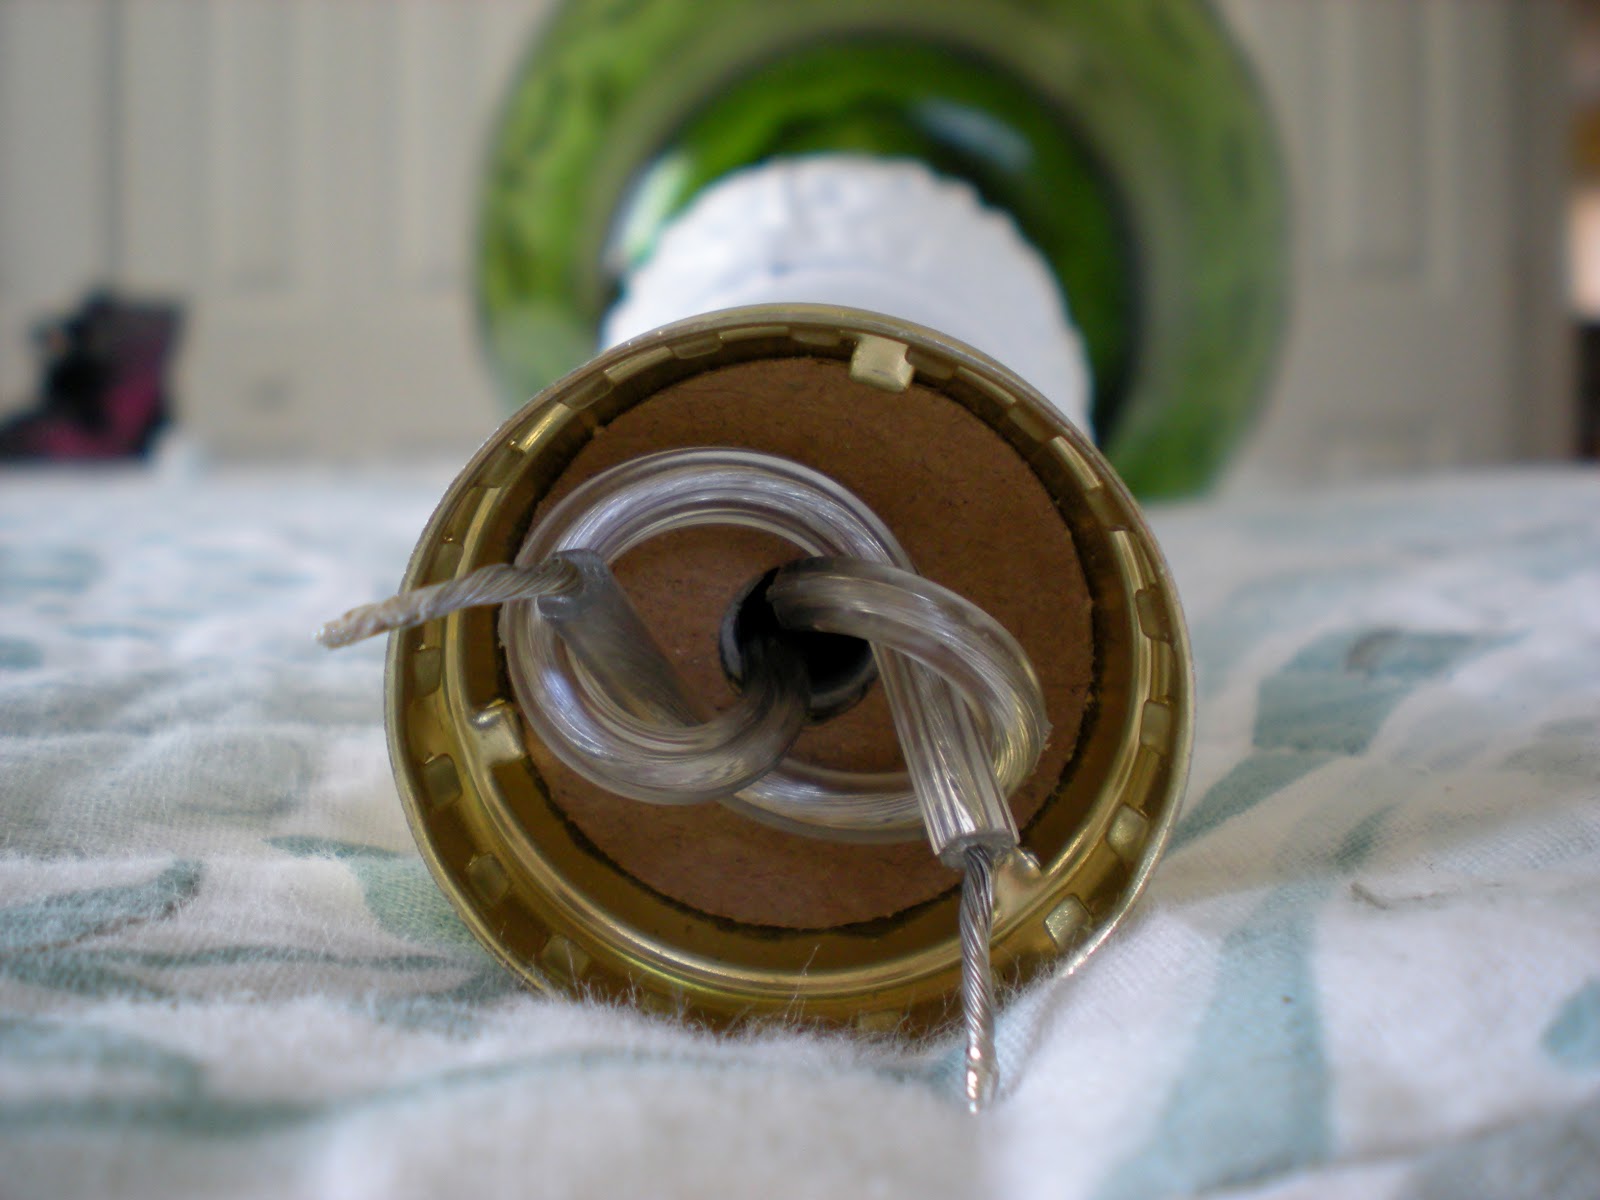
Once the cord reached the top, I followed the directions that came with the socket. They instructed to make an “underwriter’s knot”. I am not sure why it is called that or why it is necessary but I obliged.
Next is to wrap each wire around a different screw and tighten them.
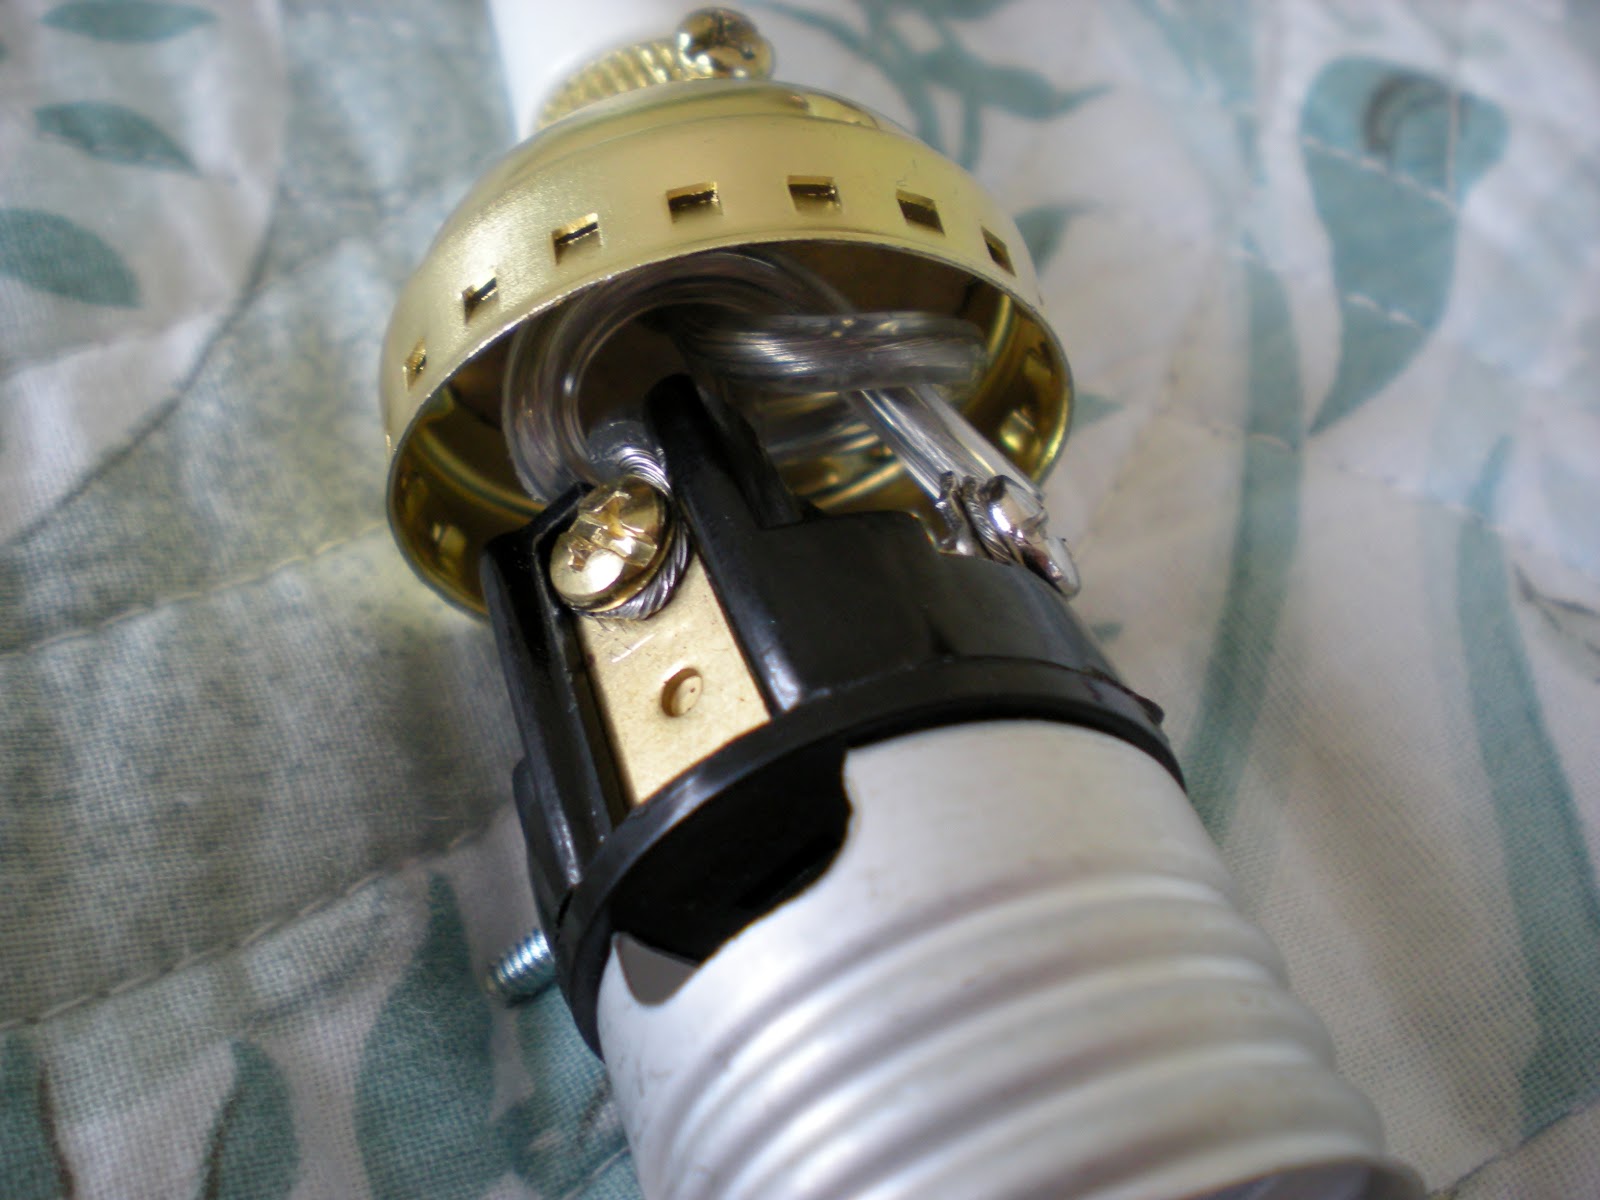
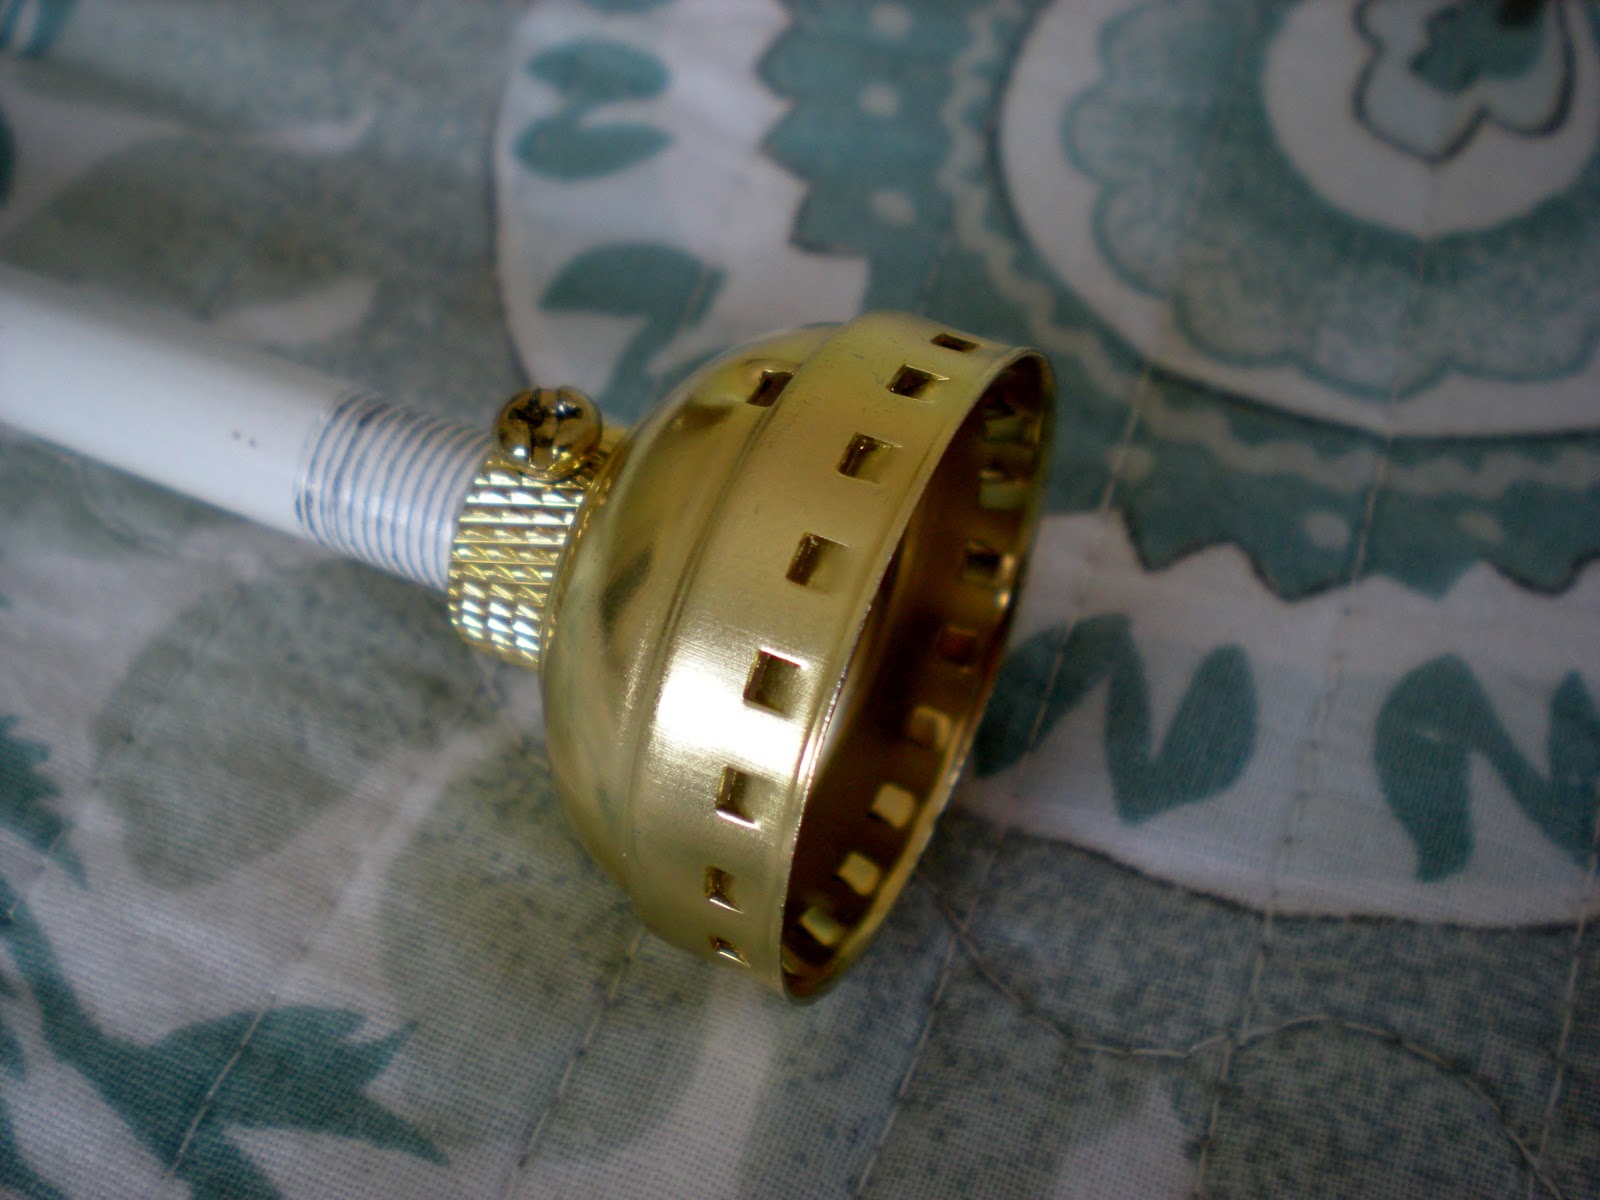
Then, place on the socket cover and snuggle it in tightly to the base. As you can see, I forgot to replace the lamp shade harp. Oops. It goes underneath the socket, so to put it back on would require me to take off the socket and wires, unscrew the socket base and put the harp in place. I decided to live without the harp.
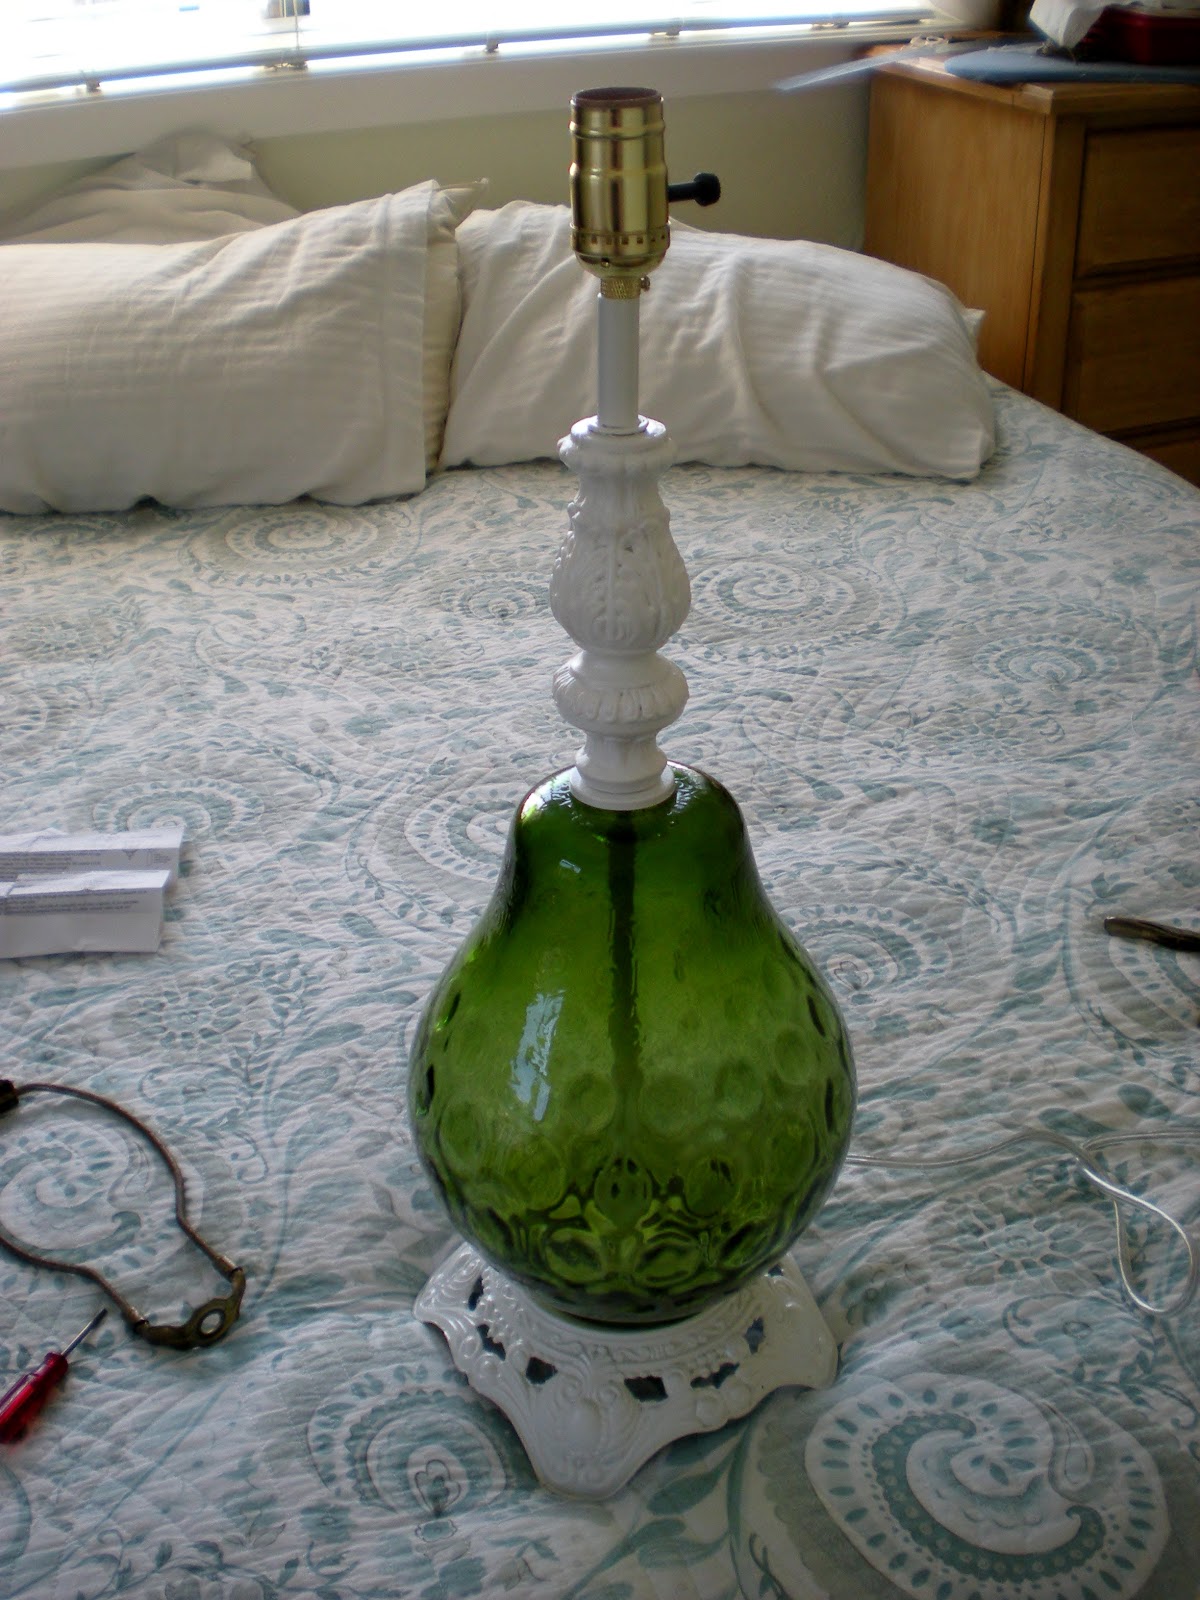
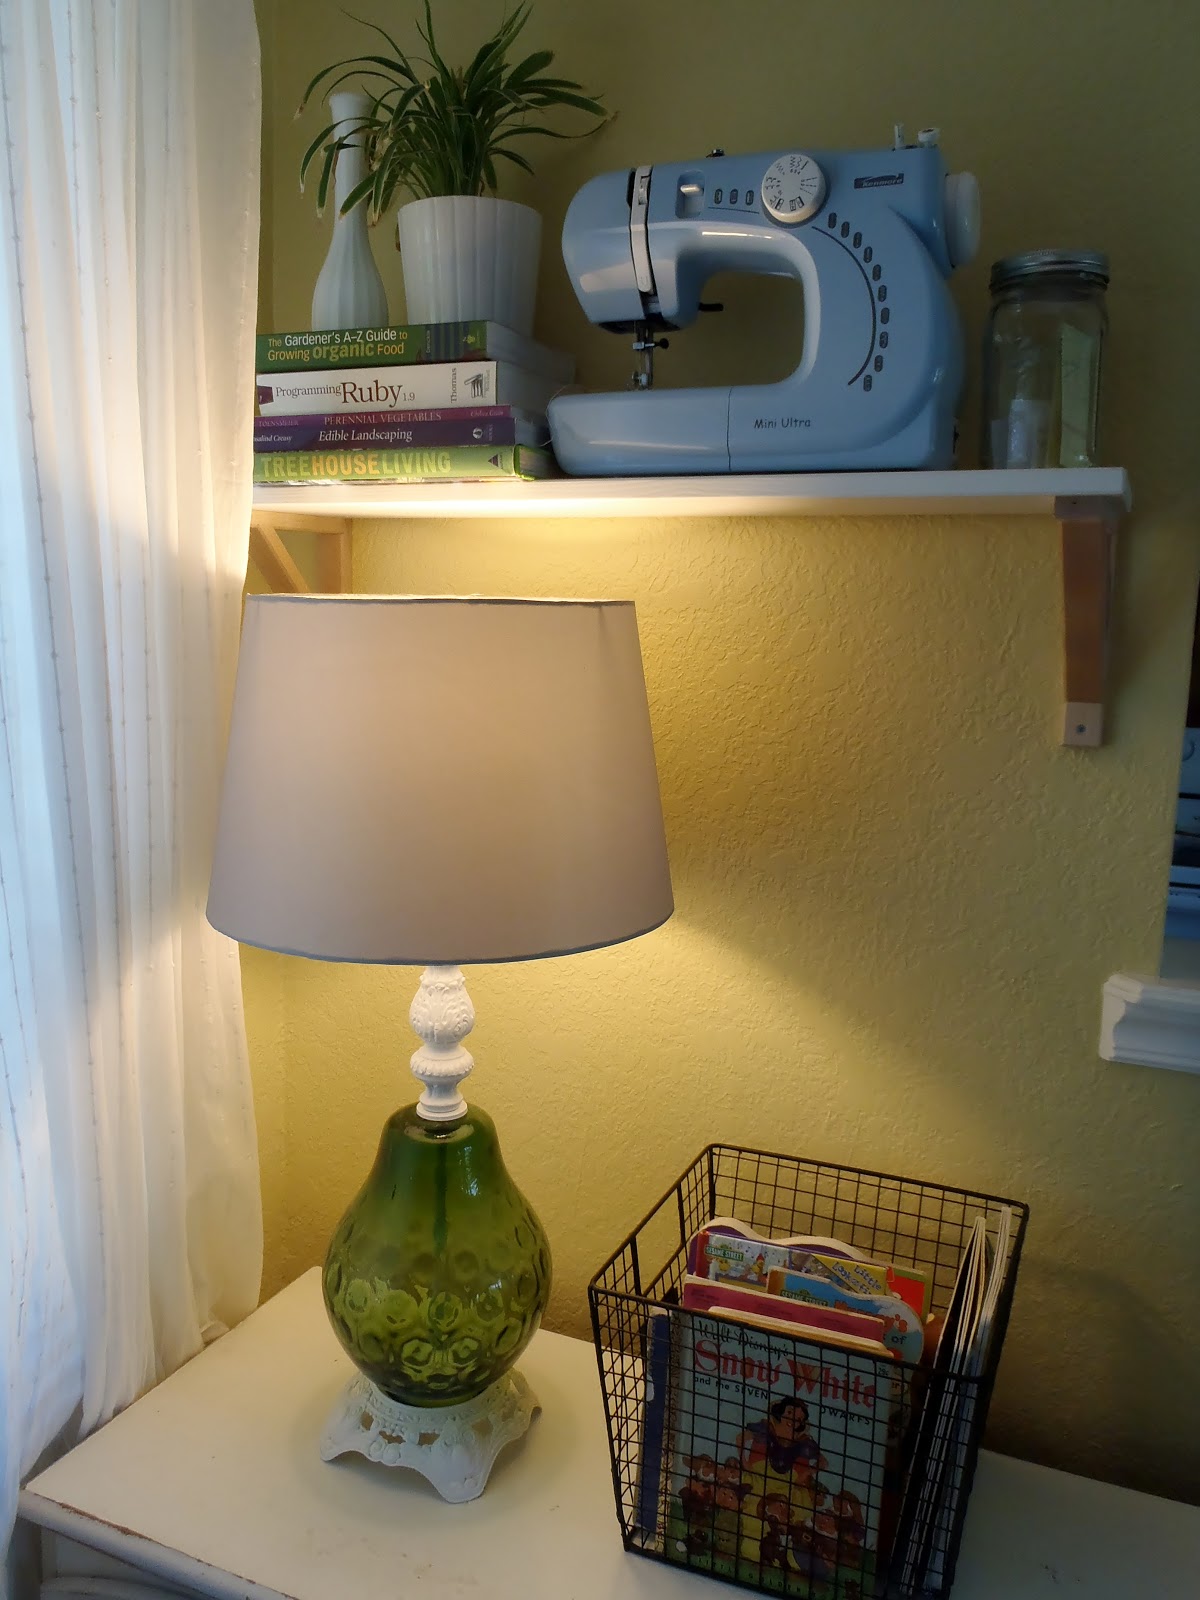
Having no lamp shade for the poor thing and not willing to spend twenty-five dollars on one at Target or TJ Maxx, it sat for months without a hat until I came across one for sale. I don’t know if gray is its color, but it doesn’t have much of a choice right now. And the fair lady that I am did save it from the pits of the thrift store lamp section, so it can learn to deal with it. With that ends the tale of bringing out the beauty in the beast of this lamp.