
A little over two months ago I shared my experience in hunting down the right dresser to refinish. I am finally back to share the good, the bad and the ugly process of sanding, staining and sealing a dresser. I must admit I am dreading reliving the experience, which explains why it has taken me so long to write this post. Although it was not a horrible experience, it was an exhausting one with unexpected speed bumps, one that I am glad is over with!

I started by wiping down the dresser in my parent-in-law’s garage, making sure to remove all the cobwebs and bug droppings, all while trying to prevent the resident black widows from attacking me. Once the tedious cleaning was done, which took much longer than I expected, I began sanding. I started with the drawers, hand sanding with 100-grit sandpaper. I quickly came to the conclusion that hand sanding was not the best way! Even though I was nervous about sanding through the thin veneer, I switched to using an orbital sander with 150-grit sandpaper. It is important to keep the orbital sander as flat as possible, I slipped up a bit around the edges of the drawers and did end up sanding through the veneer, but lets just say it adds character.
The orbital sander did help with speeding the process up, but it didn’t speed it up as fast as my expectations. By the time I was done sanding all six drawers, I was exhausted. Take note: being in a constant bent over and sanding state while six months pregnant is not an ideal situation for optimal back comfort. With me in pain and Eliana in need for a nap, I decided to call it a day. The next day that I was able to make it over to work on the dresser, I finished up sanding the main body of the dresser. With all of the nooks and crannies, this itself was a full day project, and a tough one at that. It was definitely a mistake to think my pregnant self would get done with the sanding in just a mere half a day.. ha! Another thing I was not expecting was my fingers to be so raw… oh, the delightful surprises of DIY-ing.

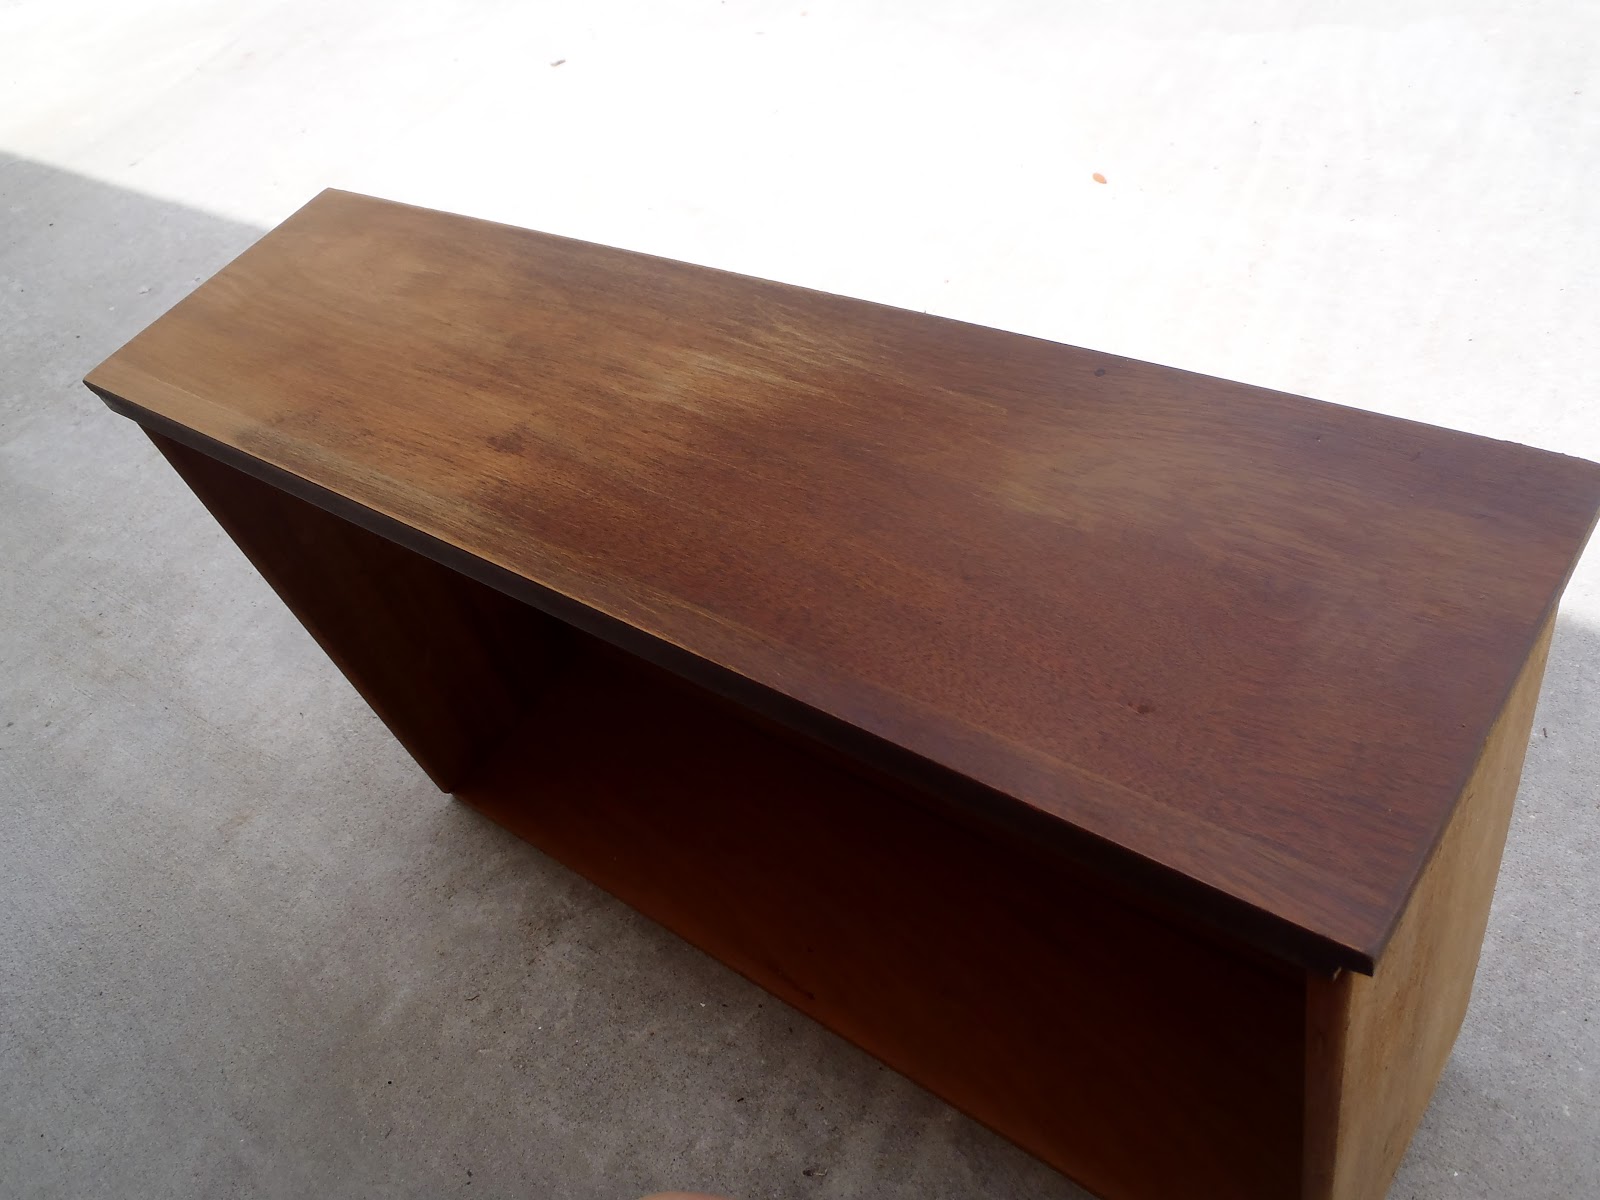
On the very bright side, I was finally ready to start staining! Before I even started, though, I did some searching and came across this tutorial from Bunches of Joy. I seem to have the exact same dresser she has, minus the drawer pulls. I wanted to make sure I did everything right, so I followed her example and took the extra step to condition the wood with Minwax’s pre-stain before applying the stain. After I applied the conditioner, wiped off the excess and let it dry for thirty minutes, I applied the stain using craft foam brushes. I chose to use Minwax’s red mahogany wood stain, after falling in love with the color of Young House Love’s dresser that I mentioned in this post, and let it sit on the wood for close to 20 minutes before wiping it off. Since the top of the dresser was laminate, I was able to skip sanding and go straight to priming it with Zinsser’s Cover Stain Primer and painting it with some white interior latex paint. I used a foam roller along with more craft foam brushes, being very careful not to get any of the newly stained dresser. I was only able to get a picture of the top primed, since forgetful me forgot to charge the camera the night before. I can blame that on “baby brains”, can’t I?

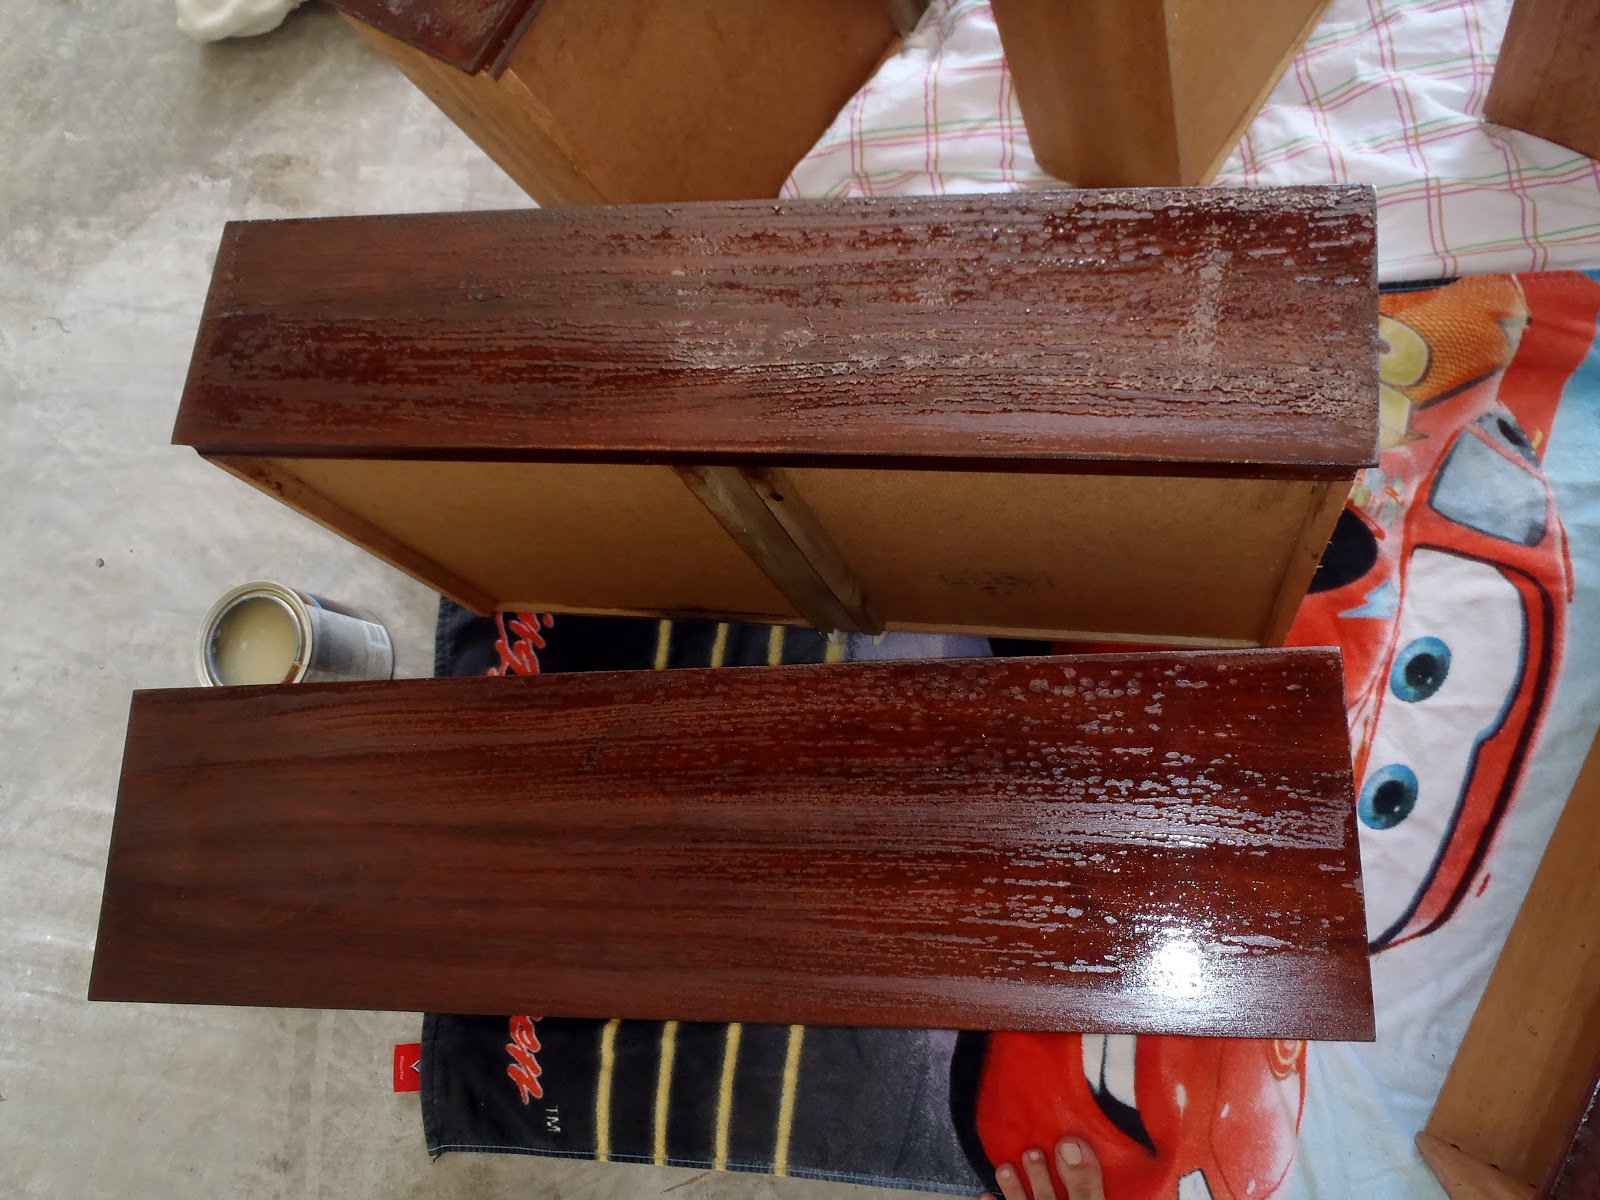
After staining comes sealing. I had planned to use Minwax’s Polycrylic since it was what I am comfortable with and what I had on hand. However, for some strange reason, Polycrylic is not compatible with the color red mahogany. Apparently it will take away the red pigments leaving the color more of a dull brown. With that in mind, I decided to use their water-based Polyurethane since oil-based sealer is what my nightmares are made of. I followed the directions and began applying a thin coat with a foam brush on my stained drawers, but something just wasn’t right. The sealer was puddling up. I had no idea if this was normal or not, so after a few hours I sanded the first coat lightly and applied a second thin coat, but things were still not looking any better.
I was devastated. After texting my husband in a panic and crying some (okay, maybe more than “some”) I proceeded to attempt to properly seal the main body of the dresser. The dresser, thank God, took to the sealer properly and looked great. My mistake was that I did not completely wipe off all of the stain of the dresser drawers. Never having done any staining before, I called Minwax’s customer service with the “tear-frog” in my throat and was kindly told that is what caused the problem. I made the decision that I would have to re-sand, re-stain and re-seal the dresser. Having been working on this dresser in my in-laws garage for a little over a week at this point and not wanting to be in their way any longer, I turned my house and front yard into workshop-dresser.
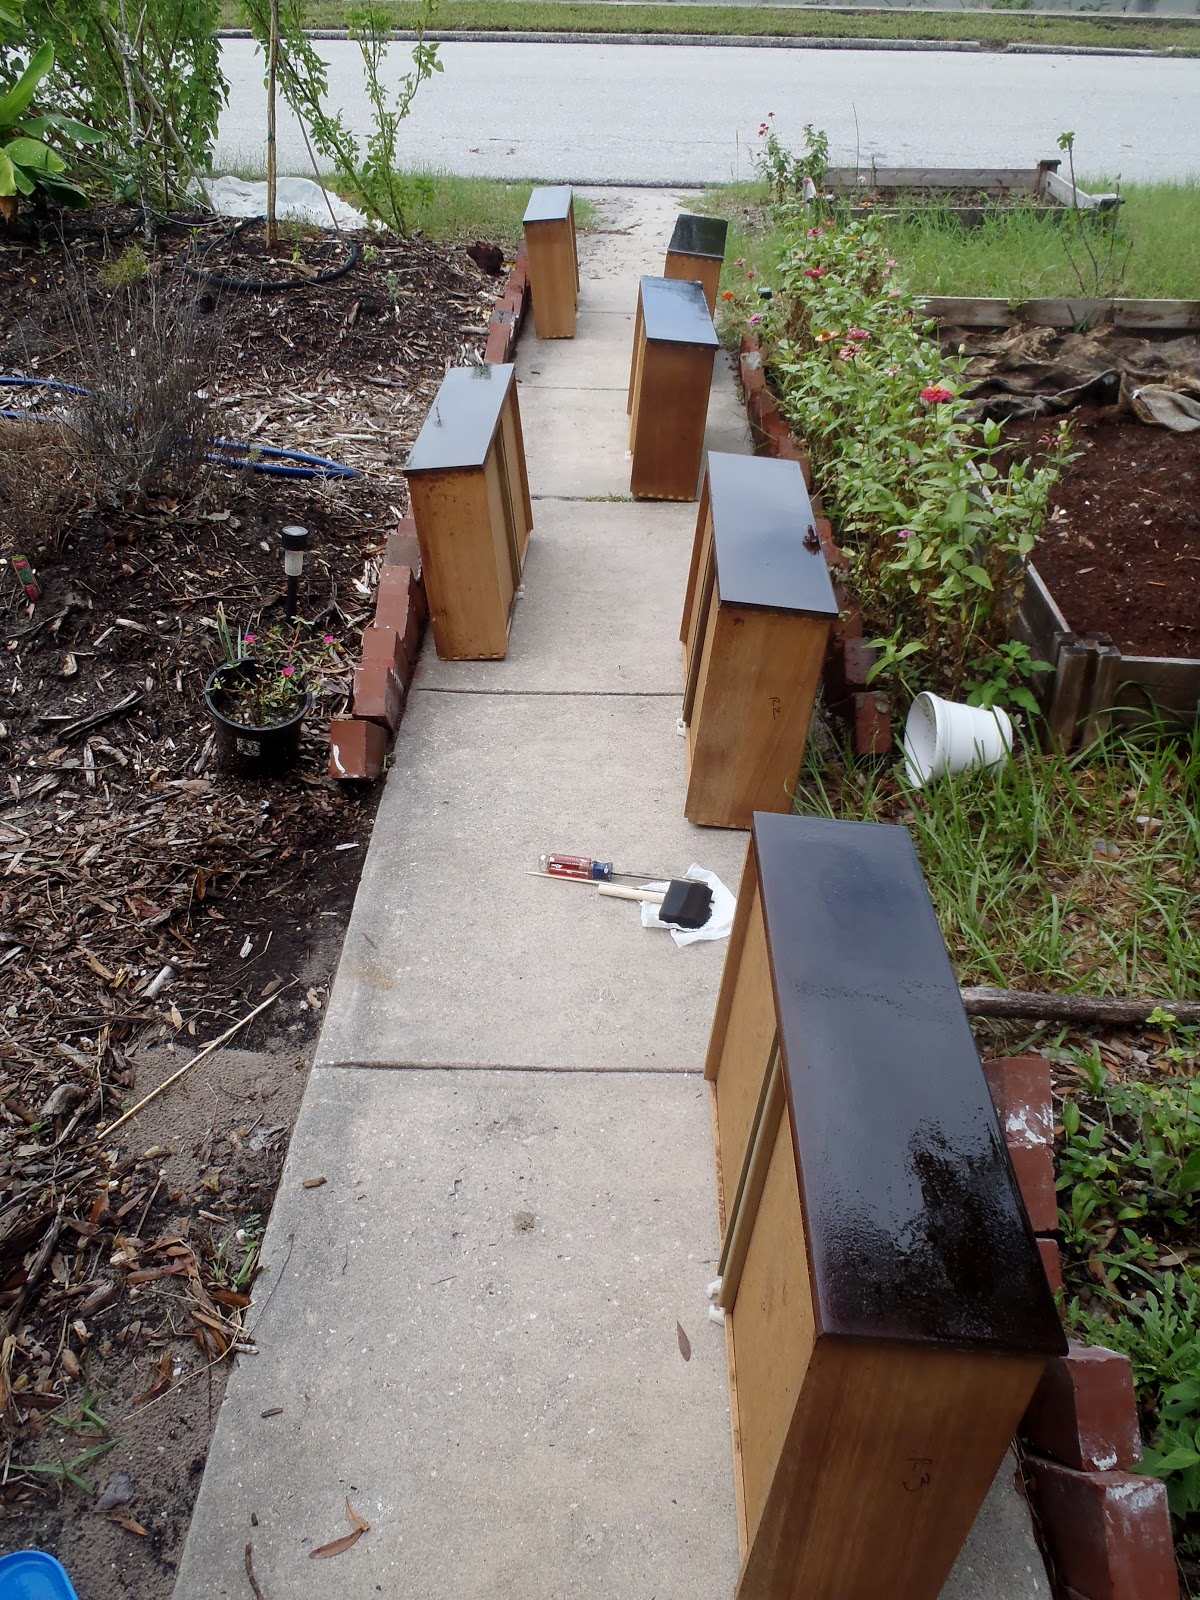
I used the same process; apply pre-stain, wait, wipe, apply stain, wait, wipe, wipe, wipe, wipe. I let the stain sit for the same amount of time as before and then I wiped until I couldn’t wipe anymore. The representative at Minwax informed me that I had to wipe the stain until the rag came up clean. It was pretty hard to have a white rag come up with no stain after wiping, but I got as close as I could and called it a day. While they dried in the middle of our small home, I sealed the laminated-now-painted top of the dresser with the Polycrylic that I planned to use for the whole dresser.
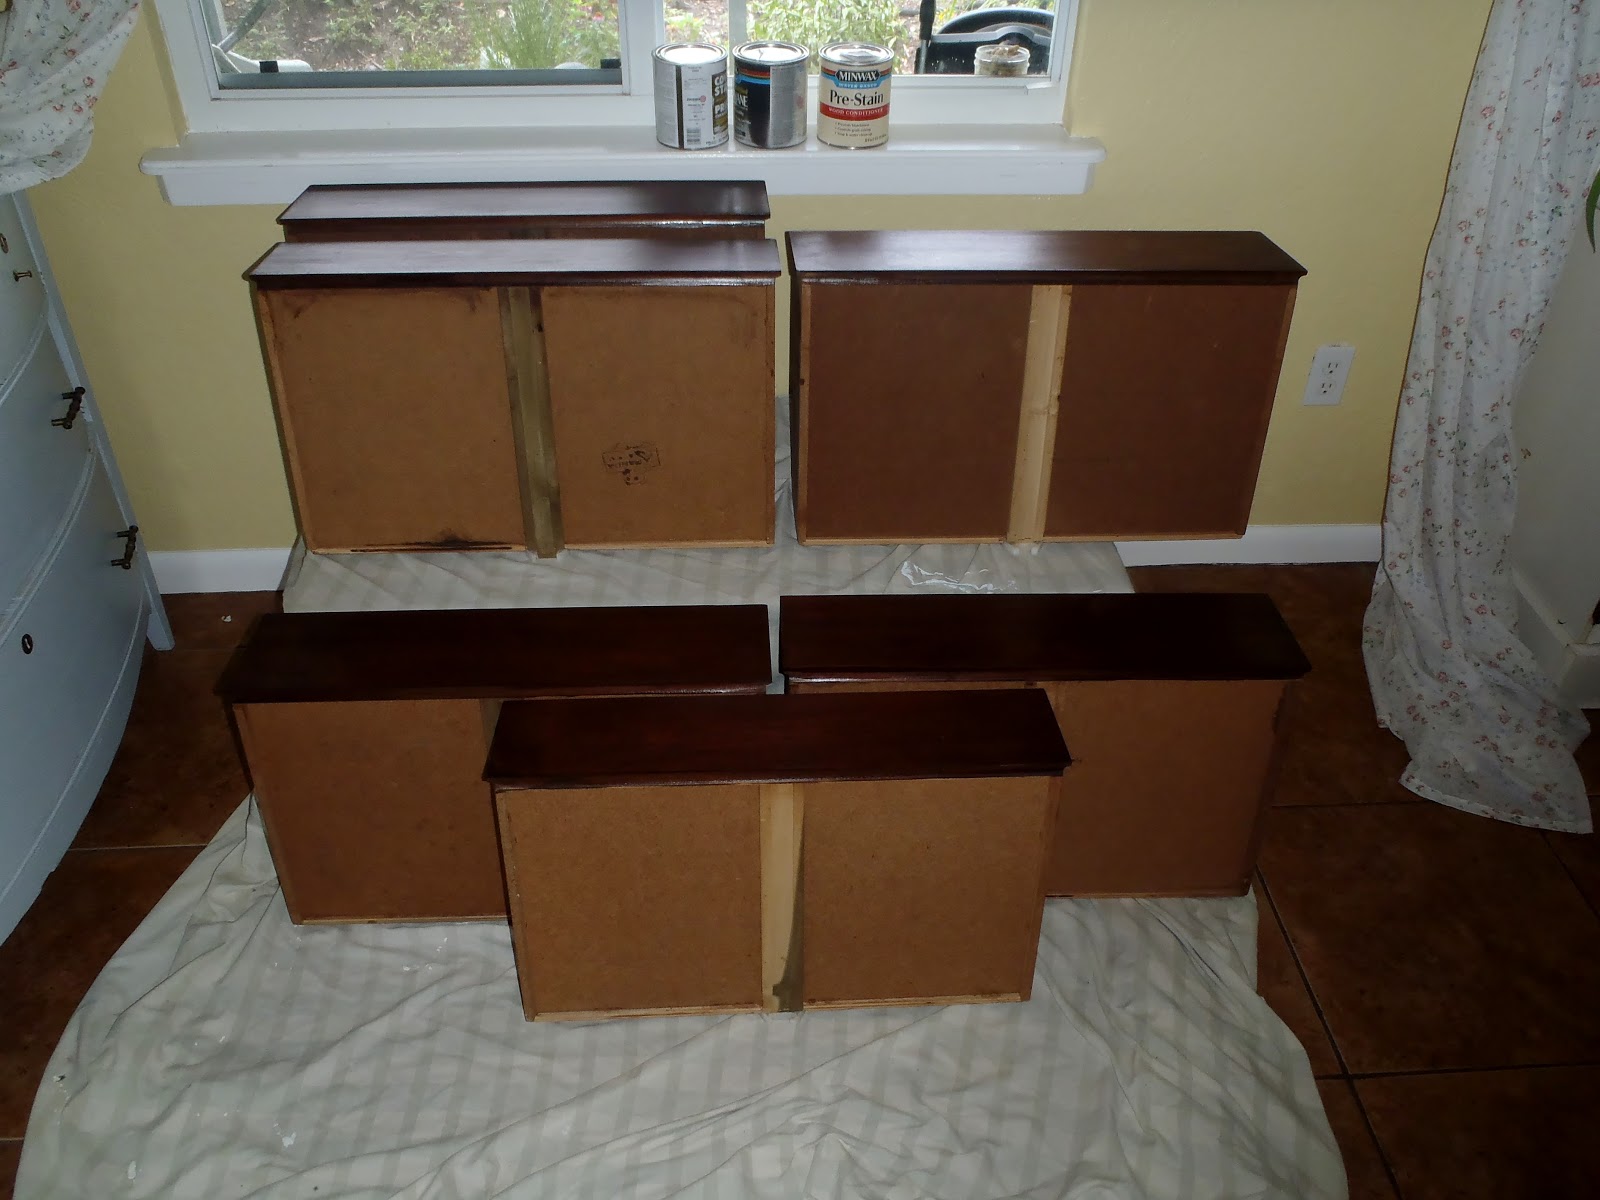
The next day I sealed the drawers in our tiny bedroom to keep the little rascal out. I was feeling like I was getting the hang of things, and they actually turned out okay! It is a good thing the second time was a charm in this situation, rather than the third time. Once everything was done, I went out and purchased some cute wrapping paper from Target and mod podged it to the inside of the dresser drawers. It’s great that they will be covered up by baby clothes and diapers, because mod podge and I just do not mix well. Eliana noticed this fact, and tried unsuccessfully with all her might to smooth out the wrinkles. I apologize in advanced for my guest starring alien toes. If I were to take this exact picture now, they would be blocked by the view of my protruding baby belly.

But Alas, it was completed! There is more “character” than I anticipated, but I love it anyways. I have since been able to pack all the drawers full of pretty little baby and toddler clothes, along with a colorful array of diapers and creams. It is stocked and ready for any newborn diaper change that is thrown my way!
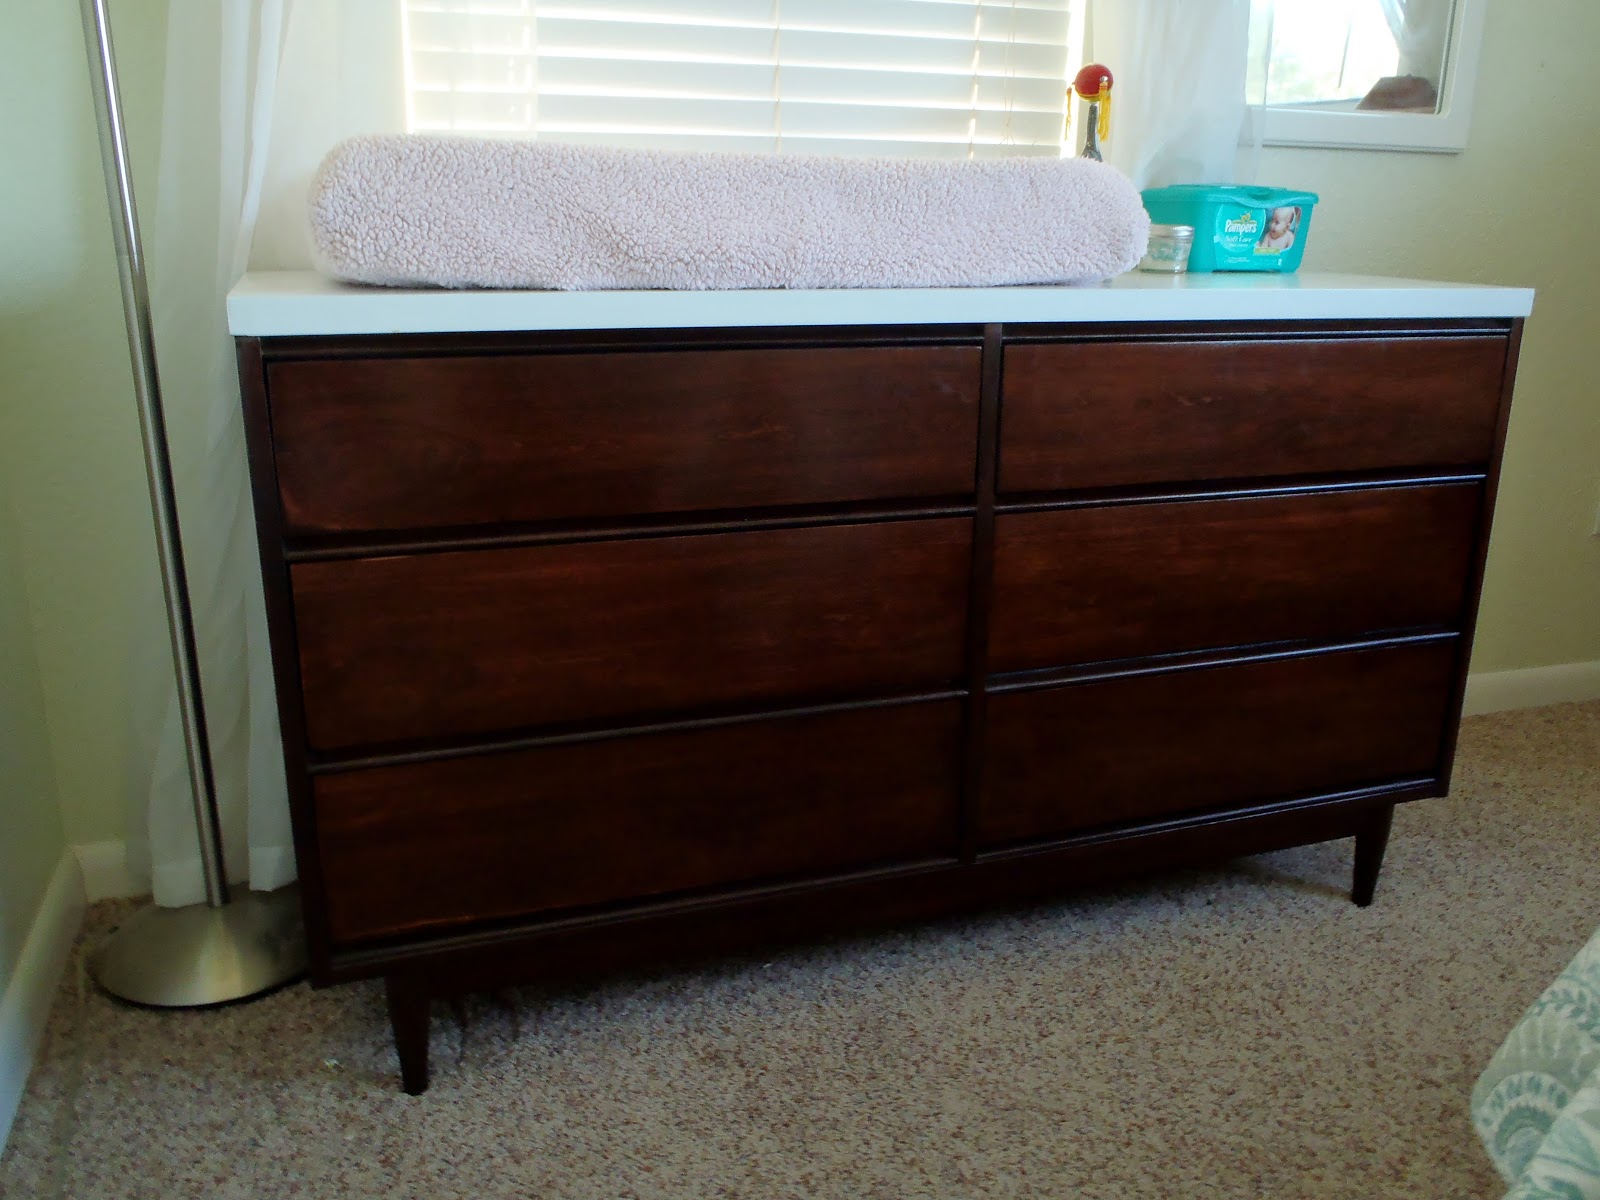
It is a much welcomed change from the tiny changing table that was there before. I am really enjoying having the little clothes and diapers all in one place, gone are the days of going to three different spots in the room to dress Eliana.
 |
Before |
 |
After |


i love it, ur hard work paid off!