
Running electric to a shed has been my least anticipated project. It took a lot of planning and some serious labor – pulling wires through conduit is no joke! I’m here today to share some tips I’ve learned while completing this project. Please keep in mind that I am not a certified electrician and am only sharing my experience. Make sure to do your research on your local building codes and consult a professional when needed.
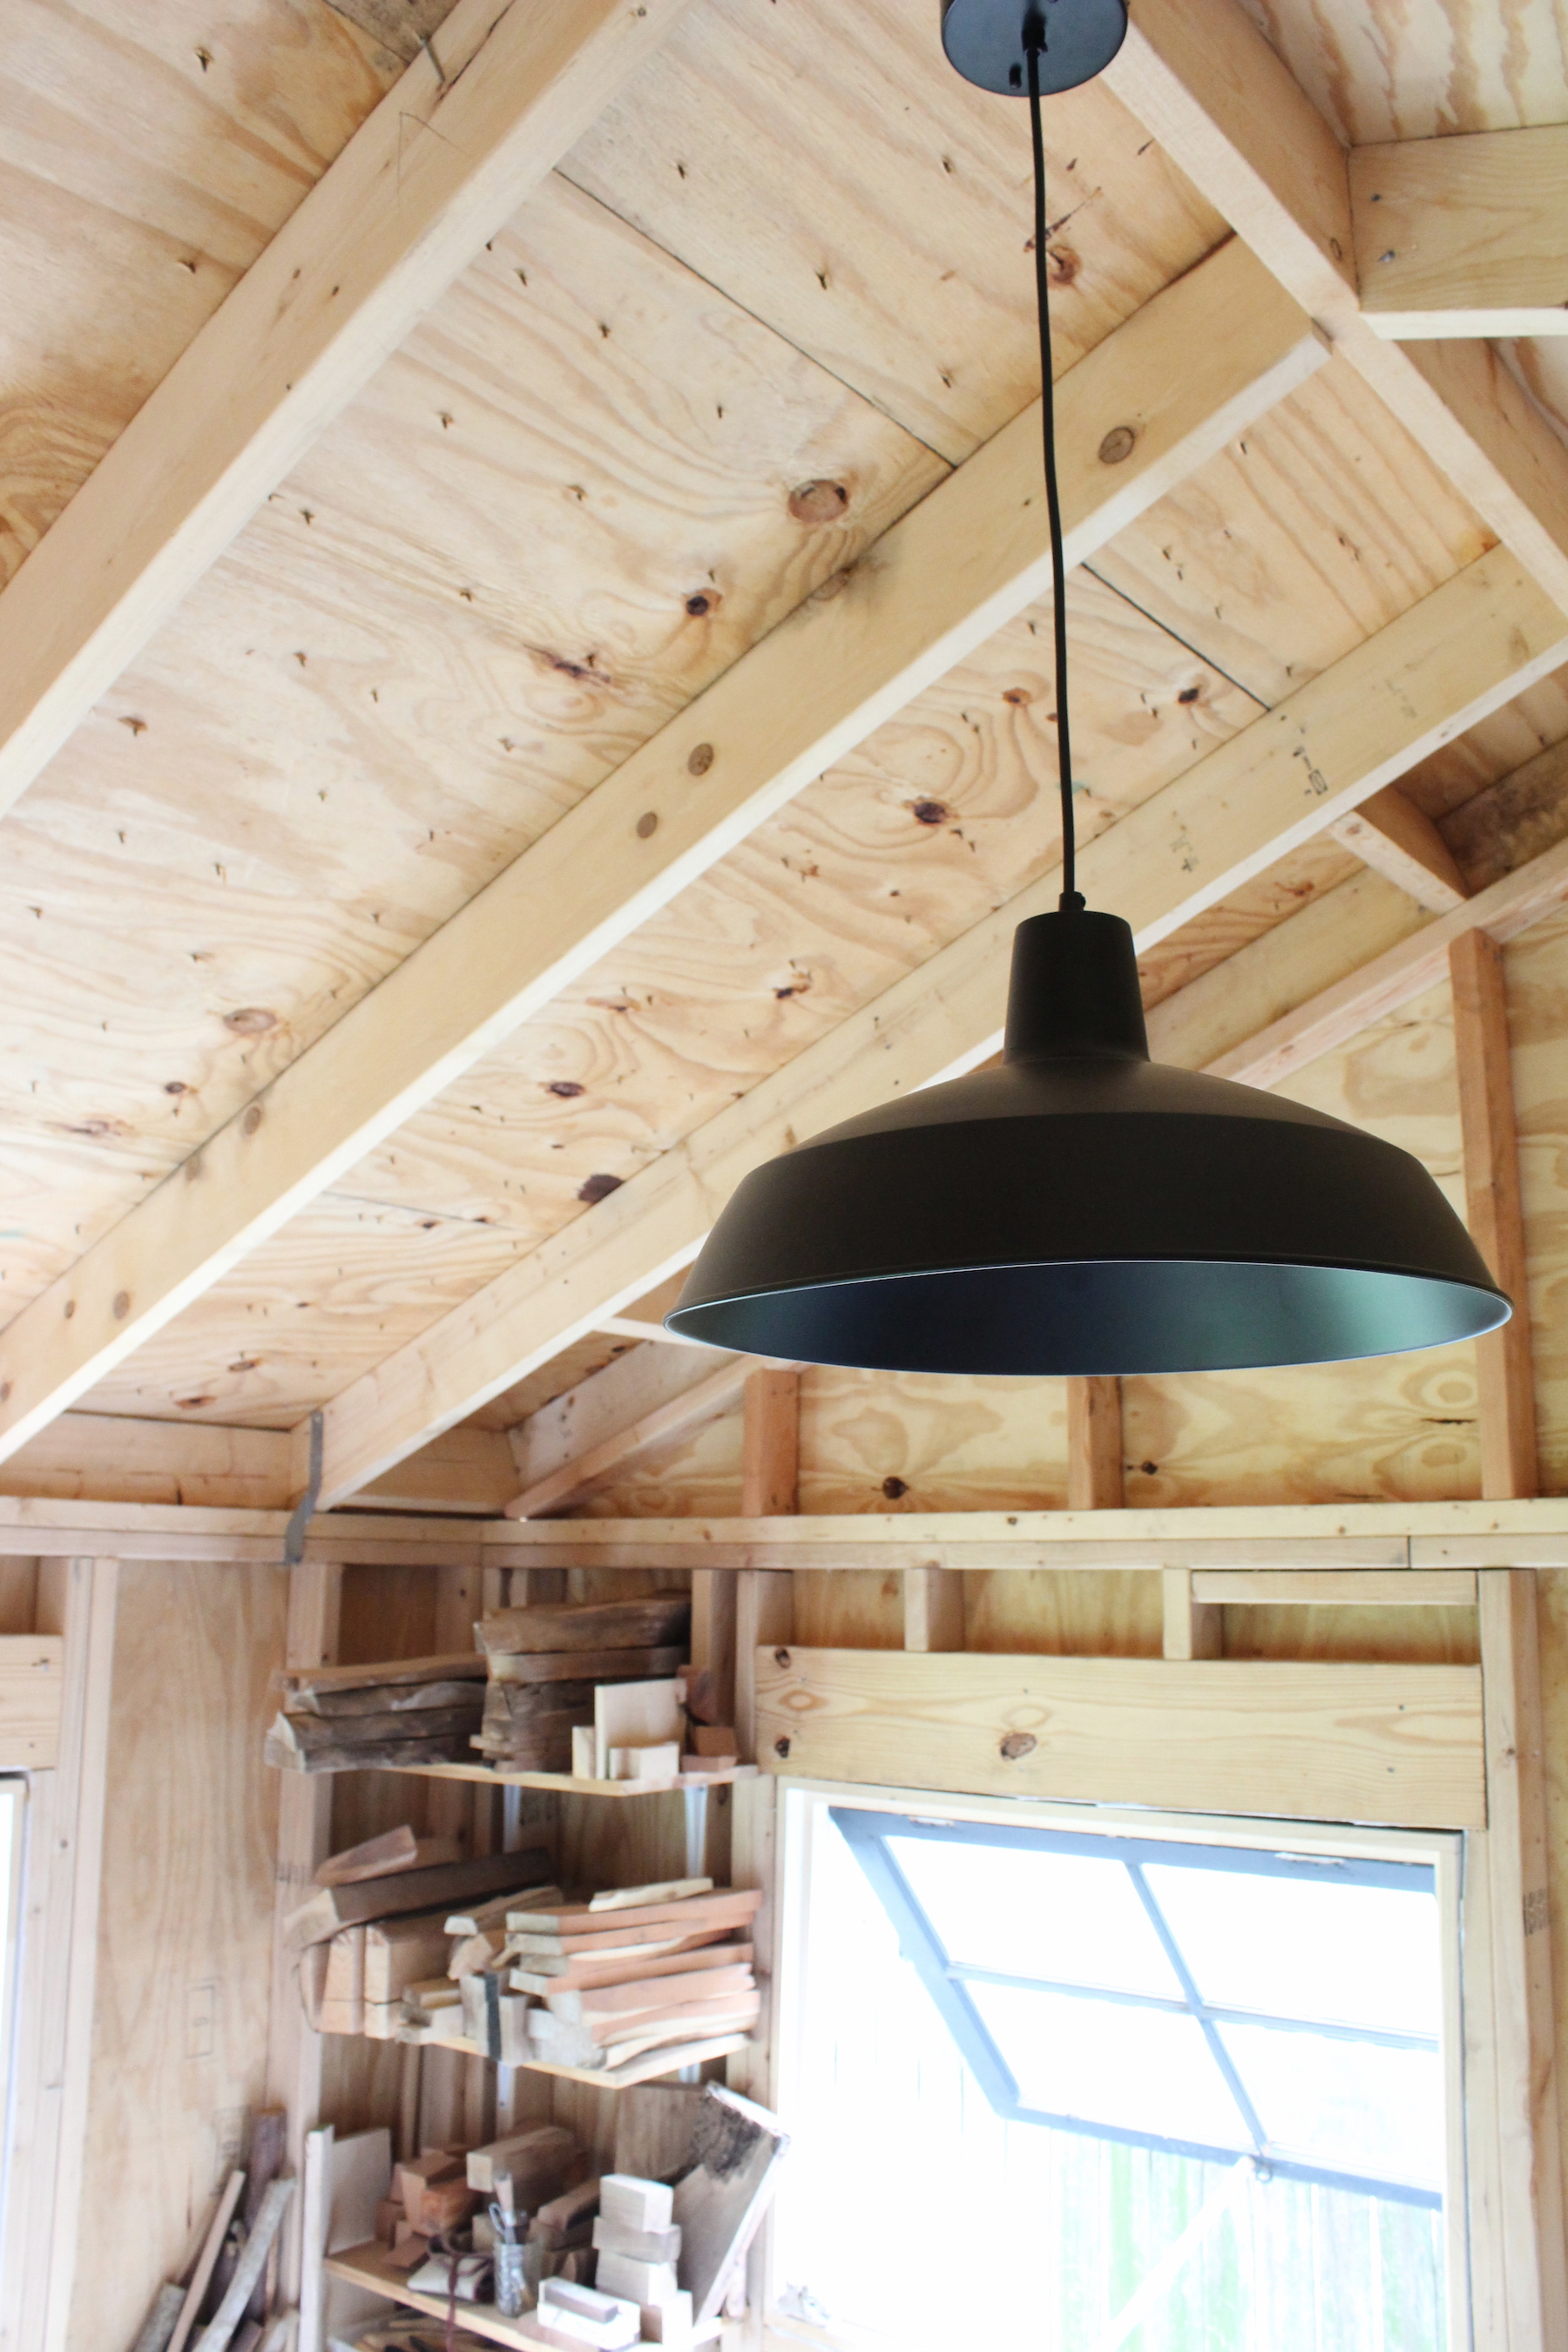
I can’t give advice on what you should do for your needs, since everyones situation is different, but I will share what we did based on our needs. We ended up running 10/3 wire from a double pole 20 amp circuit on a multiwire branch circuit a little less than 100 feet away. We used UF rated wire ran in 3/4 inch conduit that was buried about 18 inches deep. With this, we installed five outlets and one light with a switch and have plans on adding one more light and switch, when I’ve built up the motivation to work with this difficult wire once again. You can see the inside of our backyard shed in this post.
Now, here is some advice I picked up along the way.
Running Electric to a Shed
Do your research and ask an electrician for advice. For me, this looked like going to Home Depot before we even built the shed and asking what would be the best way to accomplish running electricity to a shed. After that, I did a ridiculous amount of research online. Trust me, Google can be your best friend in this situation. I learned about the importance of wire gauge and it’s relationship to amperage, the specific type of wire I needed to use, and was able to read what other people with similar needs used to power their workshops. Finally, as I was prepared to start working on this project, I called an electrician for an estimate. Unfortunately, he was out of our tiny budget (although it was a very reasonable price for the job) but he did suggest which amperage I should use.
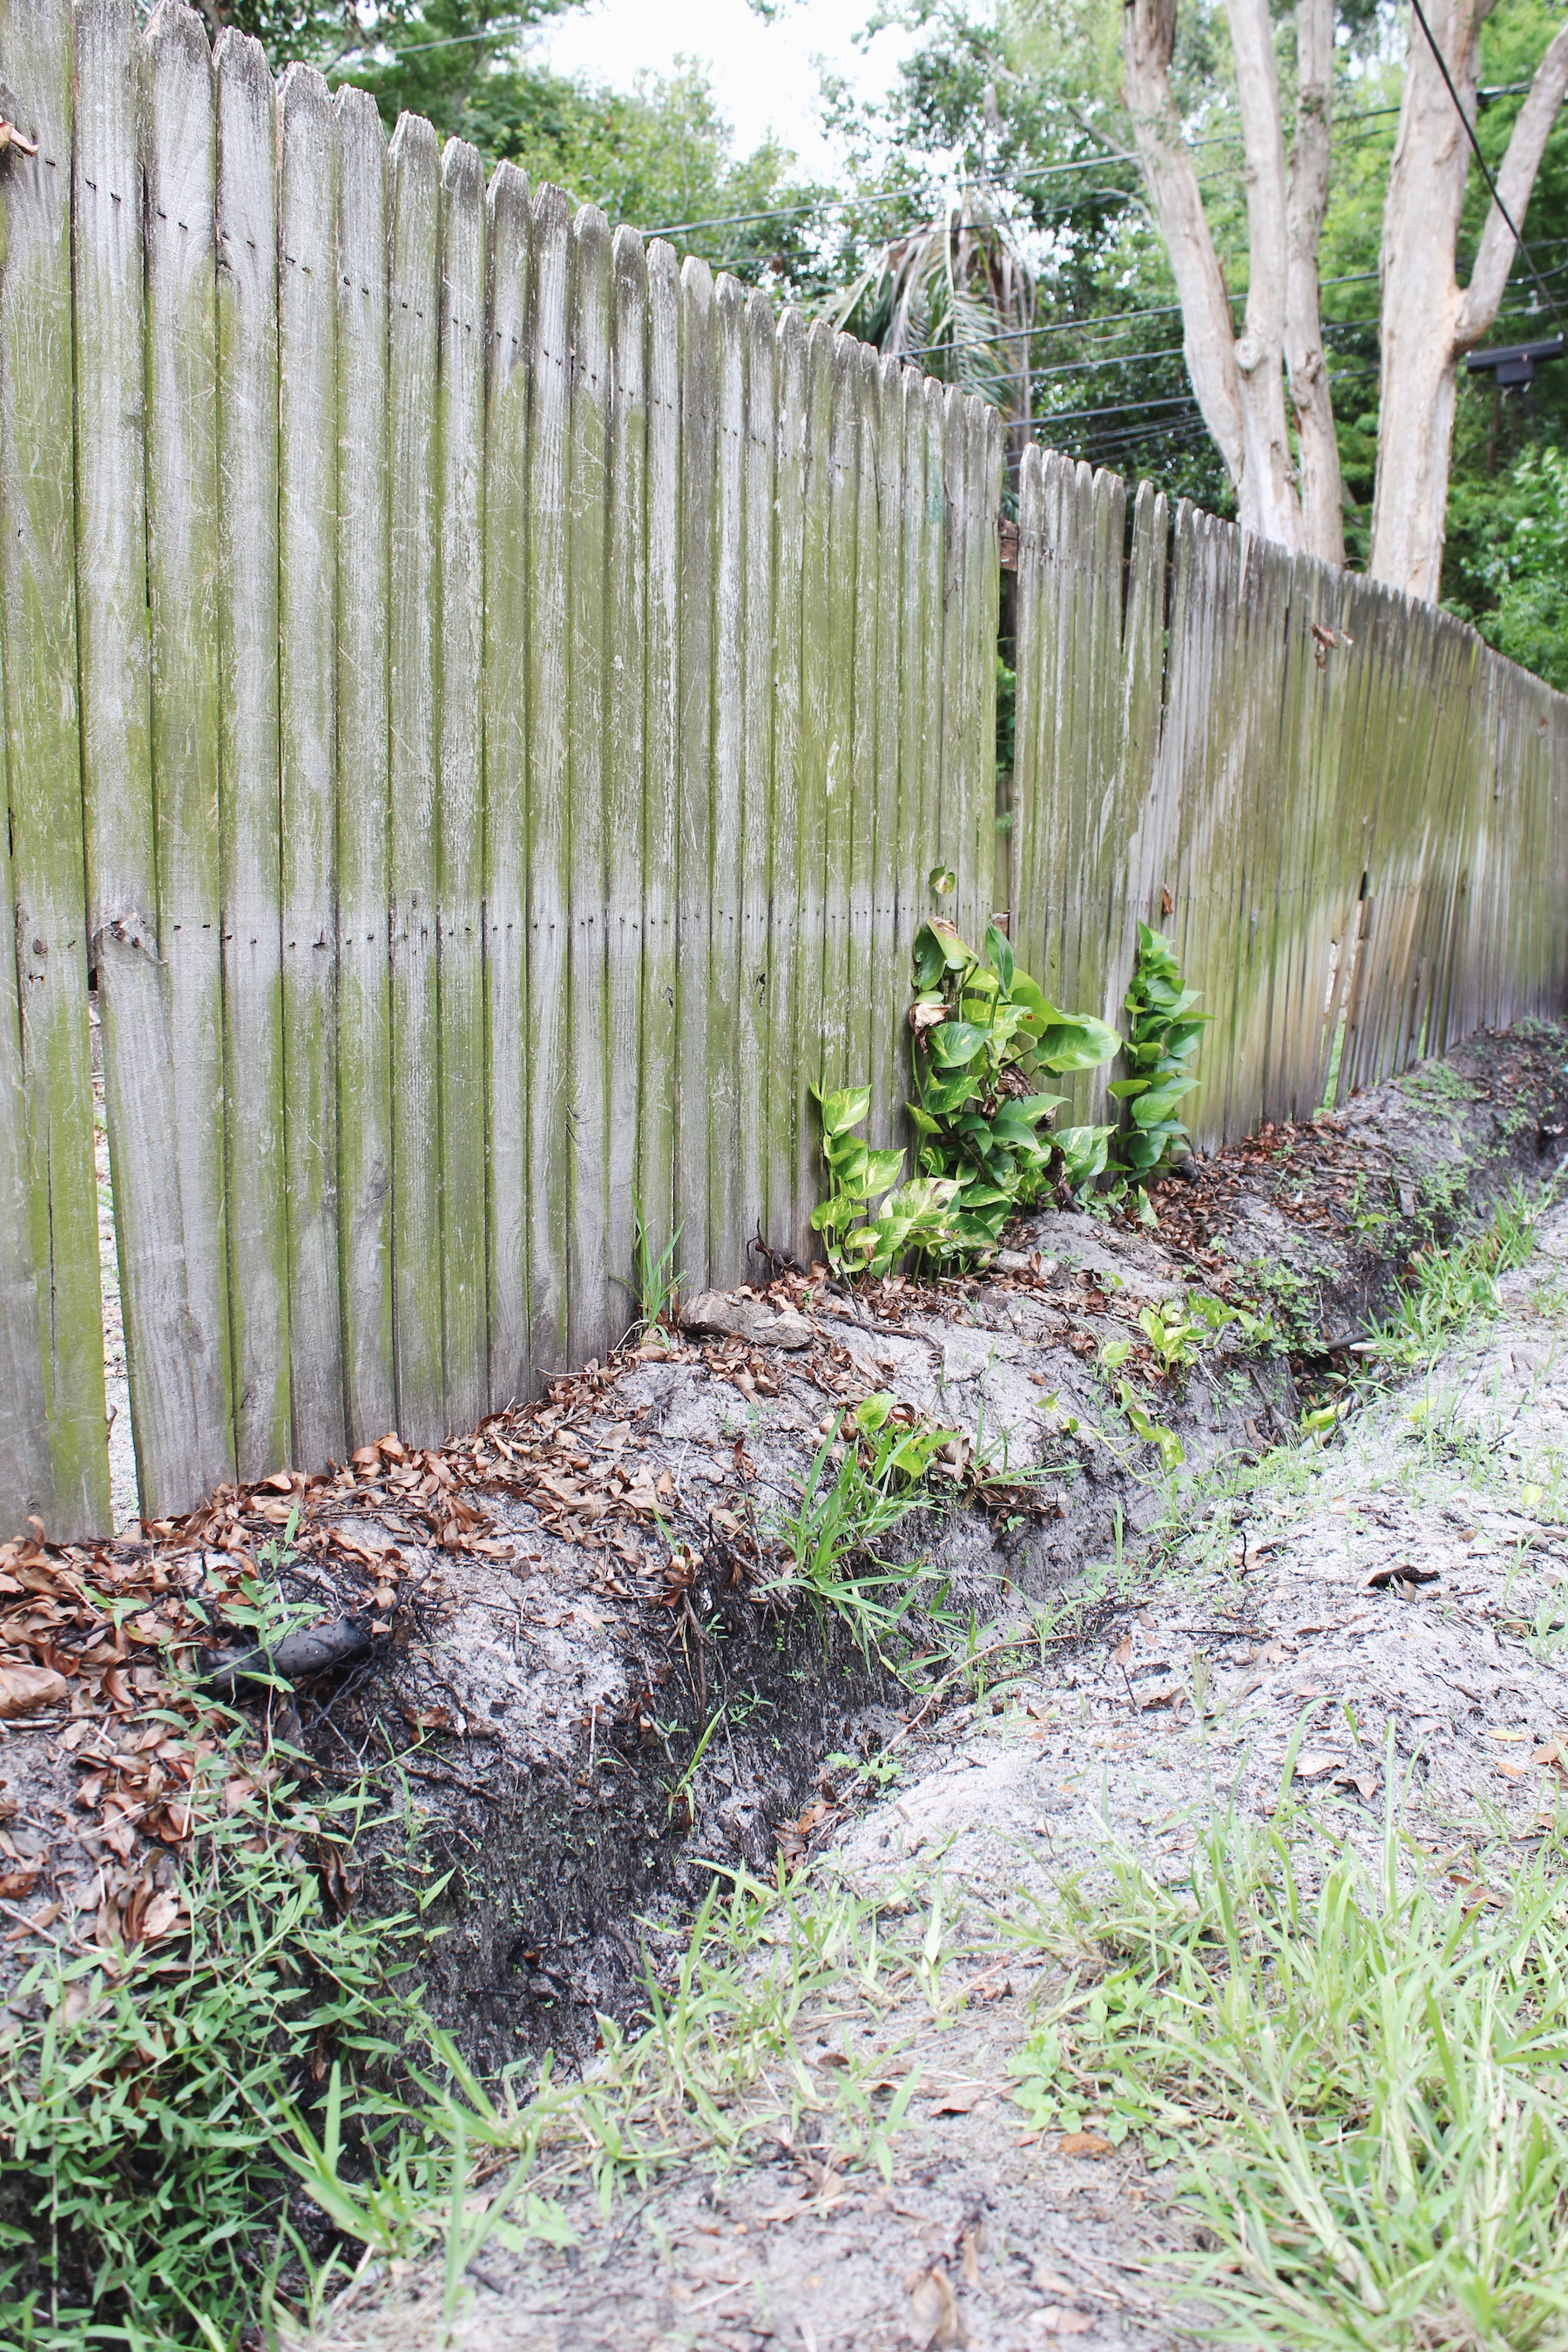
Pay to have the trench dug. The biggest reason we delayed starting this project for nearly a year was the fact that we had to dig a trench 18 inches deep down the length of our backyard. The best $150 dollars we spent was hiring a landscaping company to dig it for us. It took three men with sharpened shades less than one hour.
Buy wire from Amazon. In my experience, wire was much less expensive on Amazon. I was able to save nearly half of what I would have spent at the hardware store for 10/3 UF rated wire.
Invest in a fish tape, use a wire lubricant, and choose a larger size for your conduit. In hindsight, I would have spent the extra money to size up on our conduit and use 1-inch conduit instead of the 3/4-inch we bought. After the first twenty minutes of attempting to push the wire through this conduit, then proceeding to try to pull the wire with rope in vain, I ran to the store to purchase a fish tape and lubricant. It was the best decision I made that day.
Run the wire into one conduit piece at a time, then glue the conduit together. This way, I only had to purchase a 25-foot fish tape (instead of a 100-foot version). Running the wire this way also made the process much more manageable. Elijah and I spent two evenings pulling the wire together. One of us held on to the conduit while the other pulled on the wire, sort of like tug-of-war. Actually, it was exactly like a game of tug-of-war. Where both players win.
As laborious as this project was, it has been super rewarding. I love being able to turn on a light and my bandsaw without the need to plug in an extension cord. I can see myself spending a lot more time carving spoons in


