
DIY upholstered headboards are nothing new, many great headboards can be found throughout the world wide web, especially while browsing Pinterest. A proper, or improper, headboard would look pretty funky in our tiny, not-styled-at-all bedroom. And I’m not talking about funky in a good way.
She originally wanted a paneled headboard from Kane’s Furniture, but it came with a hefty price tag of nearly $1300. The upholstered headboard turned out to work out better in the end. With a much lower price tag to boot, only $110.

The first thing on our to do list was come up with a size for the future headboard. The bed hadn’t been delivered yet, so I looked up the standard width of a king size bed, which was 76 inches. I added two inches per side for the structure. So that left us with 80 inches total. Then, it was fabric shopping time.
Since the headboard would be 80 inches long, we needed 84 inches of fabric to allot for 2 inches of extra fabric per side. So we picked up two and a quarter yards of fabric and batting from Joann Fabrics. The total came close to $120, but I asked the cashier if she had any extra coupons that we could use. Sure enough she did, and it brought our total down to $60. Simple as that!

Here’s my tip: don’t buy anything from Joann’s at full price without a fight. If you don’t have a coupon to present to the cashier, always ask if they have any spares. Every time I’ve asked, they’ve provided. Okay, so you don’t really have to fight, you only have to put in a little effort.
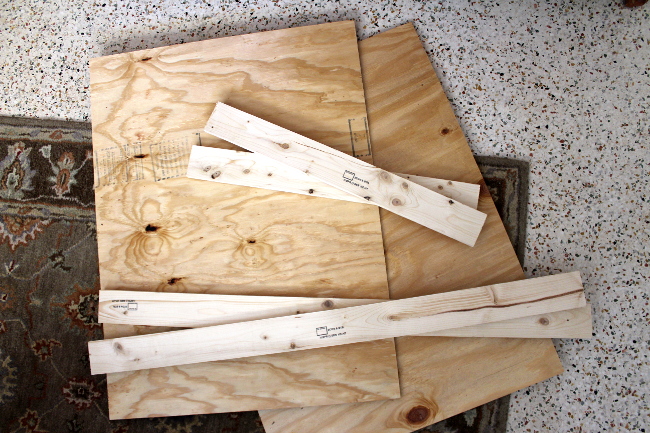
We also picked up our supplies. We bought two pieces of plywood, both cut to 40 inches x 30 inches, and four 1×3’s, two cut at 50 inches long and two cut at 30 inches long.
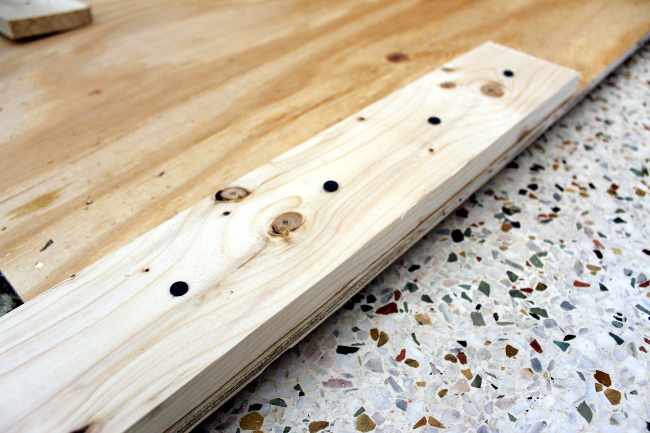
I pretty much followed YHL’s structure by connecting the two pieces of plywood with the two 50 inch 1×3’s.
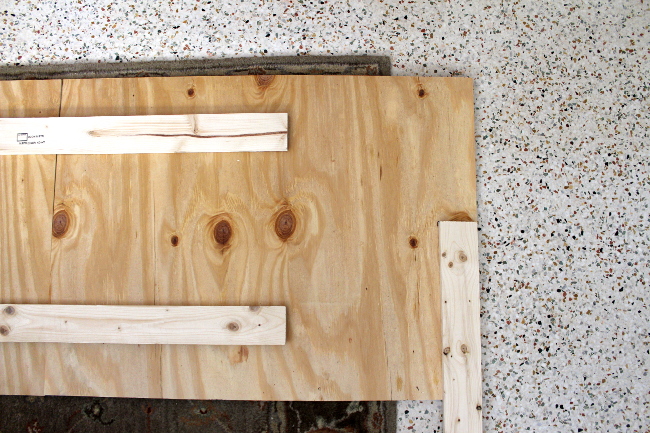
Then I created legs by screwing the shorter 1×3’s to both edges of the plywood.
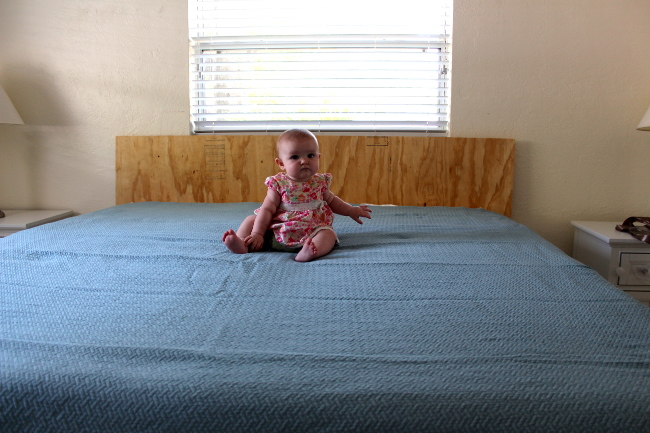
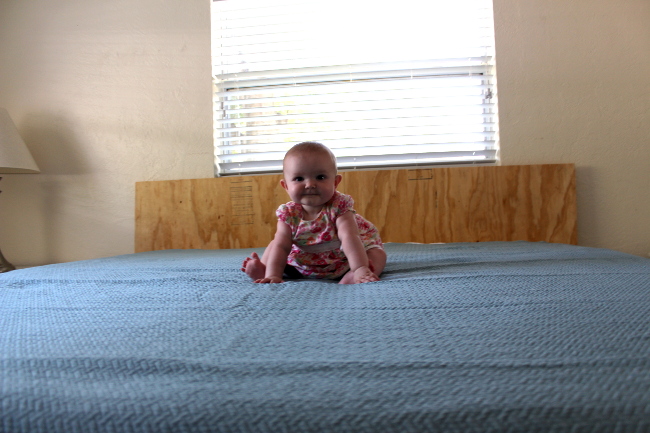
I measured to make sure the total height of the headboard would work with the windowsill. Isabelle had to make sure we were doing things correctly.
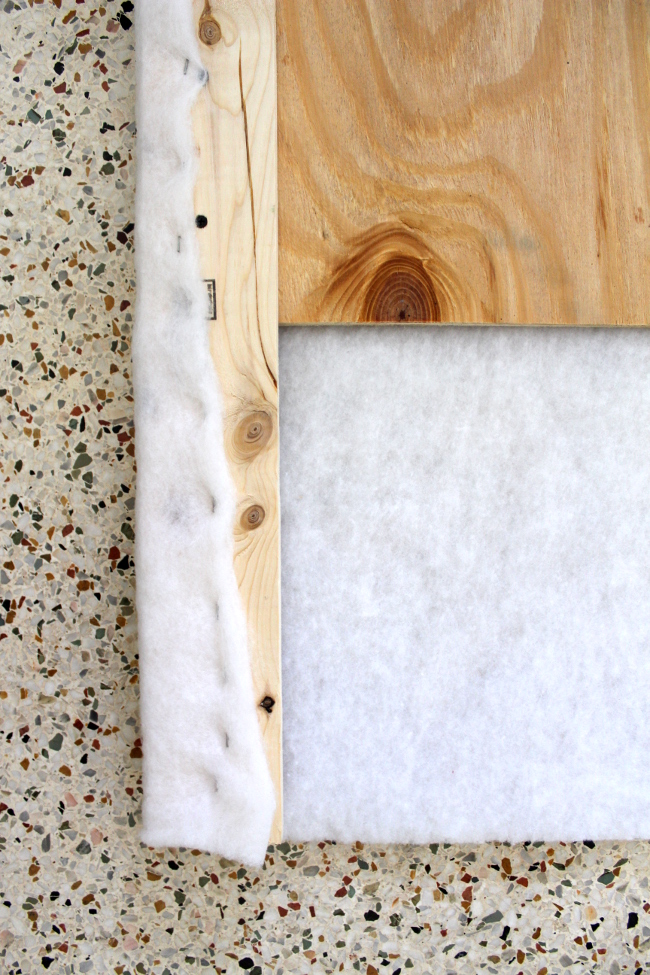
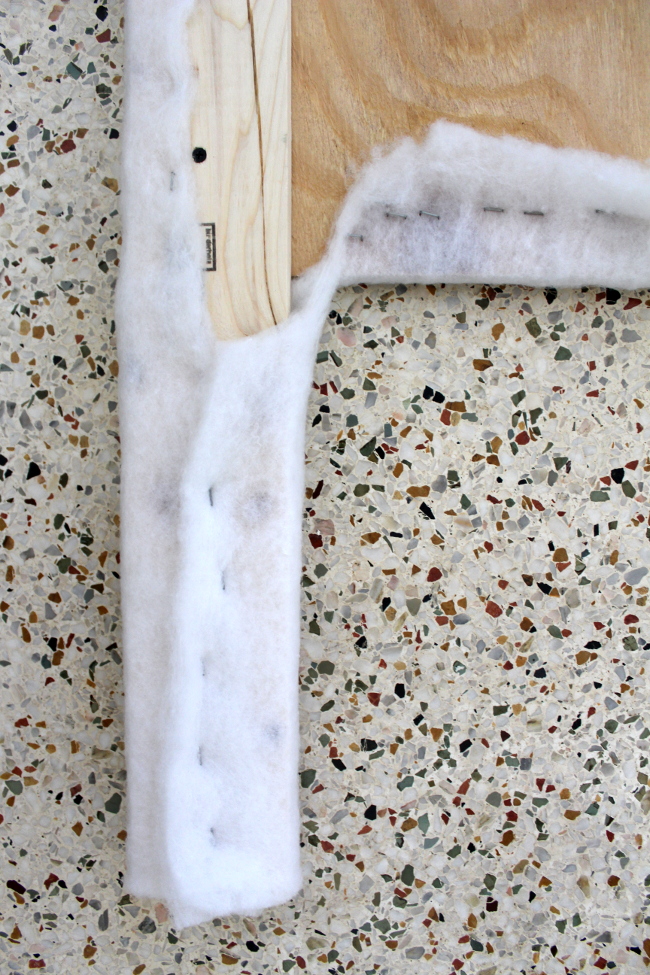
Once the structure was build, it came time to actually upholster it. There’s really not much to explain; center the headboard on the fabric, leaving two inches per side and staple it around while pulling taught.
The legs and corners is where it got tricky. I am not too good at explaining these sort of things, so I’ll let the pictures do the talking.
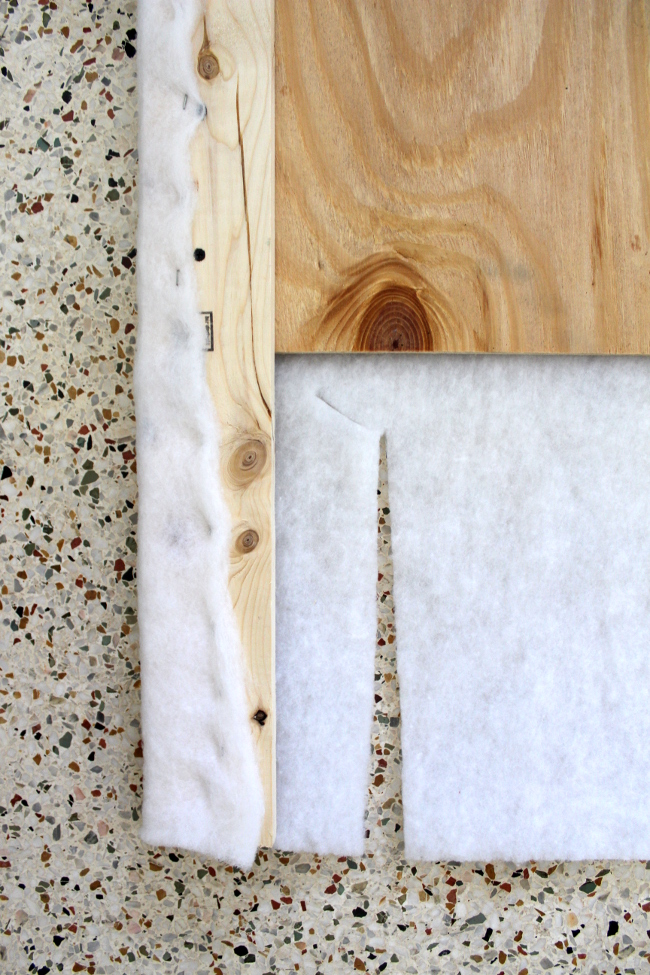
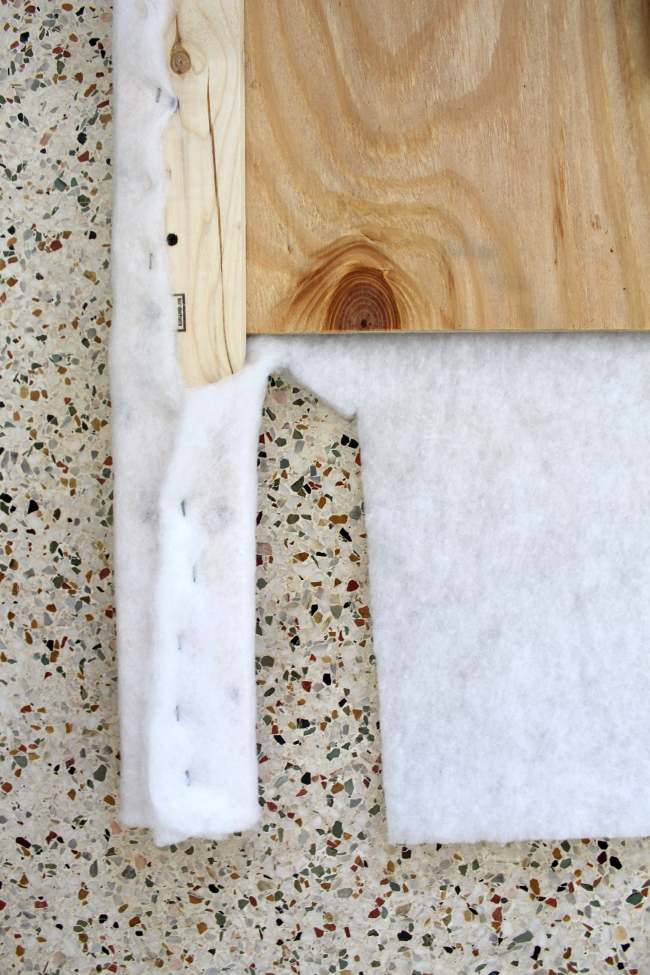
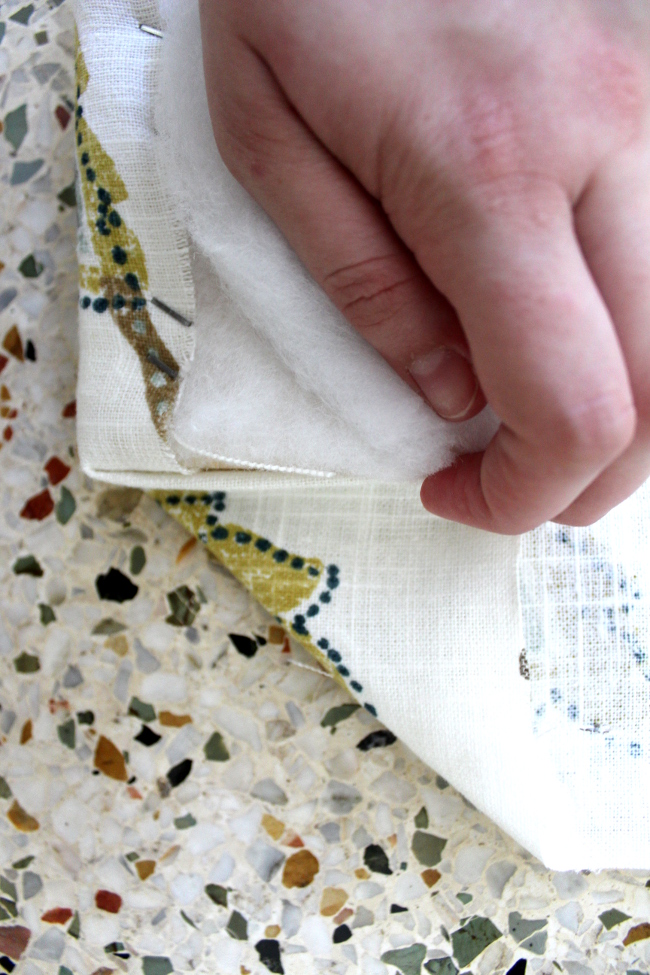
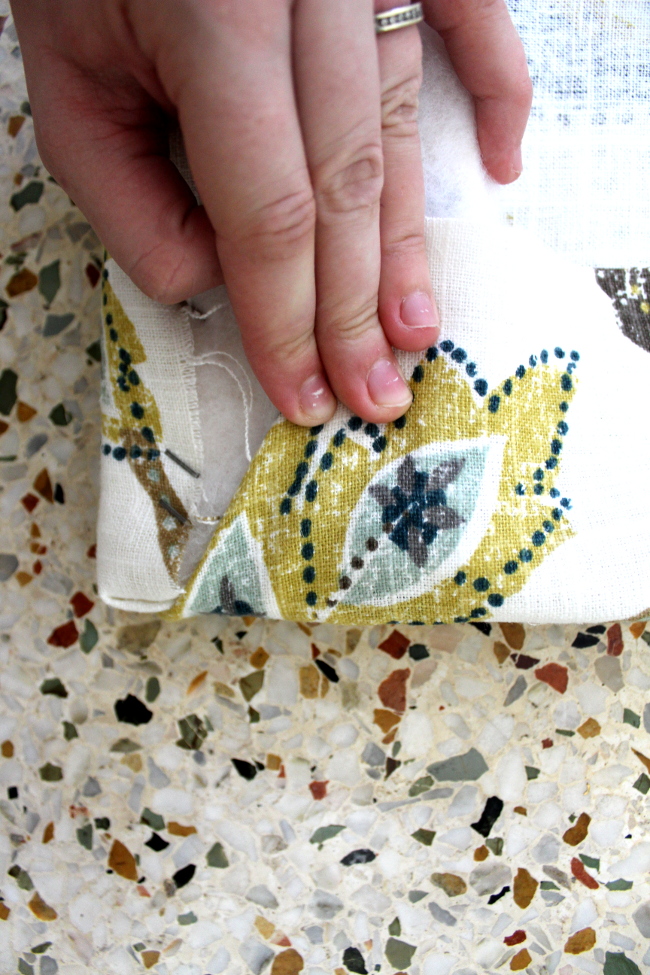

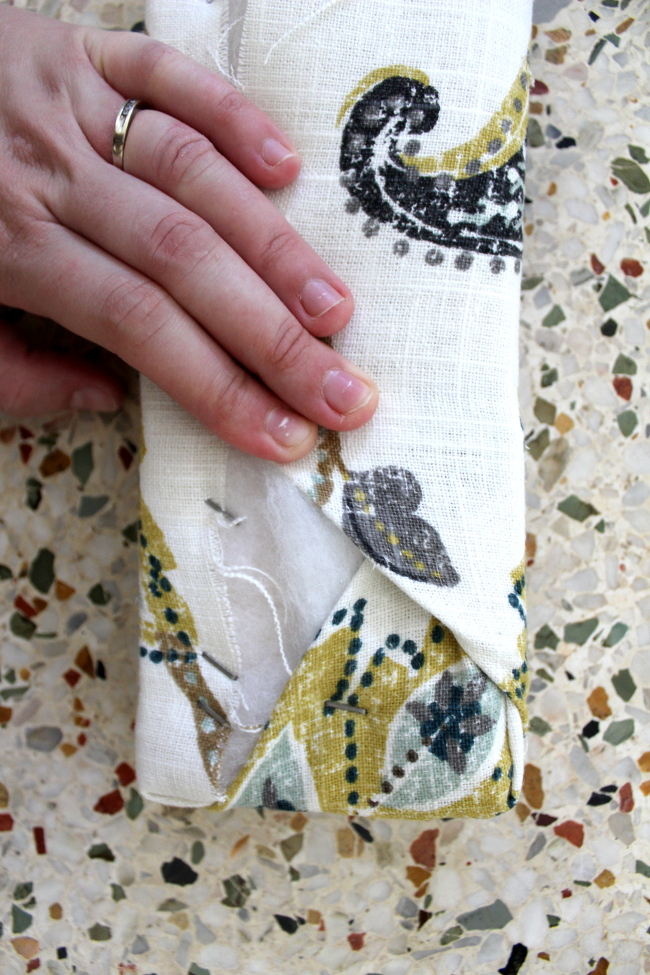
Did you catch that? I stapled in between each fold so I could focus on pulling each fold as tight as possible, without worrying the previous fold would fall apart.

It took us about two hours to complete but could have easily been one hour if Isabelle had not demanded our attention. We didn’t mind, she always wins me over with her cuteness. and screaming.
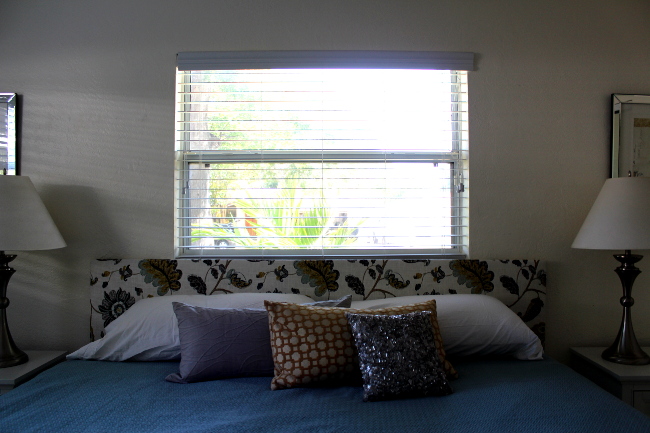
There are slots in the bed frame to which you could hypothetically attach the headboard with a bolt, but we used the good old lean-it-up-against-the-wall method. I don’t think it’s going anywhere for now.


Now I want to make a headboard for every. single. bed. I. see.
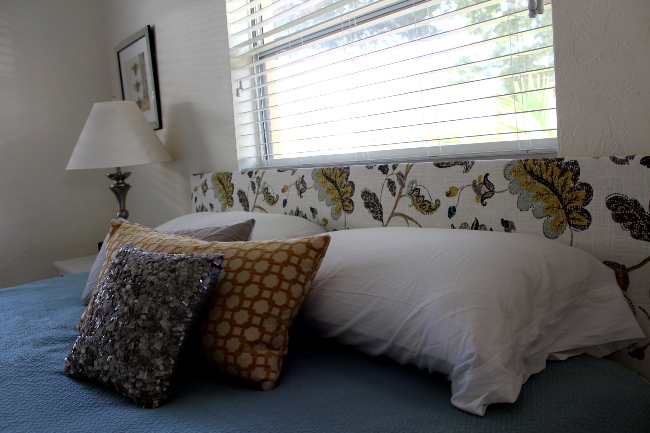
No joke, it is so easy and the results are perfect eye candy. I think it really adds a lot of dimension to her bedroom. Now if I could only convince her to hang some curtains….


After read a couple of the articles on your website these few days, and I truly like your style of blogging. I tag it to my favorites internet site list and will be checking back soon. Please check out my web site also and let me know what you think. embroidery machine reviews