
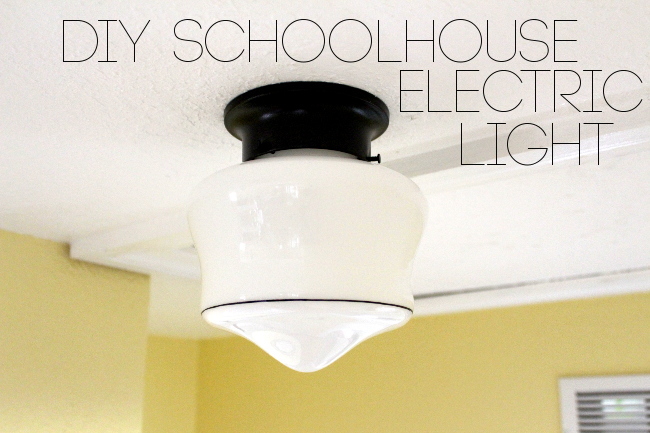
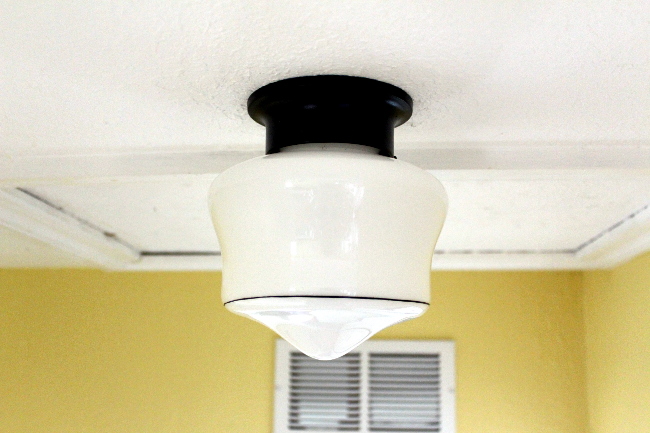
I have this problem, and it’s called a light fixture. My hallway light to be exact. Sure, it provides me with bright light when I am unable to see in the dark, but it wasn’t doing much for me aesthetically. So when Sherry and Katie’s quarterly Pinterest Challenge came around, that old light fixture didn’t stand a chance. I happily replaced it with a Schoolhouse Electric inspired light for less than $10.
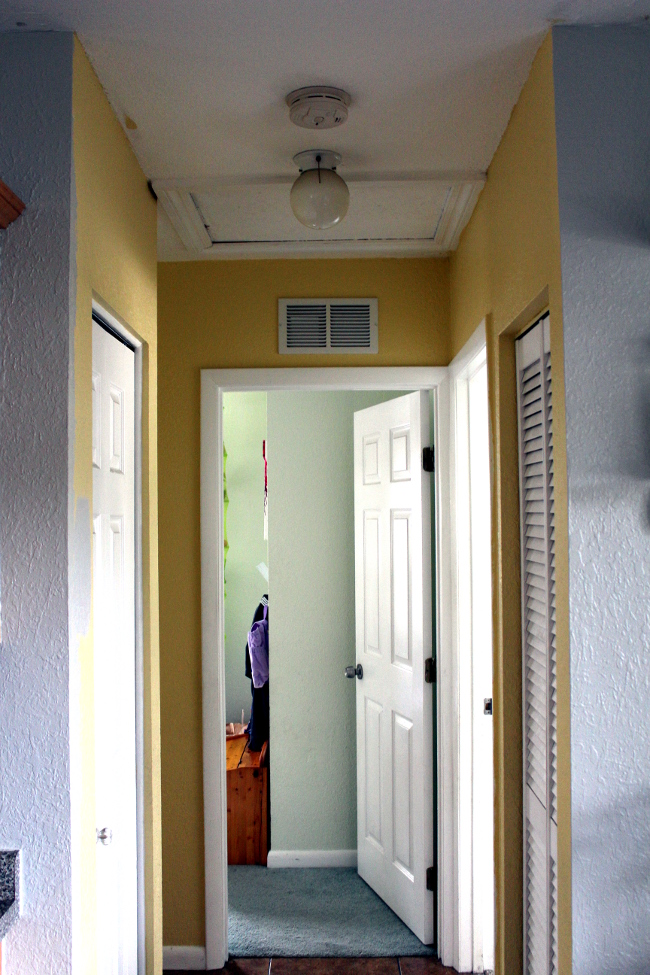
Let’s flash back to what I began with, a standard light fixture. I have seen these guys everywhere, and I was ready to make this one my own. Since we rent, I didn’t want to spend a fortune on any given light fixture, and said light had to be easy to switch out in the future in case the landlord didn’t want us leaving it behind.
That’s why The Shabby Creek Cottage’s $5 farmhouse light appealed to me. I’ve also been eyeing Schoolhouse Electric’s glass light shades, specially this one, but $60 is way more than the original $5 project I was inspired by. So I made my own.
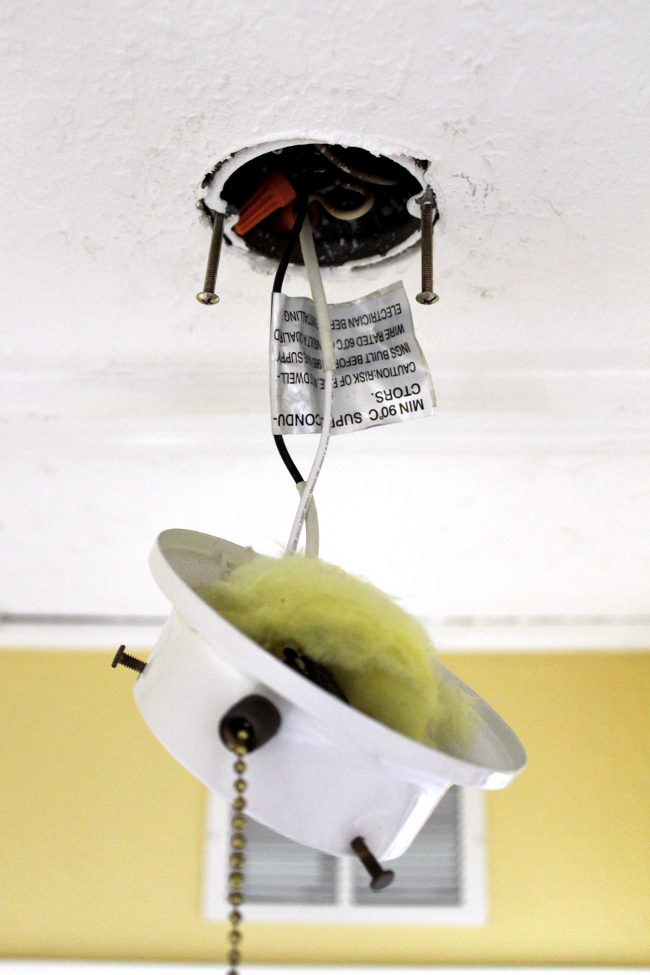
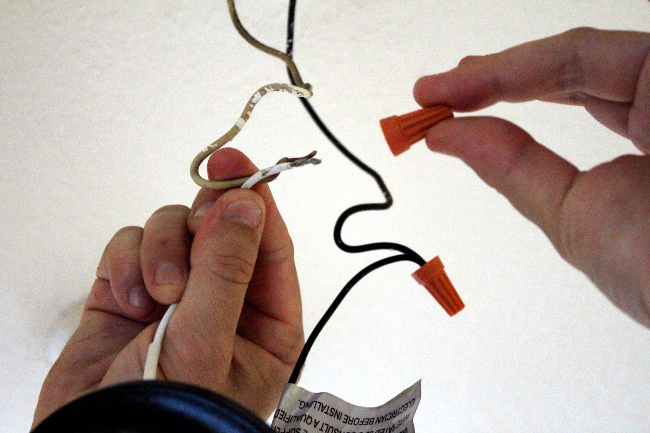
The first step to getting this little one-day project done is to remove the light fixture. I did this when Philip wasn’t at home and while the babies were napping. I felt confident it would be easy, then I found this… it scared me! So, like any scared wife would do, I waiting for Philip to get home to save the day. It turns out that it was so easy even I could have done it. But I did need his help to turn off the right breaker… so I guess I couldn’t have done it.
Anyways, after he safely removed it for me, I spray painted it using Rust-Oleom’s Oil Rubbed Bronze paint. To put it lightly, I. am. in. love. Seriously, it’s great. It is taking everything in me not to spray paint everything in sight with that stuff.
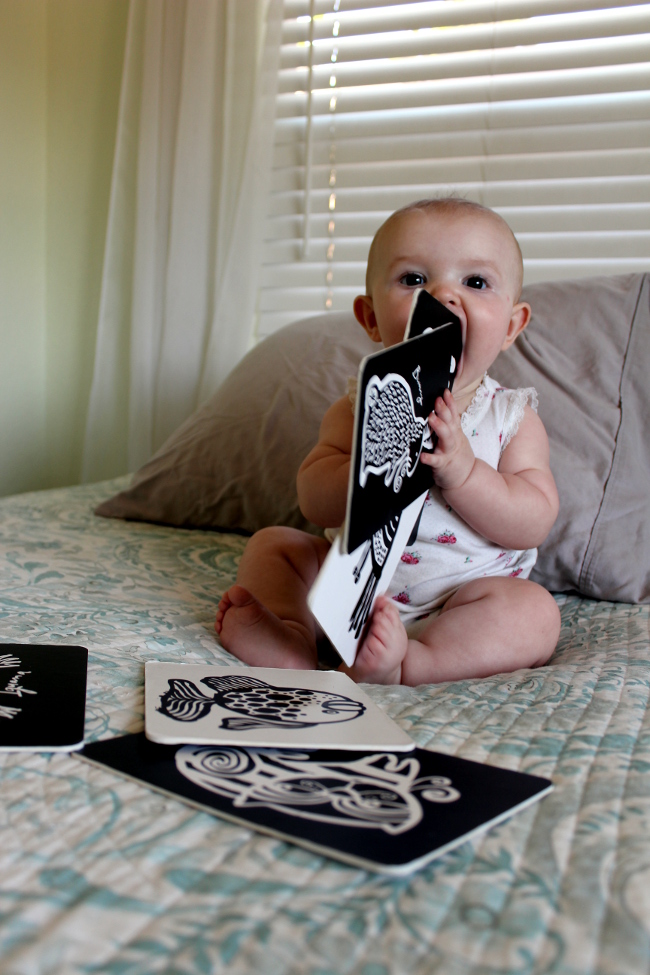
While the spray paint was drying and Isabelle was busy attempting to eat the inedible, I got to work on the shade.
I started with a $5 schoolhouse replacement globe from Lowes, a Sharpie paint pen and some rubber bands.
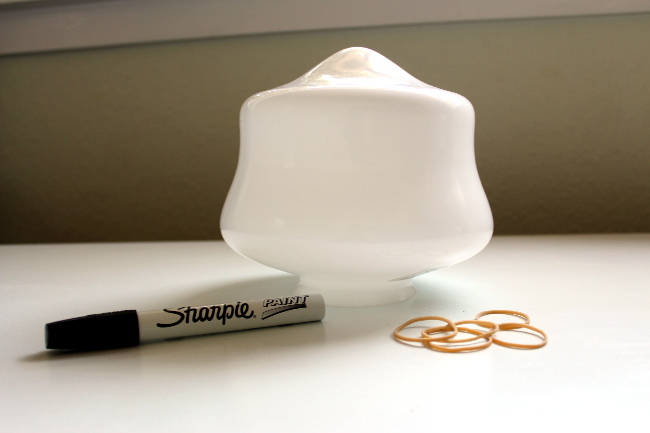
Since I can’t draw a straight line to save my life, I used a rubber band as a guide.

After putting a rubber band around the shade where I wanted my line to be, and making sure it was straight all around, I slowly traced the band around the circumference of the shade, while keeping the paint pen touching the rubber band.
As a side note, the rubber band popped off while I was aligning it at least twice. Also, if the paint pen decides to go awry, don’t panic, it can be easily wiped off with a damp paper towel before it sets in.
I intended to complete two more lines near the top of the shade, but my pen ran out of paint since I had used it for a previous project. Of course when I ran out to buy another one, Michael’s and Joann’s were out. Tough luck, right?
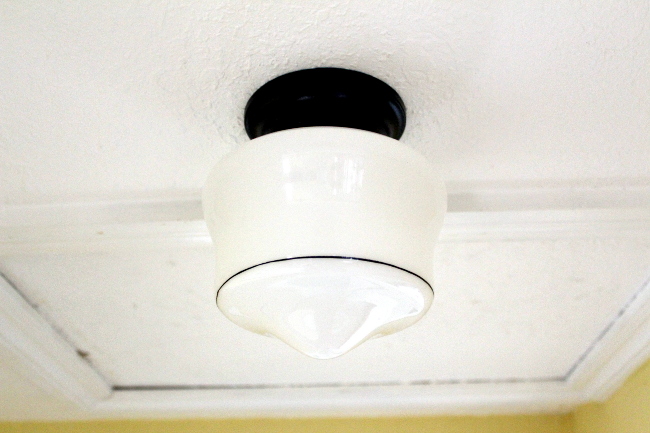
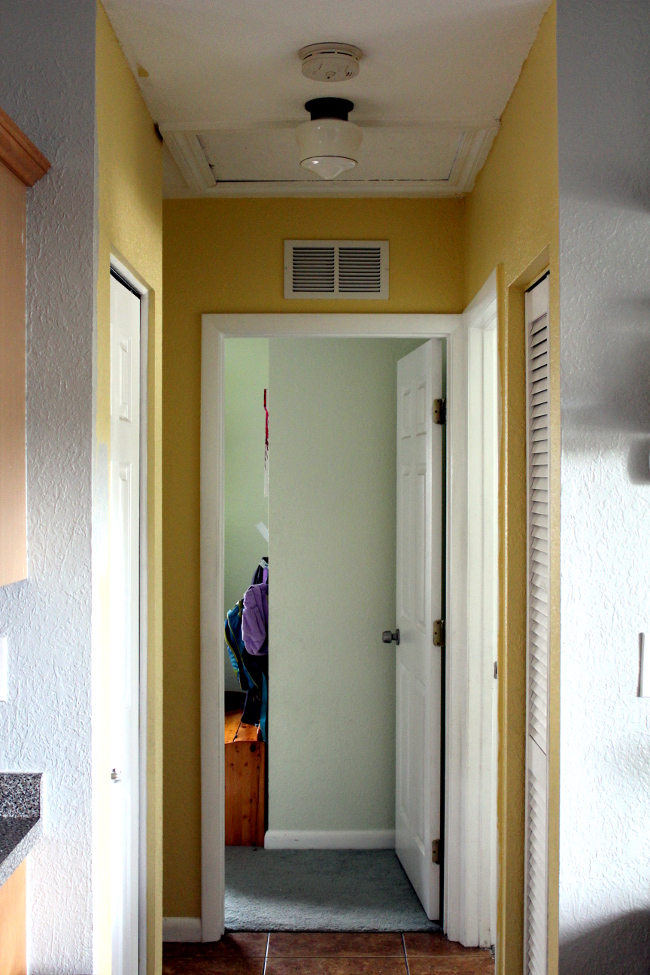
So after the base and shade were dried, Philip re-installed the light base for me and I followed with the globe. Do you see how easy the light fixture is to remove and install? I say I could do it myself but it’s so much better when my husband does it for me, because then I can take pictures of his hands… score!
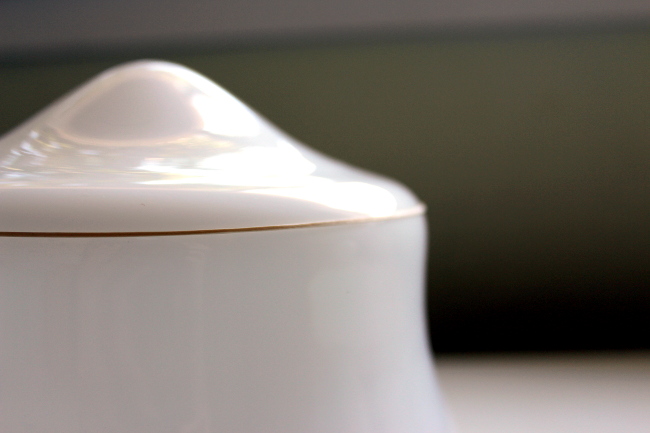
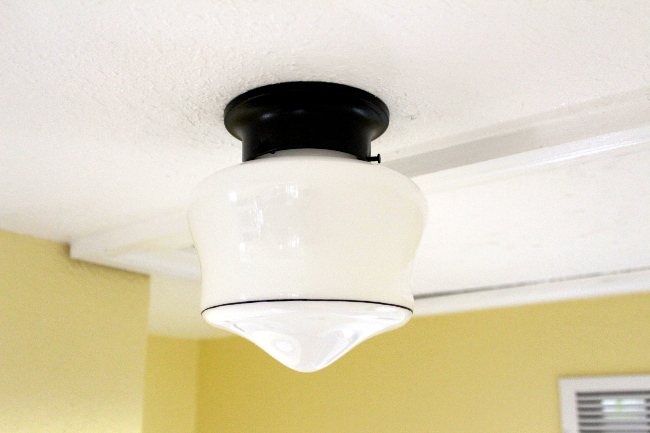
I am so happy with how it came out, one black line and all. Who knows, I may leave it the way it is or I may draw those two additional lines whenever I come across another paint pen. I’m sure once I finish painting the walls gray it will look even better.
P.S. Don’t judge me for our dirty scuttle home, how am I supposed to know to clean the ceiling?!
So that just about sums up my Spring Pinterest Challenge, were you able to get one done? If so, I’d love to hear about it! And if you’d like to see more Pinterest inspired projects, check out Emily, Katie, Sherry, and Renee’s blogs to see what they and everyone who linked up have in store!


Love this idea! You did such a great job and I would have never thought to use a rubber band. Very clever!
I love the rubber band trick!
I think your light turned out fabulously! For $5 – what a difference!
Thank you!
Thanks, it really helped to get a straight[-ish] line!
I know, right?! I can't stop staring at it, thank you!
Love this! I need another light fixture to replace so that I can do this! 🙂 We rent too so I'm always looking for inexpensive ways to make our place a home!
Your light looks great! I love schoolhouse electric. Glad you could get the same look for cheap!
Amber @ Wills Casa
I hope you find one! 🙂
Thank you!