
I can think of a few thousand things to adhere to a baby girl’s onesie, but when it comes to baby boy onesies, I’m at a loss. Sure there are bow ties, regular ties, dinosaurs, etc., and those are all great, but I wanted to make something different for my sister’s new baby.
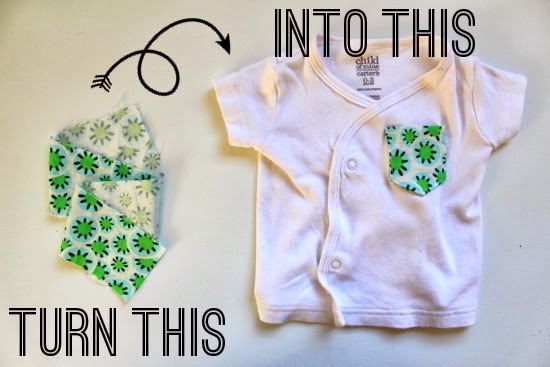
I’m pretty shocked this came out half way decent, so anyone attempting this will probably produce something super outstanding since I am the world’s worst seamstress, remember?

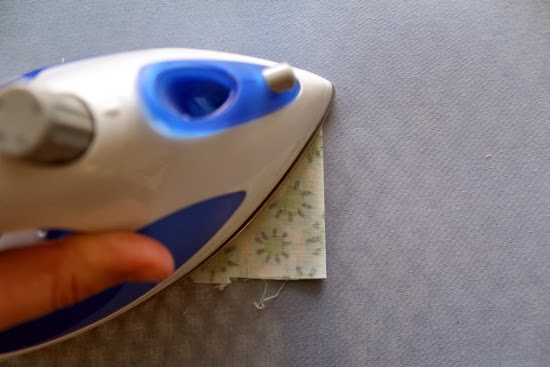
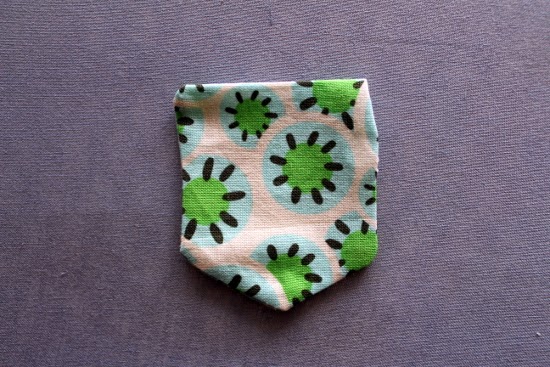
To get started, fold and iron your chosen fabric, right sides touching.
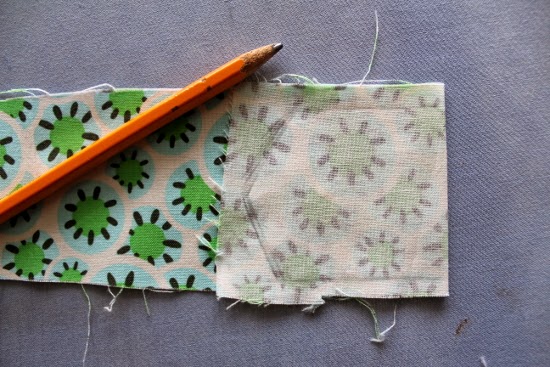
Then draw your pocket outline and trim excess fabric. This pocket was 2 inches x 2 1/4 inches with an angled bottom. I trimmed a 1/4-inch outside of my outline to account for stitching.
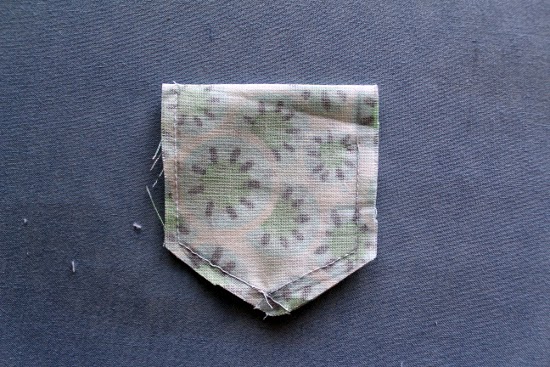
Next, sew on your line leaving a 1/2-inch to 3/4-inch opening, flip right side out and press. Don’t worry about that gap, we’ll address that later.
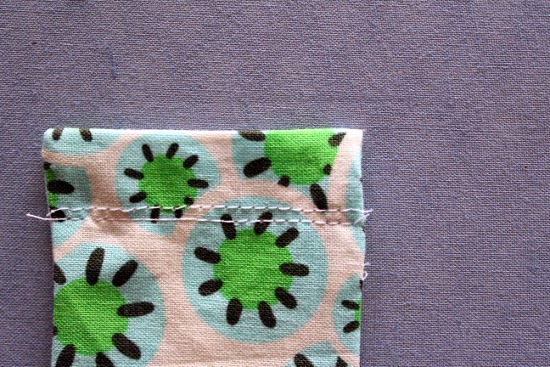
Now stitch two lines about a half-inch down from the top. My lines were, of course, crooked.
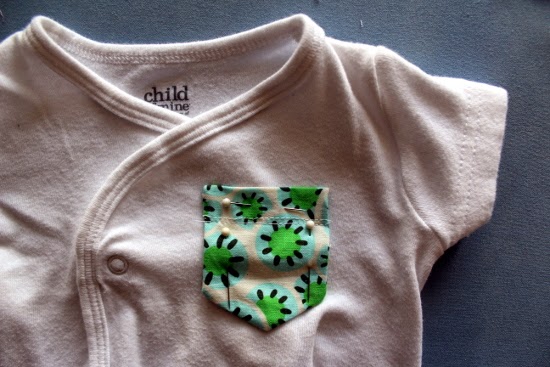
Finally, pin and sew the pocket to the onesie or shirt. Hashtag super easy, guys.
Do you notice that gap that was left open during the beginning steps? Yeah, me neither.
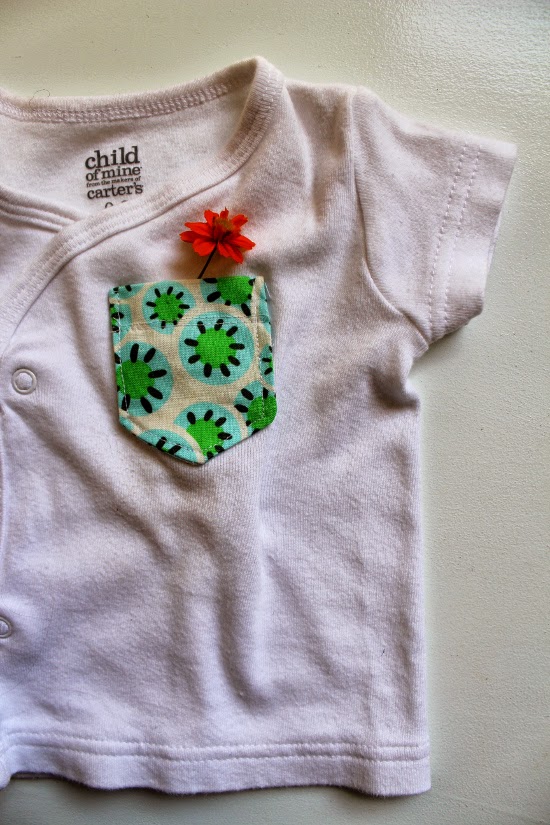
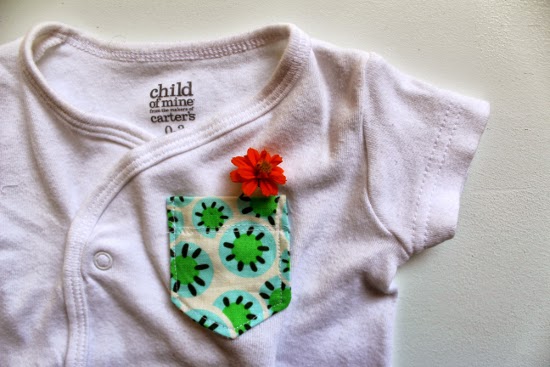
This could also work well for a bigger pocket on something other than a baby shirt… the possibilities are pretty endless. And did I mention this is really easy?


