
For months now, I’ve been in the process of turning our girl’s shared bedroom (the one that used to be our’s) into a functional space for sleeping, playing, and storing everything in between.
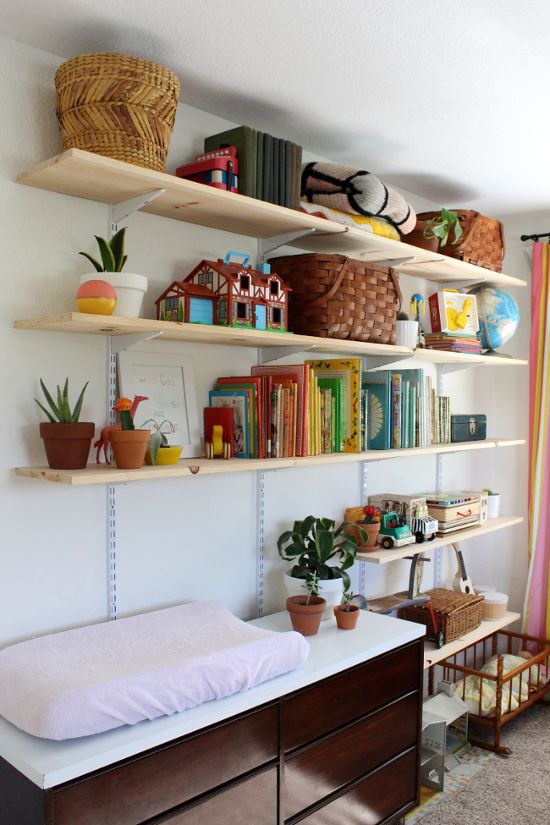
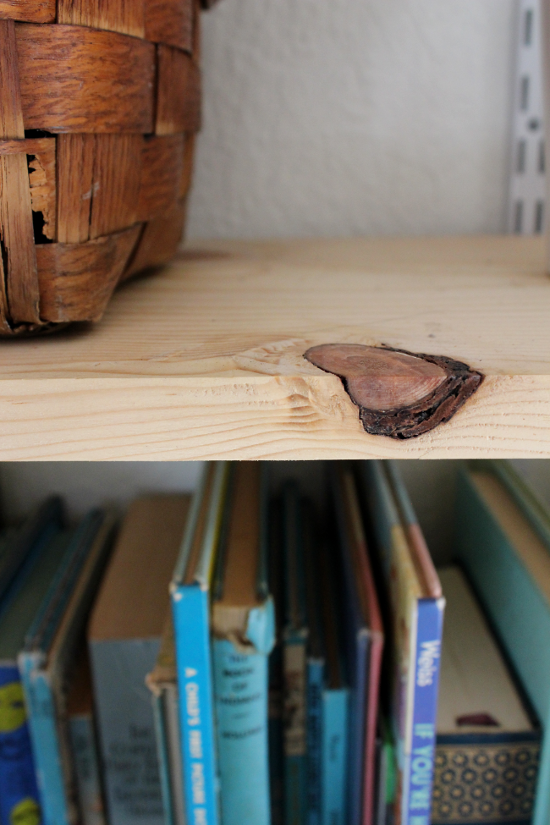
After painting the room but before hanging the black-out curtains, I installed this wall full of shelves. I used Rubbermaid shelving tracks and 1″ x 12″ boards of pine (similar to the makeshift desk). I picked through every 1″ x 12″ board in Home Depot to find the prettiest ones I could. Since I won’t be painting them, the more intriguing knots, the better. I’m still in the process of waxing the shelves – three down, two to go – but the summer heat has put a halt to that for now.
I’ve been holding off on sharing this room until I found the perfect collection of baskets for child safe toy storage. After months of searching Home Goods, Target, and thrift stores I’ve come up with nothing. Once the right one – or three – come along, this room will be well on it’s way to manageable clutter.
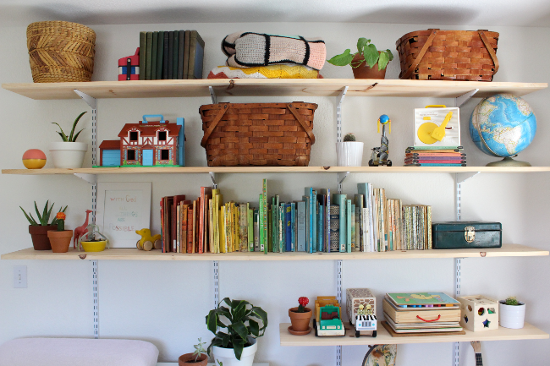
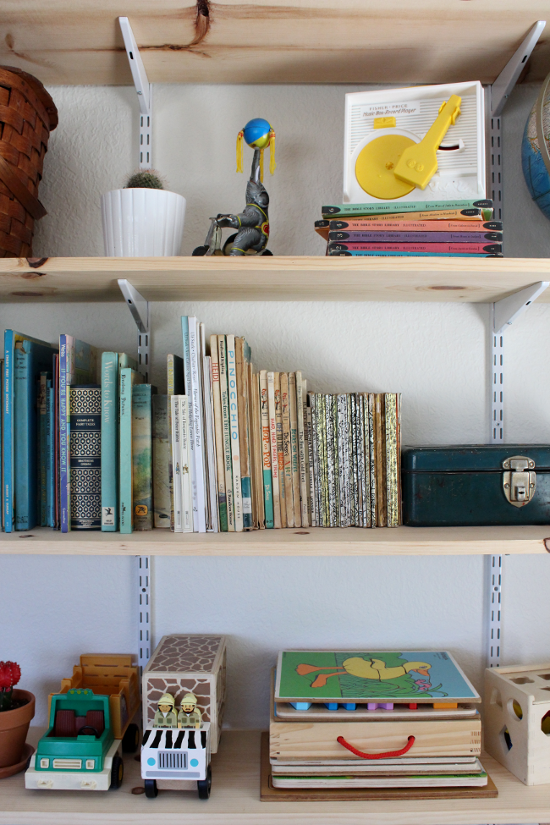
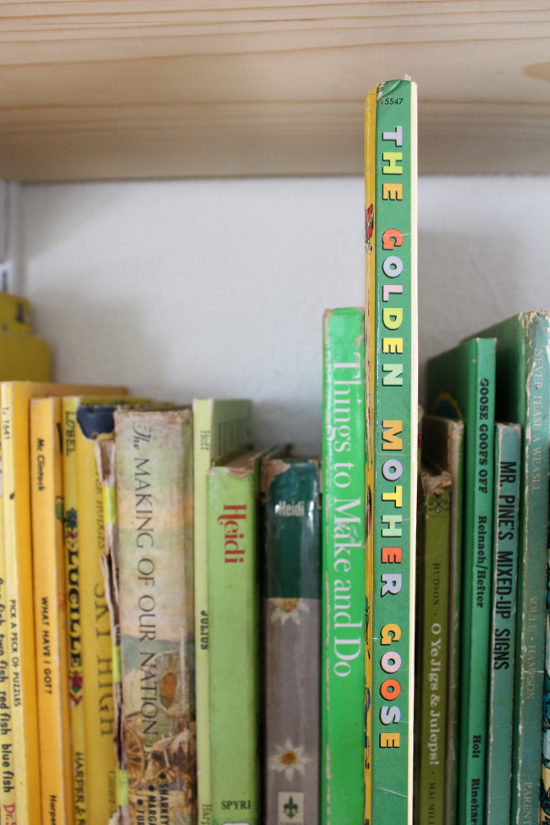
Otherwise, these shelves have held up nicely to all those thrifted books I can’t seem to stay away from. Although now that I’ve typed that I’m beginning to notice a slight bow in the middle shelf – uh oh.

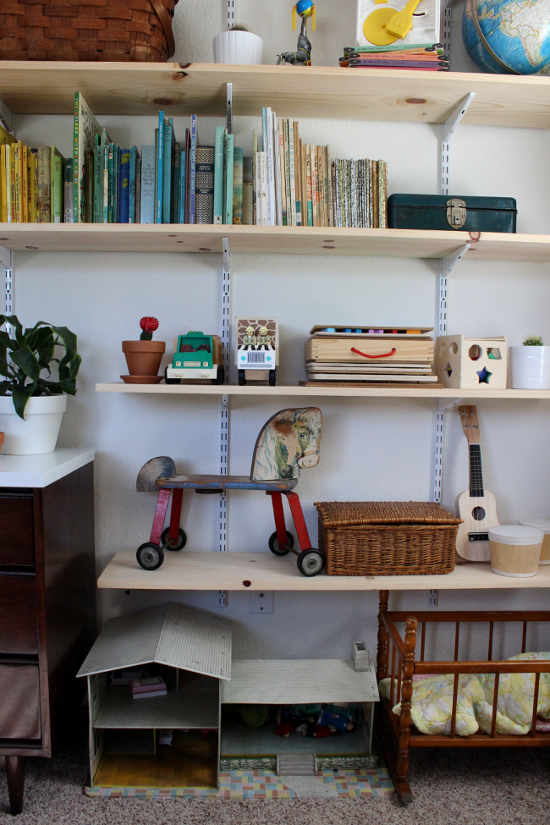
Overall, I love ’em. They are extremely functional but they could still use some baskets for additional storage. For now, though, they work just fine and help keep some of the toys tamed.


They look great kim!
Thanks Rebekah!
Hi there! I'm planning out a similar project for a book shelf unit and was wondering if you could specify the dimensions of the standards, brackets, and shelves (length) as well as how you mounted them to the wall. I'm looking into the hanging track method (all standards attach to top rack which is the only piece mounted to the wall) and wondering how I would need to secure the boards to the brackets, good distance between shelves, etc.
Thanks so much! Great job on your project.
Thank you! I used the tallest upright brackets I could find (something around 72 or 78 inches tall) at Home Depot and attached them to wall studs. My home's studs are irregular and in this room they were 24 inches apart. I felt that this was sturdy enough to hold all of the weight and didn't use a top rack to hang the uprights on.
I used 1"x12" pieces of pine that were 8 feet long for the shelves. The smaller shelves are about 4 feet long. The shelves are about 14 inches apart (except the bottom one, which is further apart) and are attached to 9 inch brackets. I attached them to the brackets using regular wood screws. It takes some patience to hand drill the screw into the wood since I didn't bother pre-drilling into the shelves.
I hope this helps, let me know if you have any other questions!