
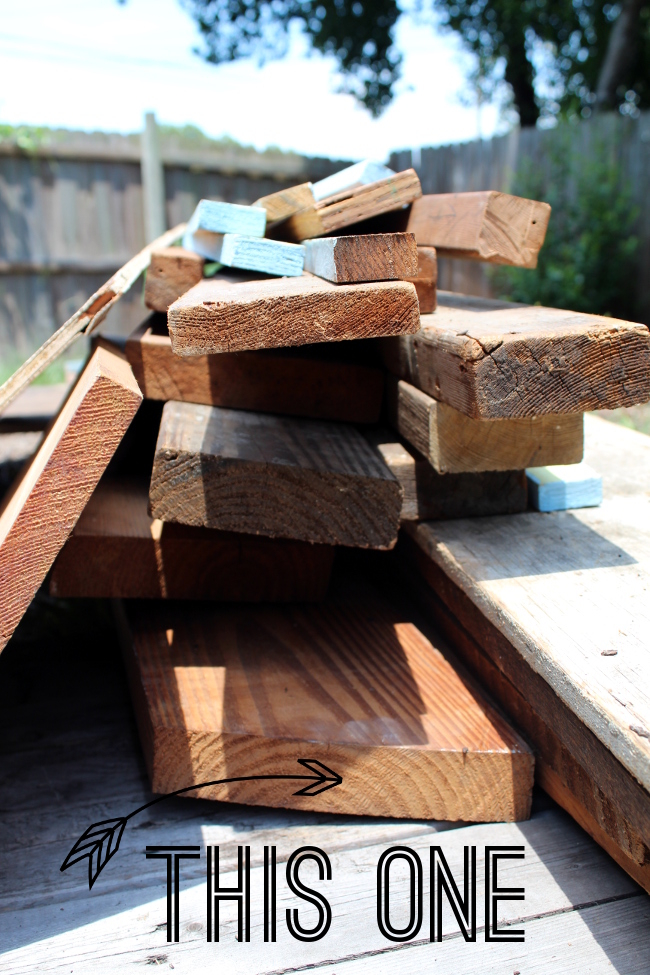
Going into the Style Cure, I knew I wanted to replace the standard metal shelf in our bathroom with thick floating shelves. I also knew what wood I wanted to use for those shelves, which was a thick piece from a pile of scrap wood I bought at an estate sale.
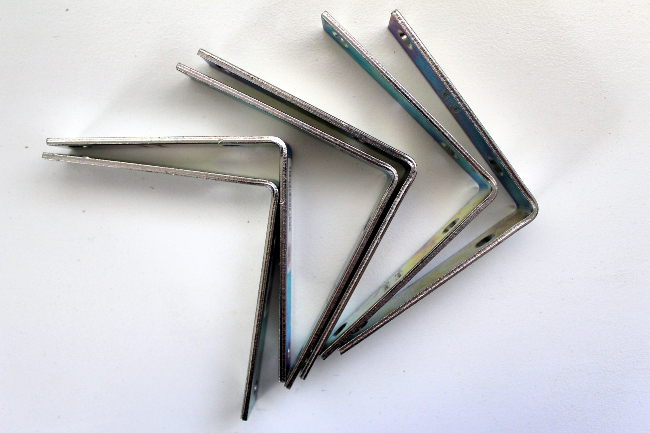
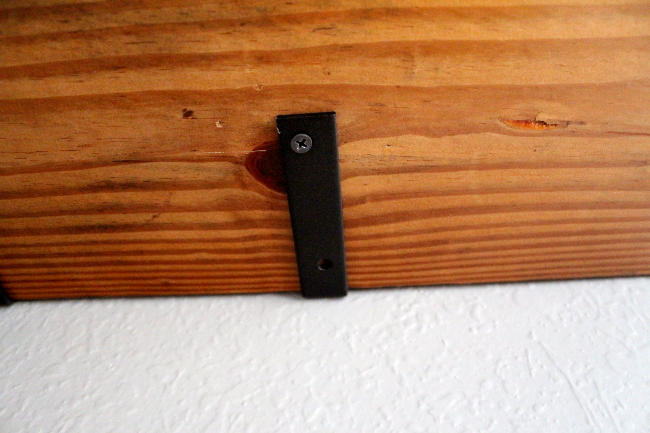
In order to achieve a floating shelf with the wood I had in mind, I would have needed floating shelf brackets like these. The problem with those brackets were A) the price, and B) the distance. Then, I saw this image on Pinterest and immediately knew I had found my solution. So I started with standard L-brackets I purchased at Lowes for less than $3 a pop.
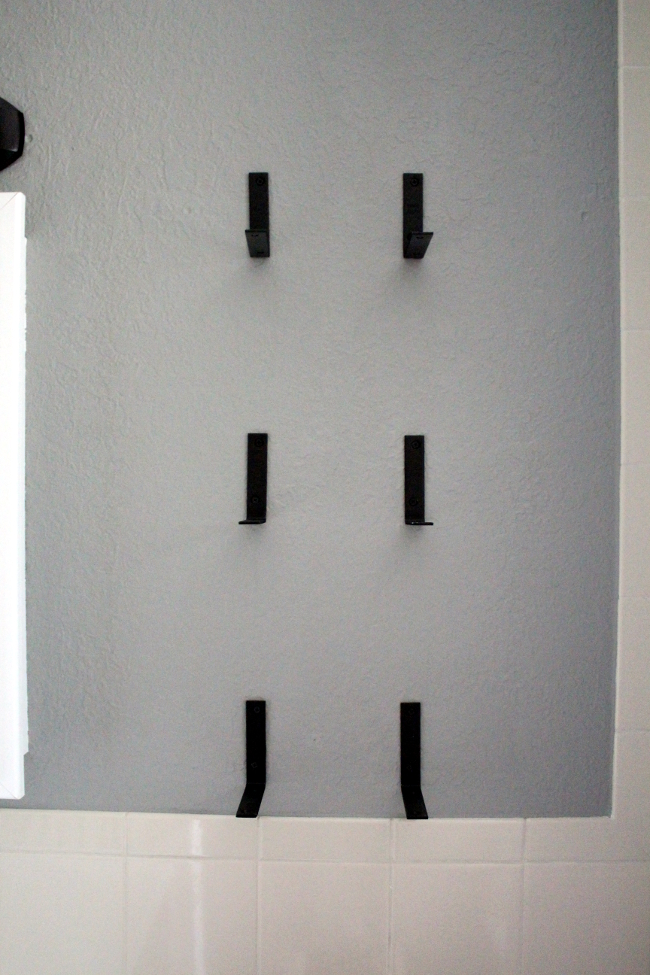
I spray painted them using the same can of paint I used for the cabinet knob, soap pump, and light fixture then installed them, upside down, on the freshly painted wall. One row of them are screwed into a wall stud and the other row is installed with heavy duty anchors (I like using toggle anchors).
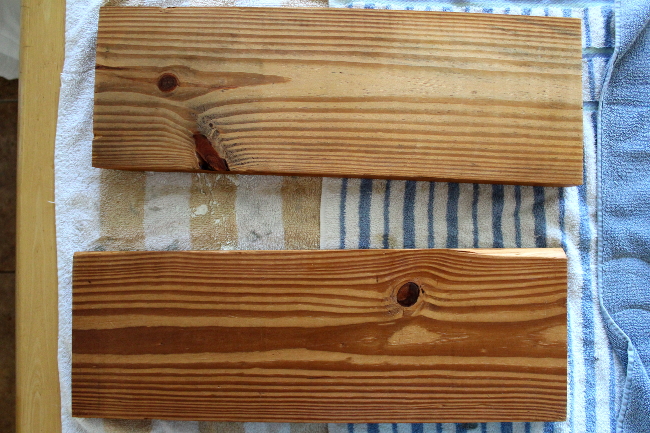
Once that was done, I moved on to preparing the shelves. After Philip cut them to size for me, I sanded them down with an orbital sander to sand away all the dirt and scuff marks from being in a garage for who-knows-how-long. I wish I had taken a before picture because, wow, what a difference it made.
I then set them up on the brackets to decide if I wanted to stain them or leave them be. It was a tough decision, I even asked for advice on Instagram and Twitter. Eventually, I settled on just sealing them with Polycrylic, which I already had on hand. (Thanks, @lamourcheznous for the encouragement!)
I set up shop on our dining table and sealed the fronts and sides with three thin coats of semi-gloss Polycrylic, using a foam brush and sanding with 220 grit sandpaper between each coat. The next day, I flipped them over and sealed the other side. Here they are bare…
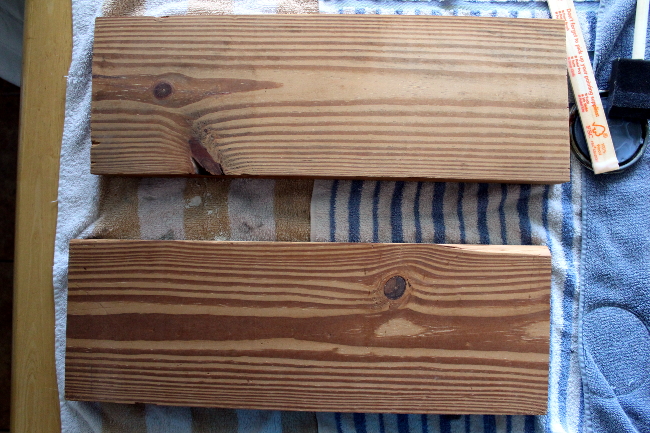
…and here is just one coat.
Once all sides were sealed, I allowed them to sit overnight then quickly got to installing them. I could barely wait, I tell ya!
Oh yeah, and then this happened. That’s a broken bit right there. Which, by the way, happened to me while installed the brackets (forcing me to move them all up a half-inch). This has also happened to me while hanging our living room shelves and the children’s shelves. What is it with me and broken bits?!
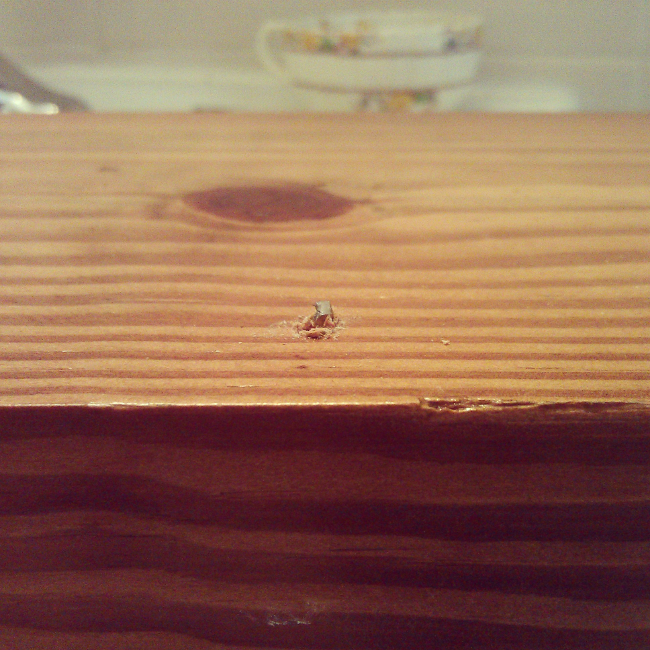
Although I will need to replace that drill bit, I thankfully no longer needed it for this project. I couldn’t remove the bit with pliers and I couldn’t move the shelf over without it looking wonky, so here is how it is looking.
I’m not worried about that shelf toppling over on anyone, since it is just holding towels and a nearly dead plant.
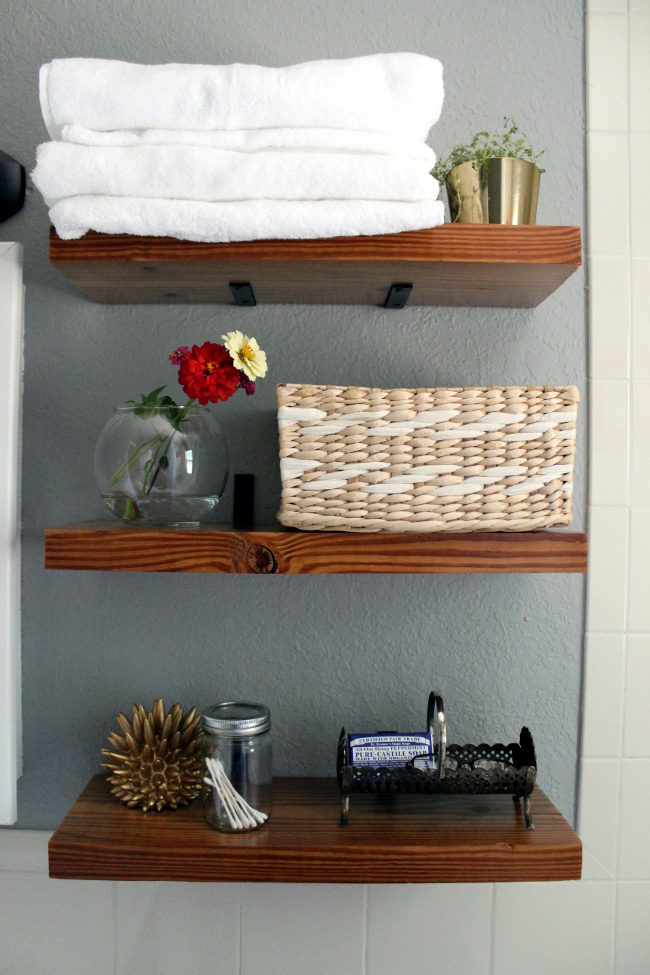
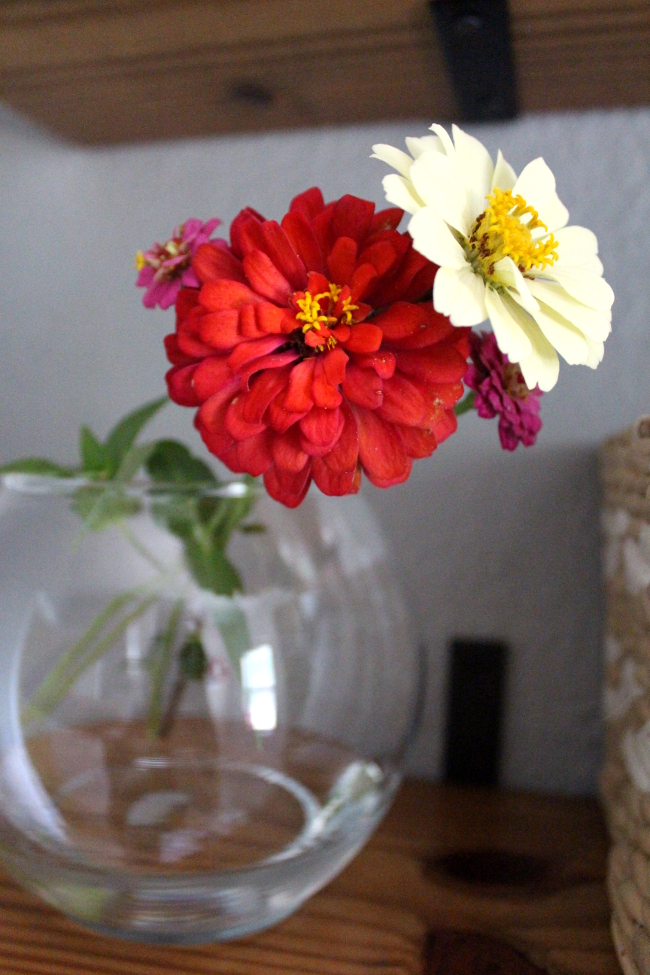
I bought the towels at Target while they were on sale and everything else I had on hand. Those zinnias are from our front yard and that vase was a thrift store find I forgot to share with you all. I’m horrible, I know… you might as well arrest me for withholding information, I plead guilty.
That weird vintage metal thingymabob is also a thrift store find that I did share details on. I thought about spray painting it but haven’t. I still may one day but for now it looks pretty nice housing a bar of soap and glasses.
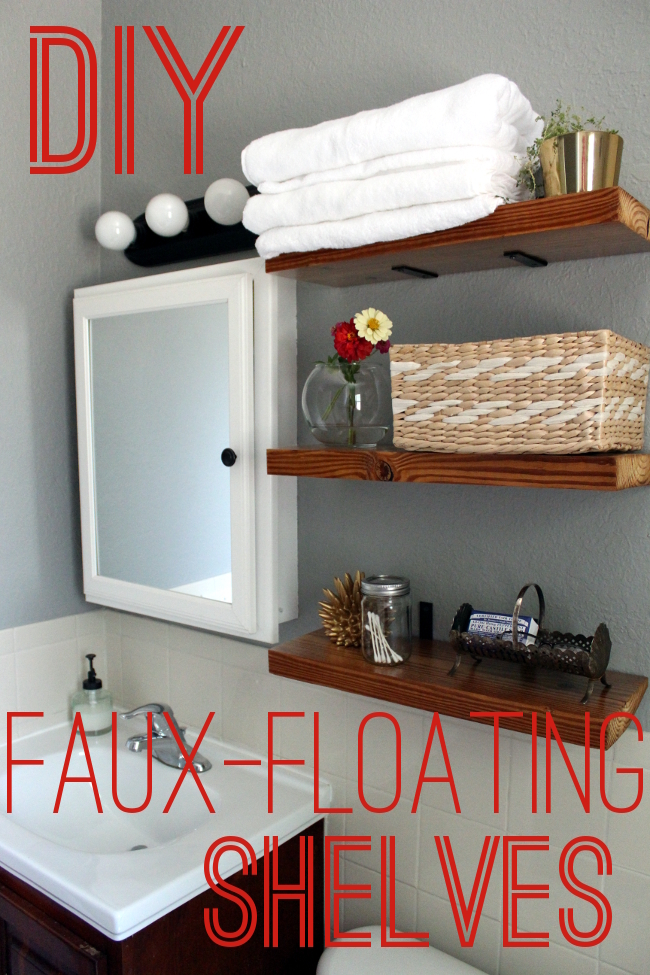
Since I already had the wood, Polycrylic, and spray paint on hand, this project only cost me $18. I am all googly eyed over the patterns in this wood, check out those knots! I have no idea what type of wood this is but that doesn’t matter too much.
This tiny little bathroom is definitely coming along quite nicely. All that’s left to do is hang art, which I am still deciding on. In a couple of days I will show you the finished product… oh the anticipation!


Been loving following this! Your bathroom is looking great! Amazing what a can of spray paint can do. Thanks for sharing on Apartment Therapy/
Thank you and thanks for following along!
Looks great! Fab styling. I'd probably keep the tray as is. It is super, duper cute. Go, you!
Thanks! It is starting to grow on me…
Beautiful! I found you via pinterest and I am inspired to do this in my children's bathroom. Just wondering, what is the depth and thickness of the wood?
Thank you!!
Cecilia
Hey Ceci, the depth is 7 1/4" and the thickness in 1 1/2"… hope this helps!
Hi Kimberly,
Just found you on Hometalk. I love your bathroom makeover. Those floating shelves are high impact with the beautiful strong grain in them, and I really like the metal thingymabob, too!
Have a great day!
Val
Wow, I love your new bathroom, and thanks for the floating shelf inspiration. I'm definitely not a wood expert, but that might be Douglas Fir you used for your shelves. It looks like the salvaged wood I'll be using to make industrial pipe shelves soon–hopefully I won't break any bits!
I just looked at pictures of Douglas Fir and I can definitely see the resemblance. I hope you learn from my bit-breaking mistakes! Ha!
Are the l – brackets screwed to the bottom of two shelves? If so how did you do it since re brackets are already on the wall. Want to do this but don't know what you did.
I did attach the brackets to the shelves with screws. There is a picture in the post showing the brackets attached to the underside of the shelves. I hope this helps!
[…] I bought them at Lowe's, here's some more info on the shelves for you: http://www.turningithome.com/2013/08/hello-bathroom-shelves.html […]