
I have a thing for lamps, which is sort of like my thing for chairs; I’m always looking out for vintage lamps at thrift stores. After a few months of no such luck and needing (or wanting?) a lamp, I decided to make one. After all, I already had experience in rewiring one.
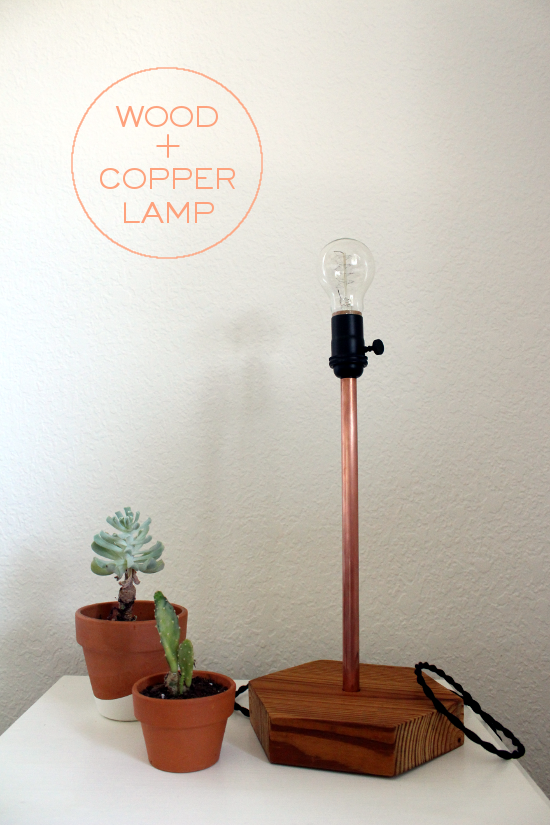
I set out with a style in mind; something simple that would be stylish without a lampshade. However, finding an pretty light socket was harder than I expected. On my search for the right one, I came across Snake Head Vintage. Not only do they have beautiful light sockets, their plugs and cords are also worth drooling over admiring.
Making a lamp from scratch was a bit intimidating but it turned out to be pretty simple. Let’s be realistic here; there were some road blocks, and it takes patience to get the wiring just right – but in the end it all worked out okay.
Here’s what you’ll need:
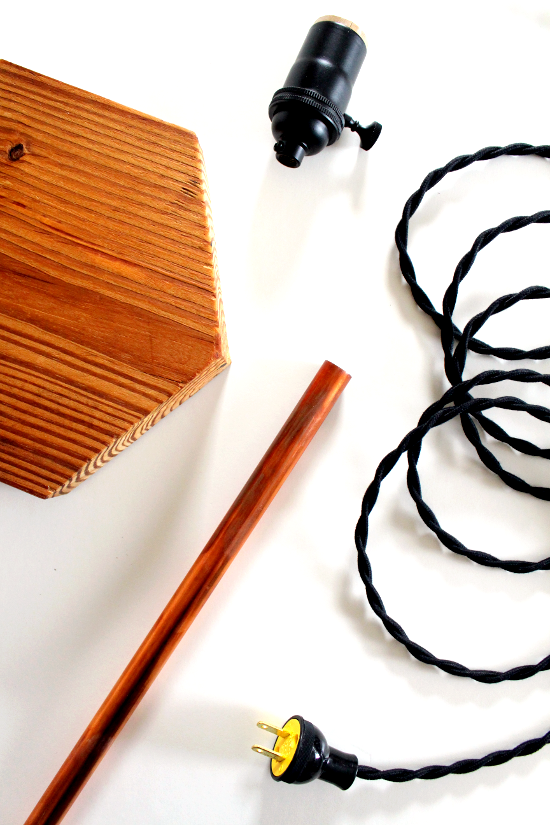
Wood base – I used leftover wood from my bathroom shelves
1/2-inch copper pipe – can be found at a hardware store
Drill bits – one 5/8-inch and one 3/8-inch bit
Light socket – I ordered the Satin Black finish
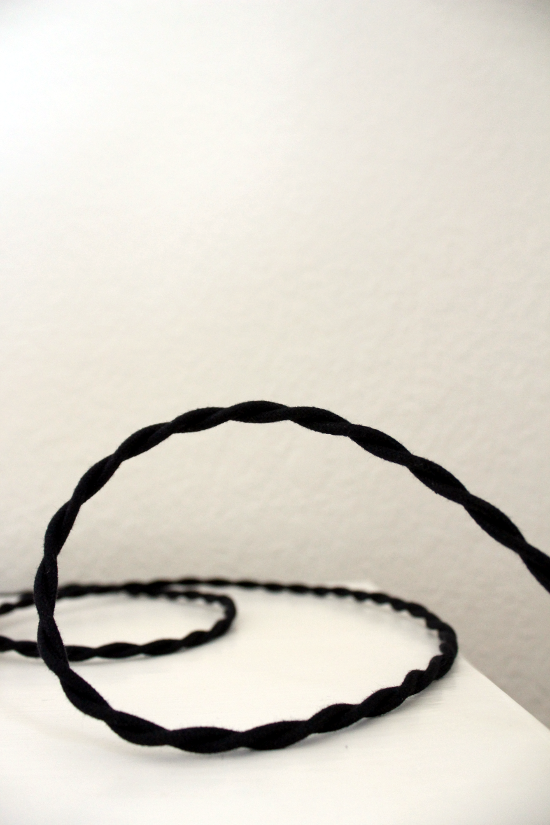
8 feet of cord – I used the black twisted cord in cotton
Electrical plug – Snake Head Vintage will attach this to the cord upon request
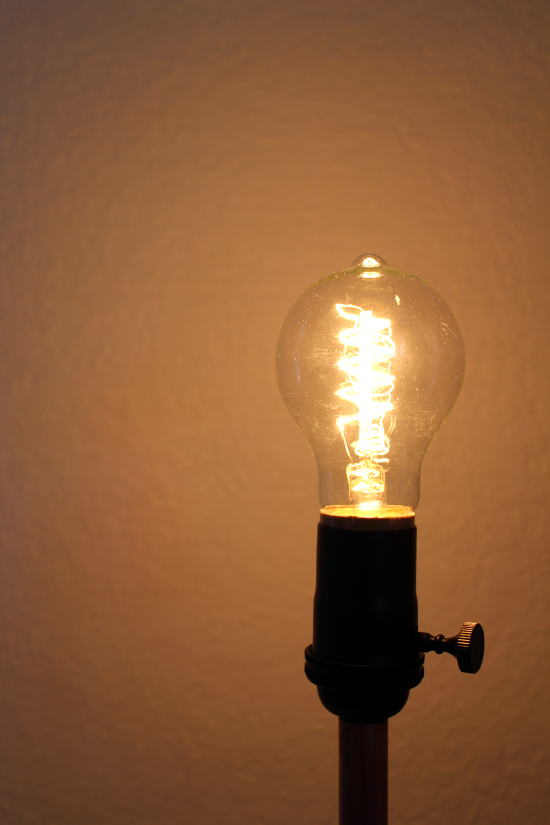
Vintage light bulb – I used the Edison bulb.
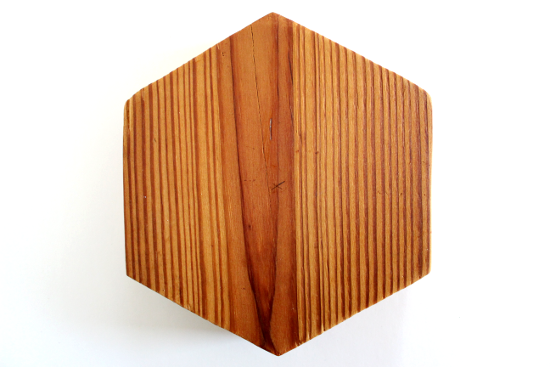
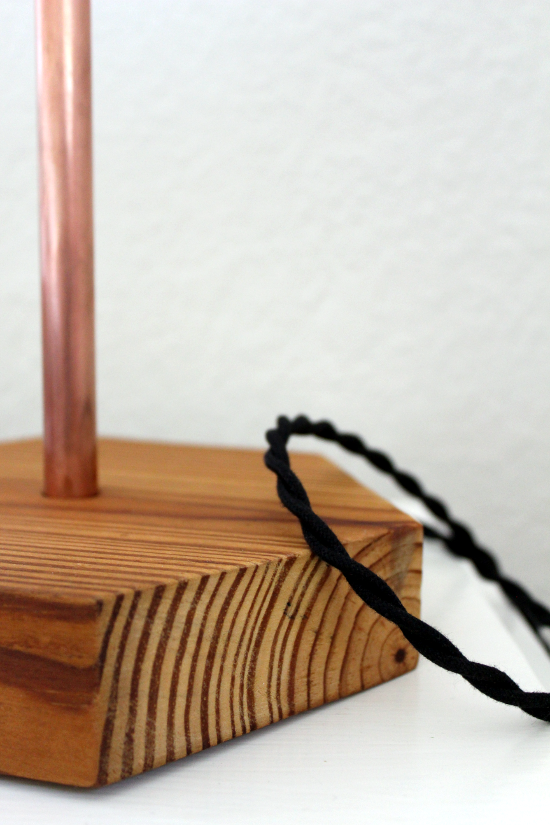
First, prepare your wood base. I was planning using a square shape as the base, but after trying it out it seemed a bit dull – so I went with a hexagon instead. You can do this by printing a template and tracing it onto the wood or, if you’re good with angles, drawing the shape with a ruler or rafter square. The edges of this hexagon are 4 inches each. You’ll also want to cut a “notch” from the center of the wood to one edge in the bottom for your cord to set in. This will allow your lamp to sit flush with a flat surface.
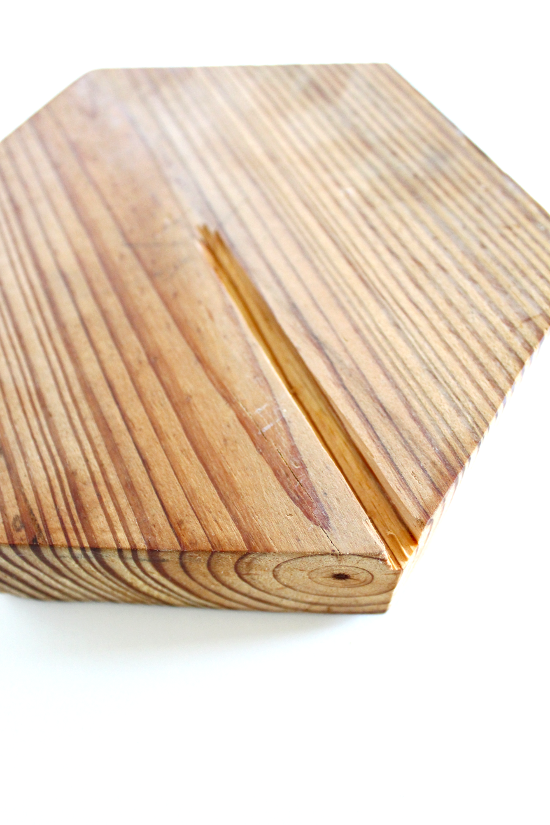
After cutting your shape, sand the wood and either stain and seal it or just apply a finish. I left it unstained and used Howard’s Feed-N-Wax as a finish.
Then, find the center of the wood and using your 5/8-inch drill bit, drill steadily into the wood, making sure not to go through to the other side. Steady is key here; if your drill wobbles, the pipe won’t fit as snugly into the hole. Learn from my mistake.
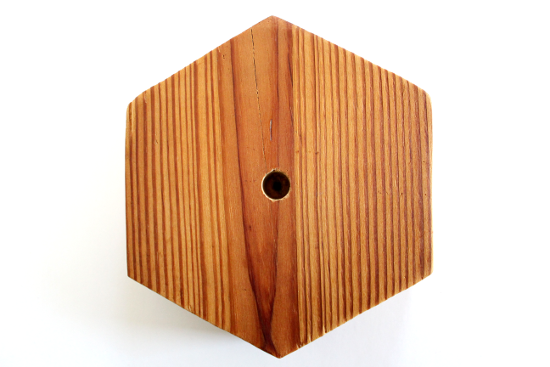
Next you’ll drill the rest of the way through using the smaller drill bit. This hole will be for the cord to weave through the wood and copper pipe to the light socket. Is any of this making sense yet?
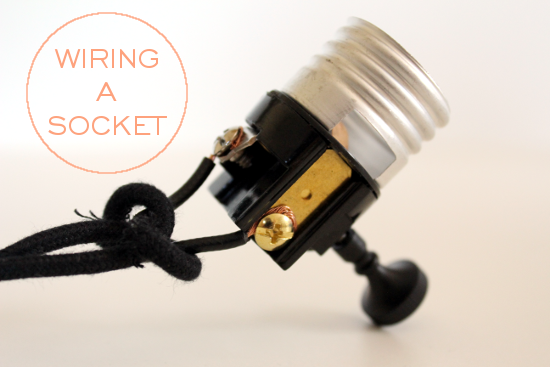
Now comes the wiring. You’ll need to disassemble the socket and make sure the cord is not plugged in.
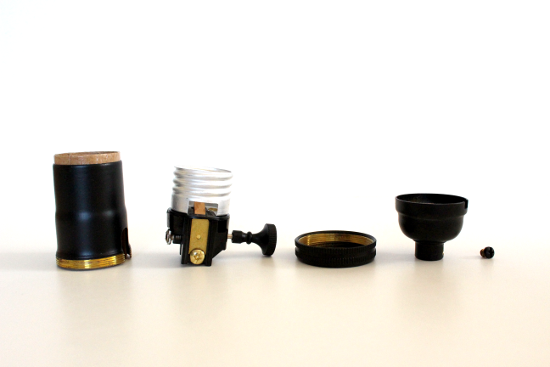
Set your copper pipe into the wood base and starting at the bottom, string the cord through to the top of the copper pipe. Also string through the base of the socket. I had asked Snake Head to attach the plug to the cord I had ordered, so that saved me the headache and the extra step.
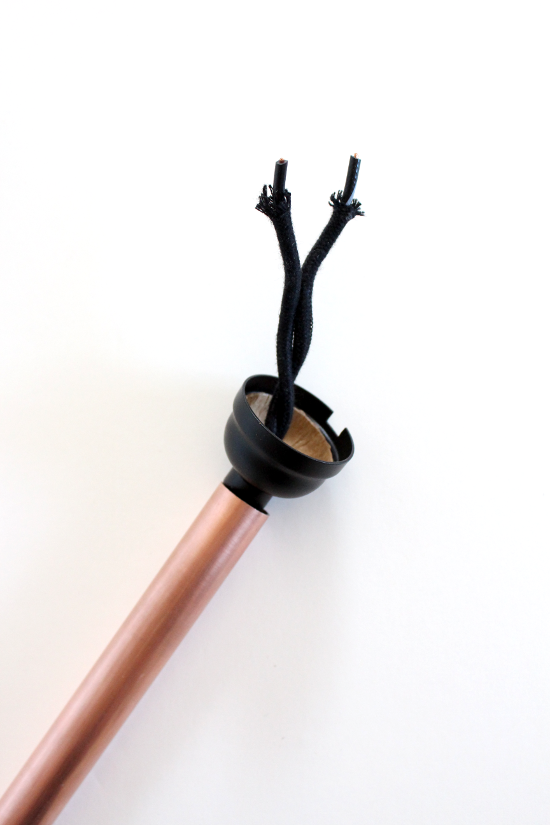
Trim back the cloth cord covering and the wire casing to expose about 1/2-inch of both wires using a wire stripper. Tie an underwriter’s knot (pictured here) and feed the neutral wire to the silver (neutral) terminal and the hot wire to the brass (hot) terminal. The neutral wire will be marked somehow; either by a “raised rib” or a colored line on the casing. The neutral terminal is silver. If this is all sounding a little confusing, refer to this diagram for further detail.
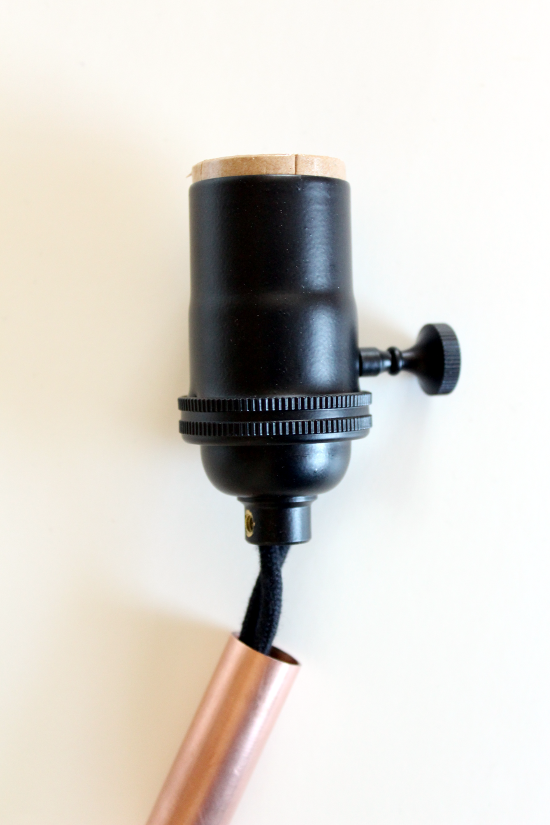
Reassemble the socket and gently pull the cord taut so that the socket settles into the copper pipe.
That’s it! Oh, except for adding a light bulb and plugging it in of course.
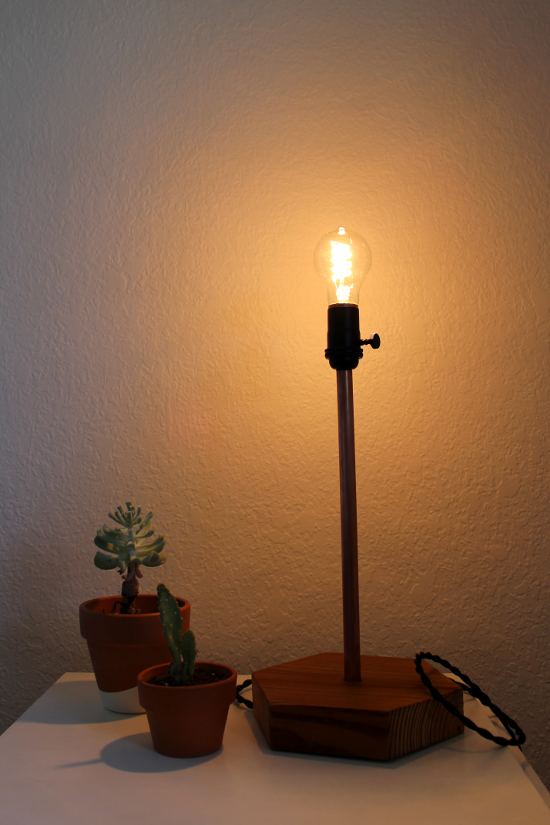
This light came out exactly how I hoped it would and was simple enough for a inexperienced DIY-er like myself. Have you ever tackled making your own lamp?
Snake Head Vintage generously provided Turning It Home with the materials to make this light fixture. All opinion’s are still honestly provided by me.


[…] with the 3/8-inch bit. Is this getting a bit familiar by now? I used the same method for the copper lamp and the glass door knob coat […]