
Remember when I made a free Christmas tree by collecting branches from a tree stand? Well, when I collected those branches I also snagged some Christmas tree rings and have had them laying around ever since. So when I saw that Sherry and Katie from Young House Love and Bower Power were doing their quarterly Pinterest challenge, I hopped right on the opportunity to get this little project done.

I saw these painted tree rings on Pinterest for $75-$150 almost a year ago and have been jonesing to make some of my own. You’ll need tree rings that have been seasoned, which means air dried so that they are no longer moist, craft paint and paint brushes of various sizes.


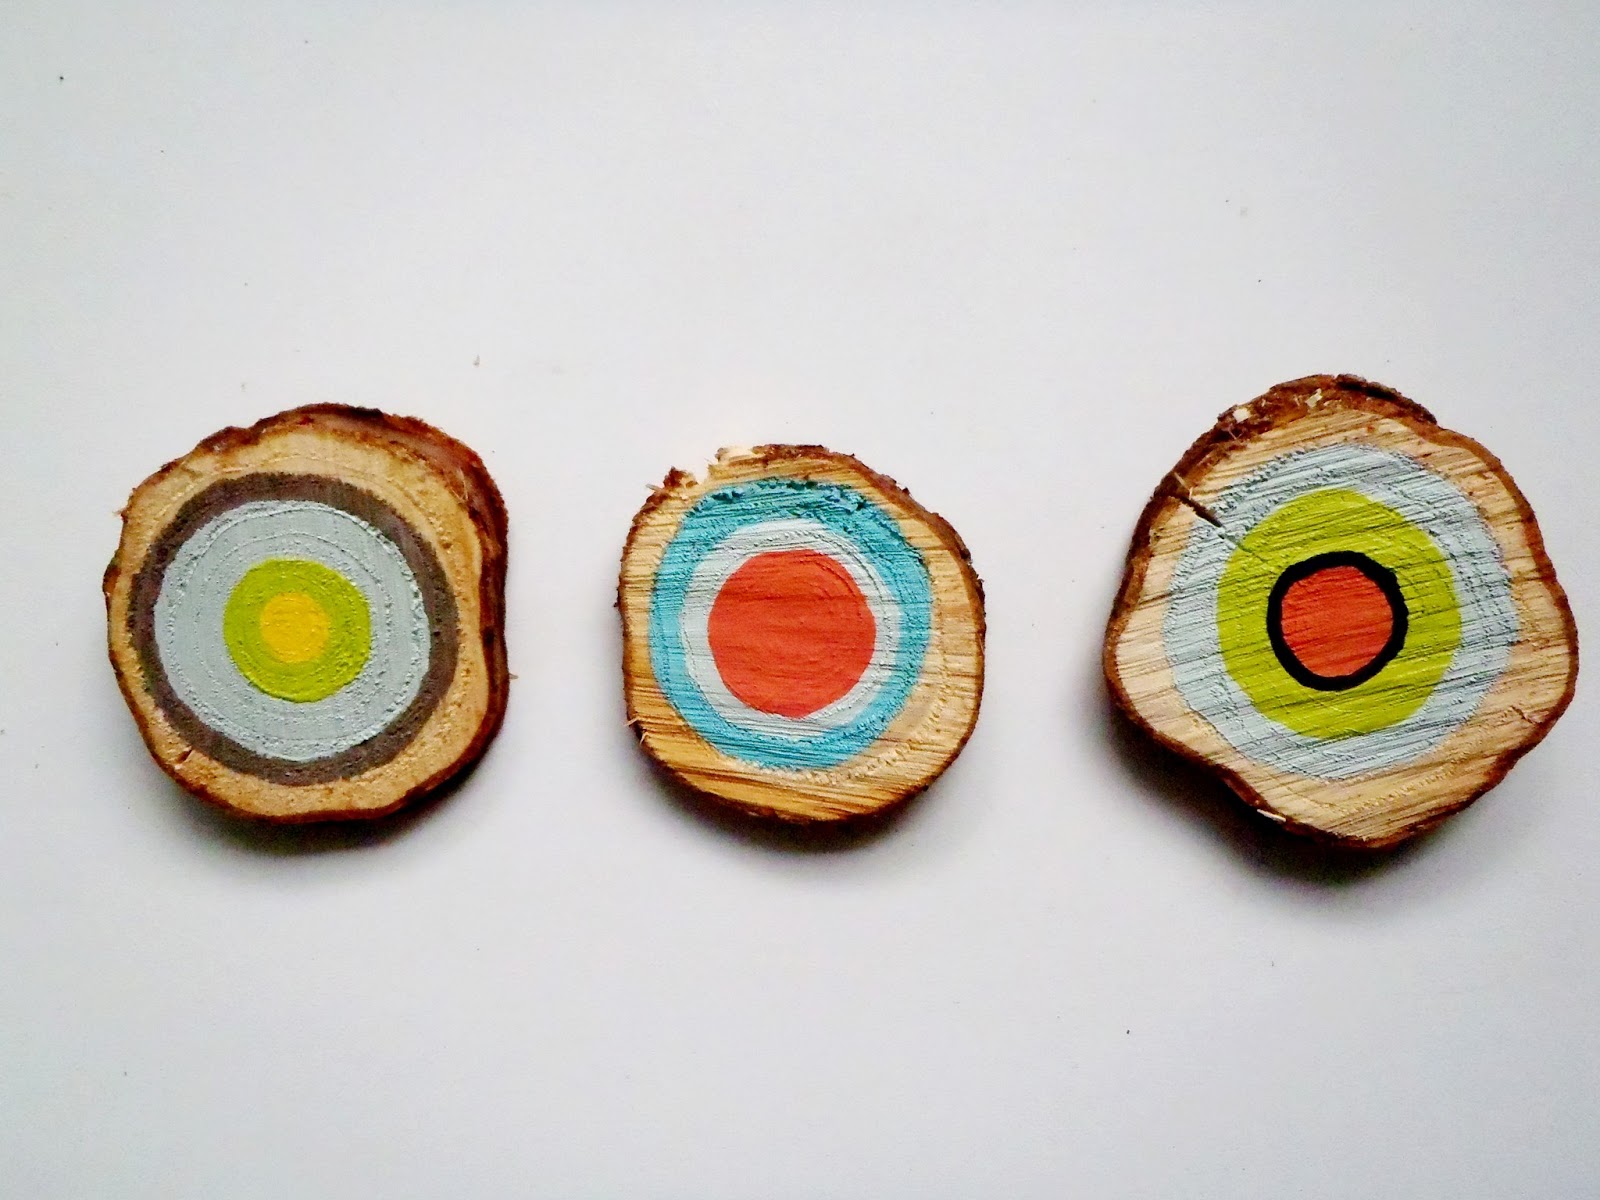
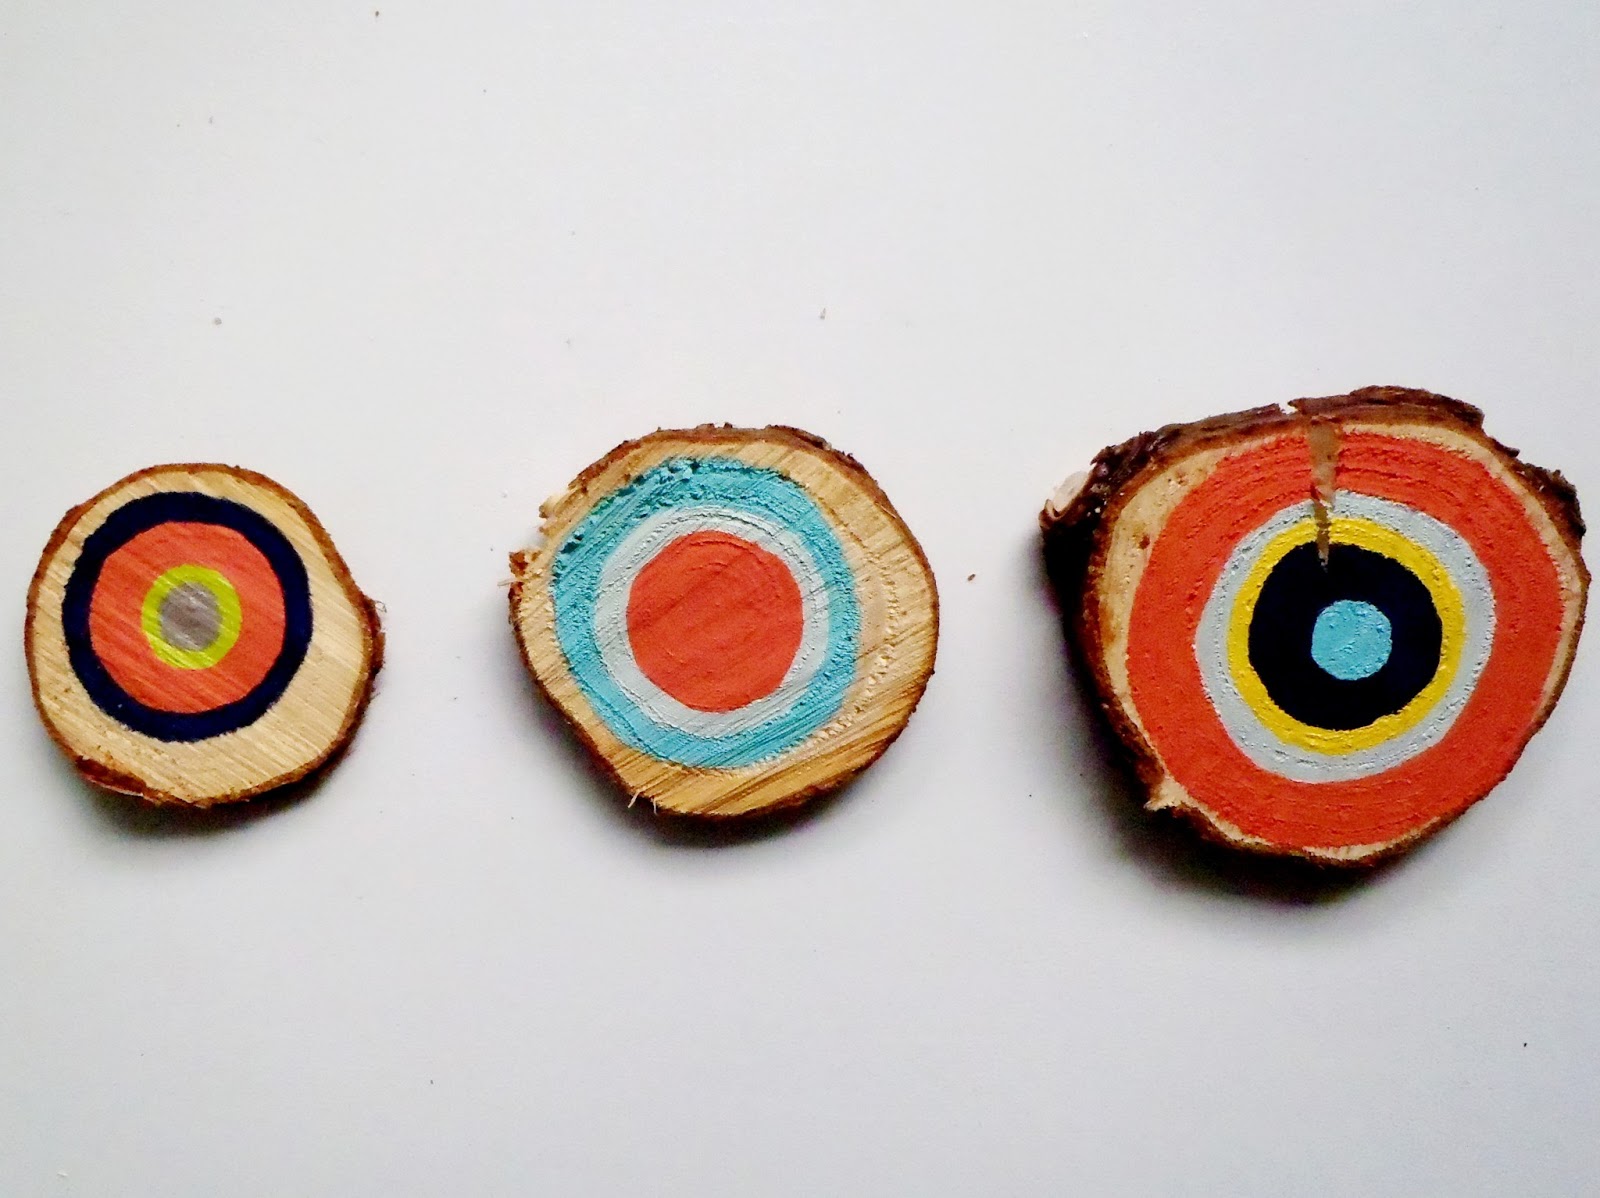
Then I just picked out a color and painted away, letting the layers dry before painting another color.
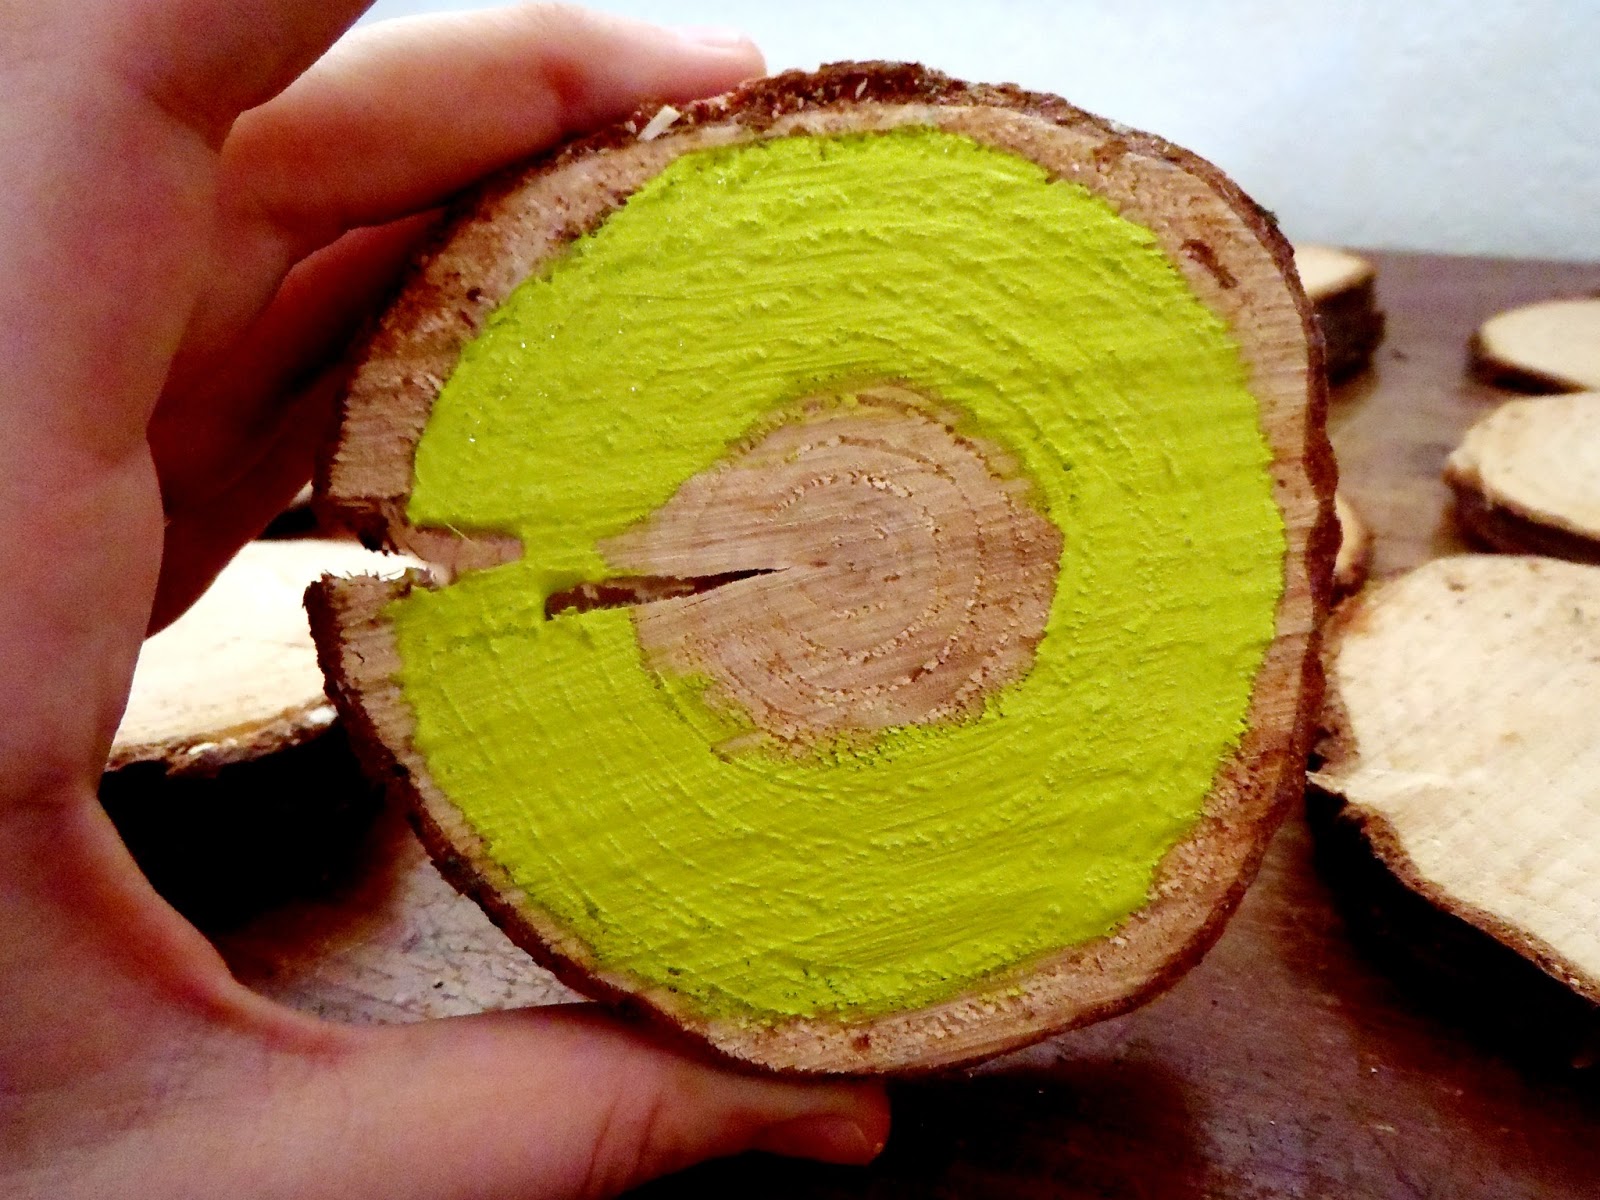
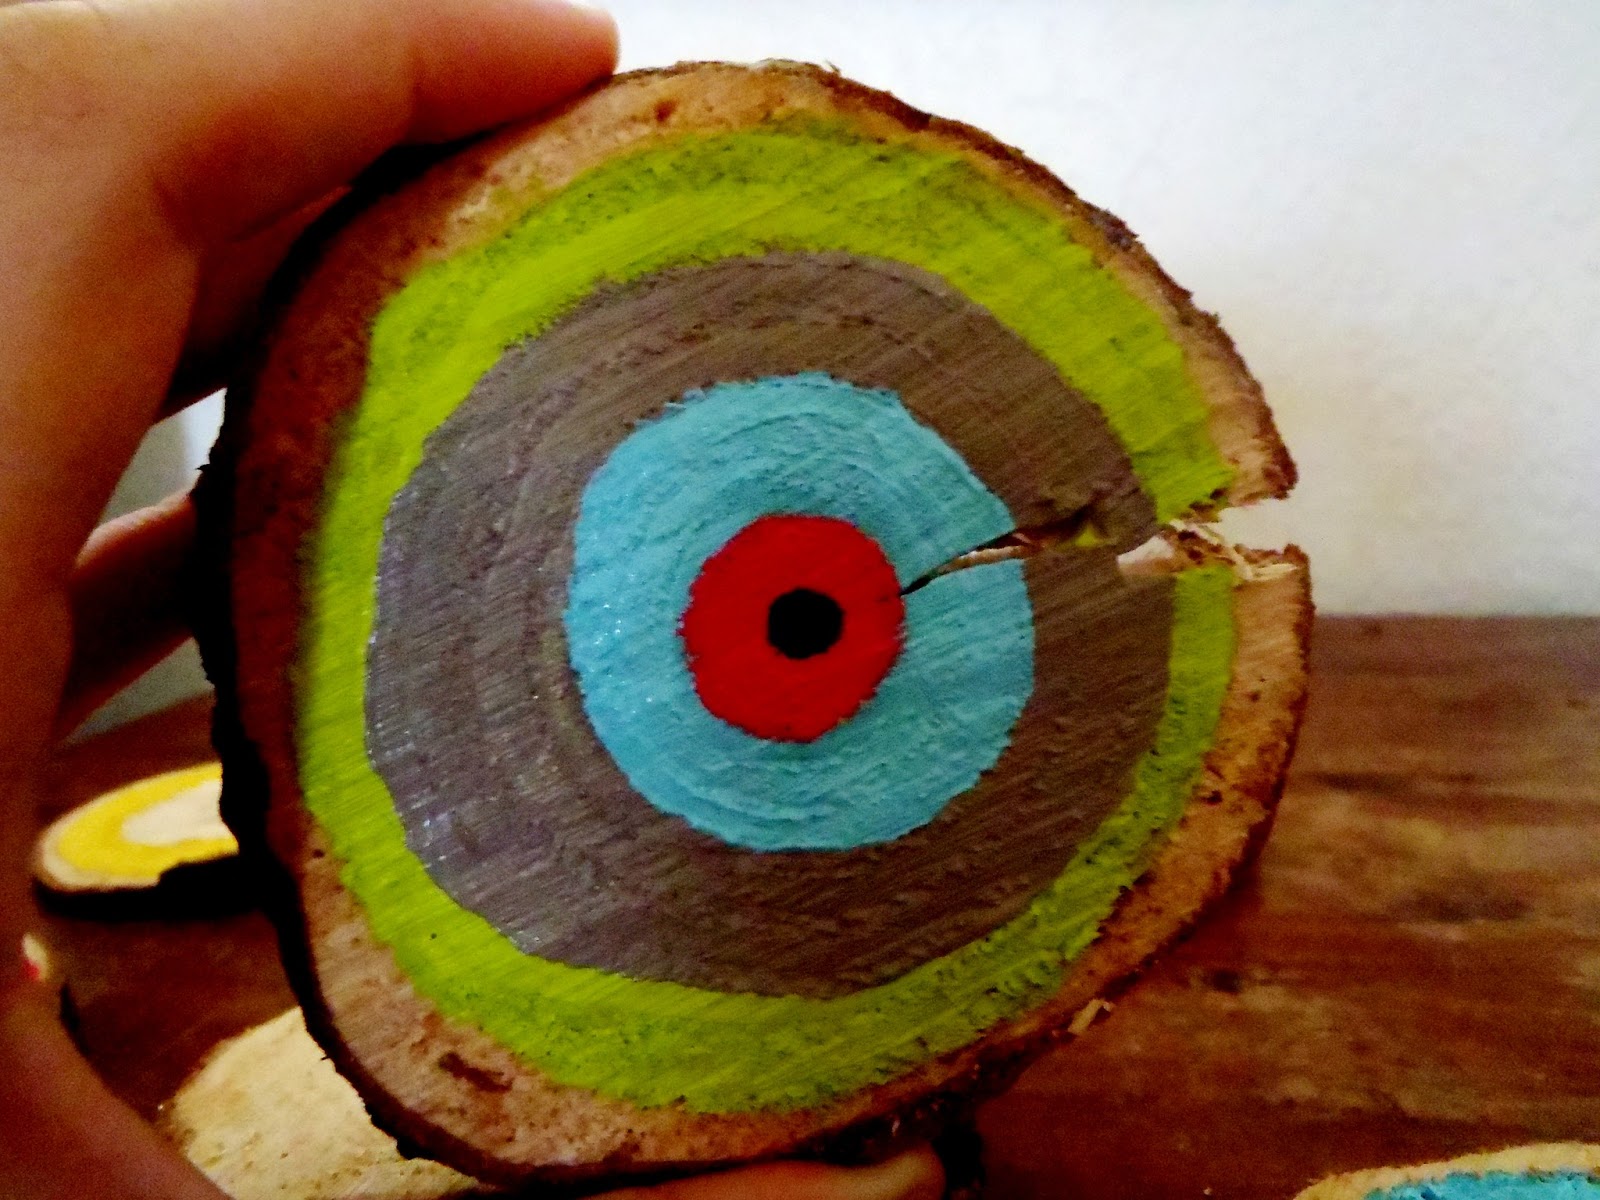
It was pretty cool to watch them transform. I wasn’t very happy with the hot pink so I mixed the pink with some yellow to make a coral and I love it. I wasn’t digging on the lime green either, but nothing a little gray paint mixed in couldn’t fix. It really did make a difference.
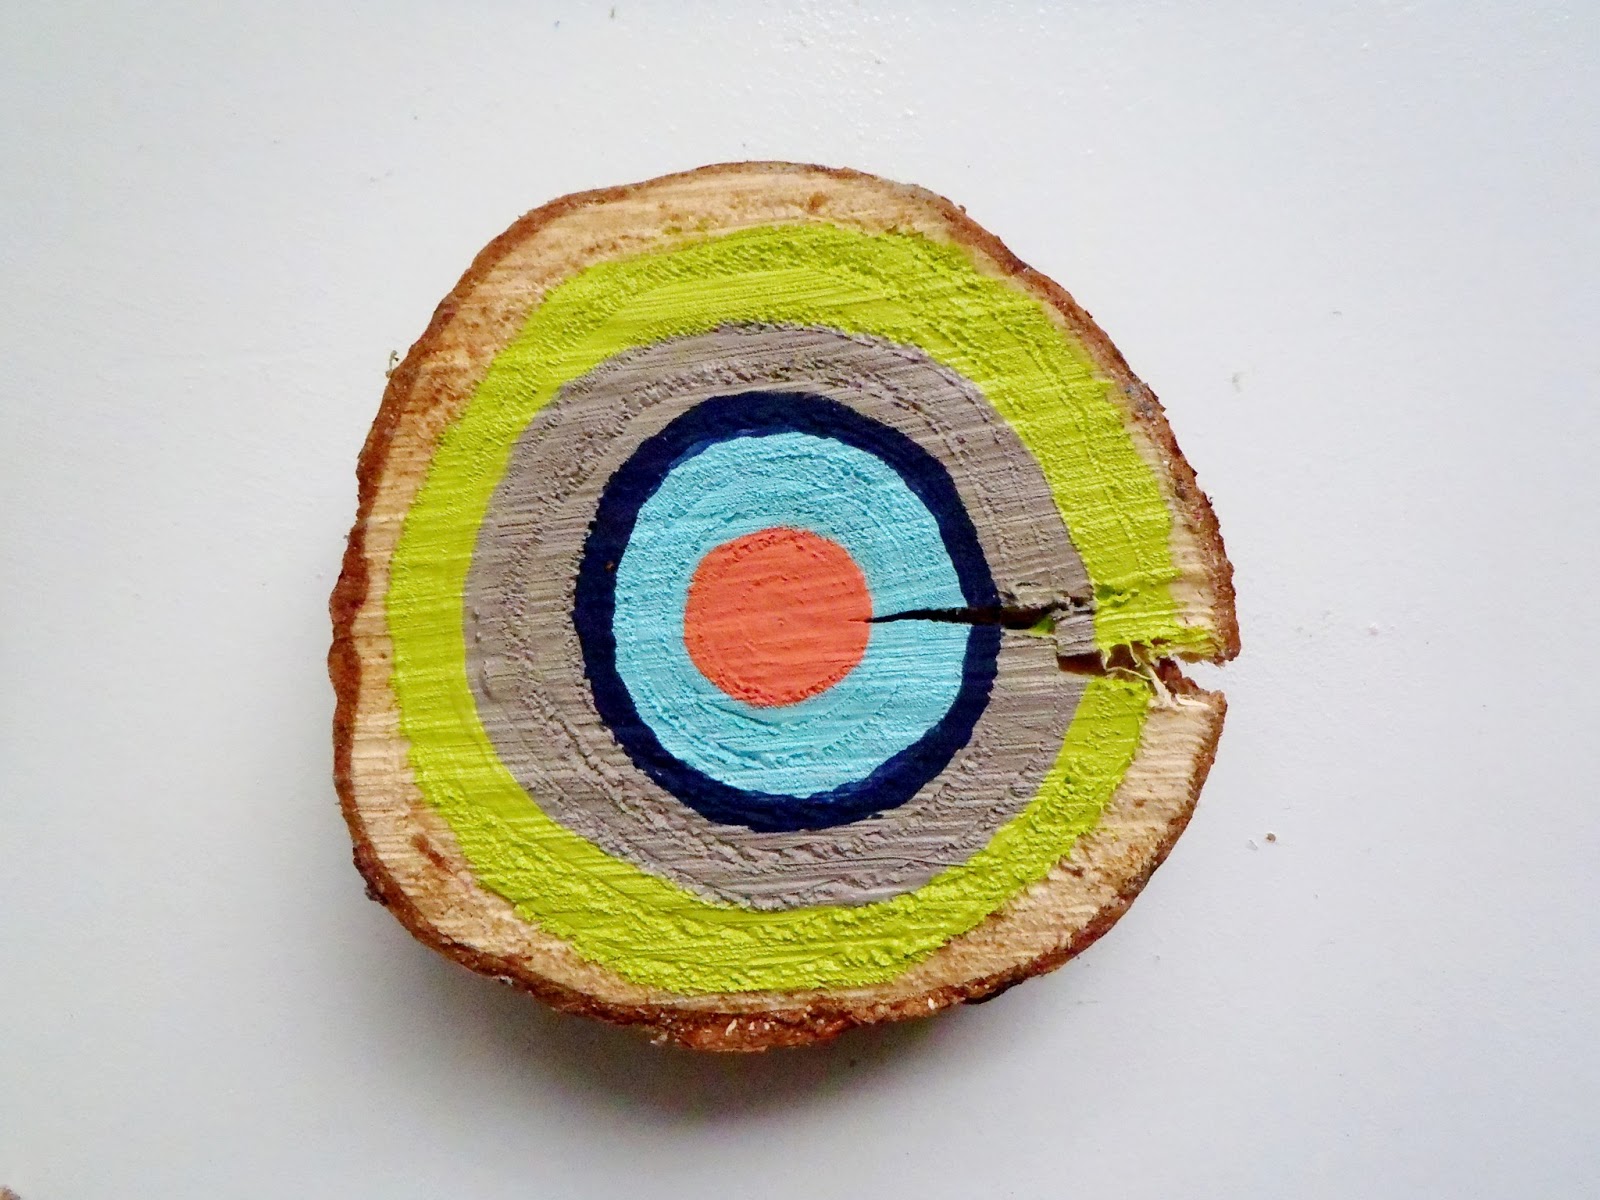
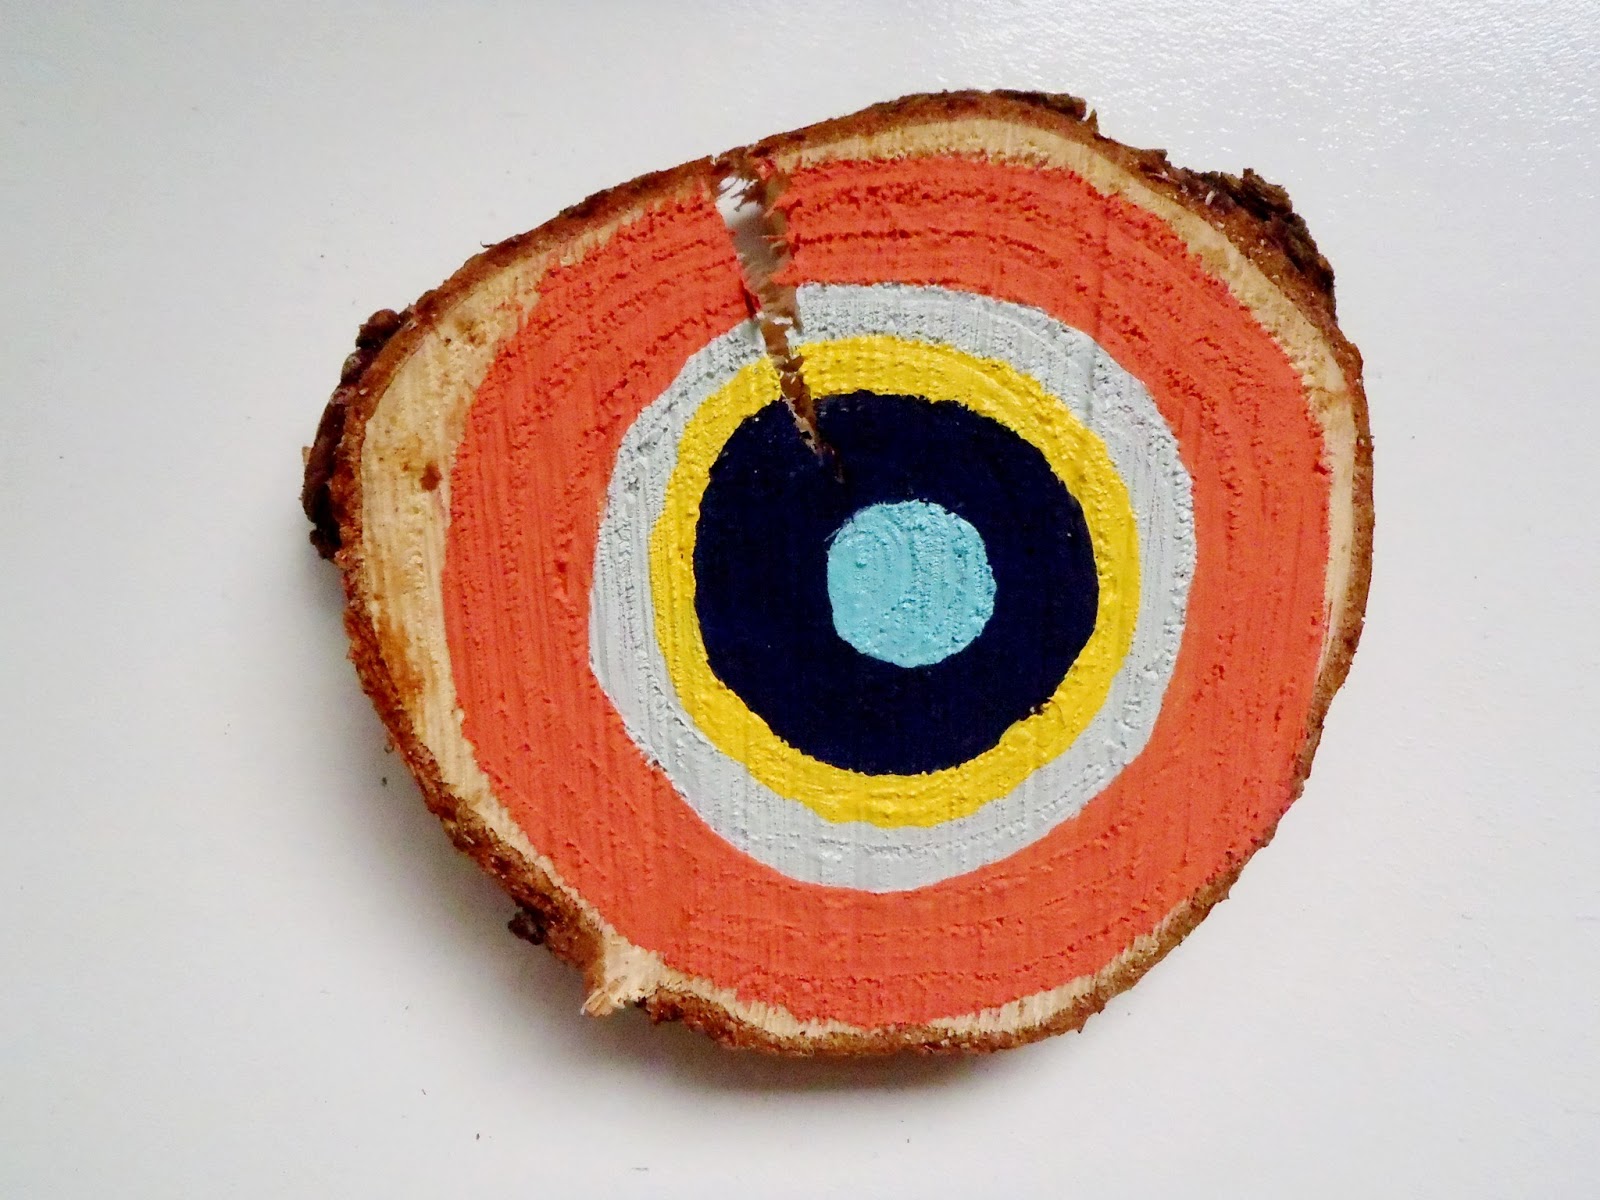

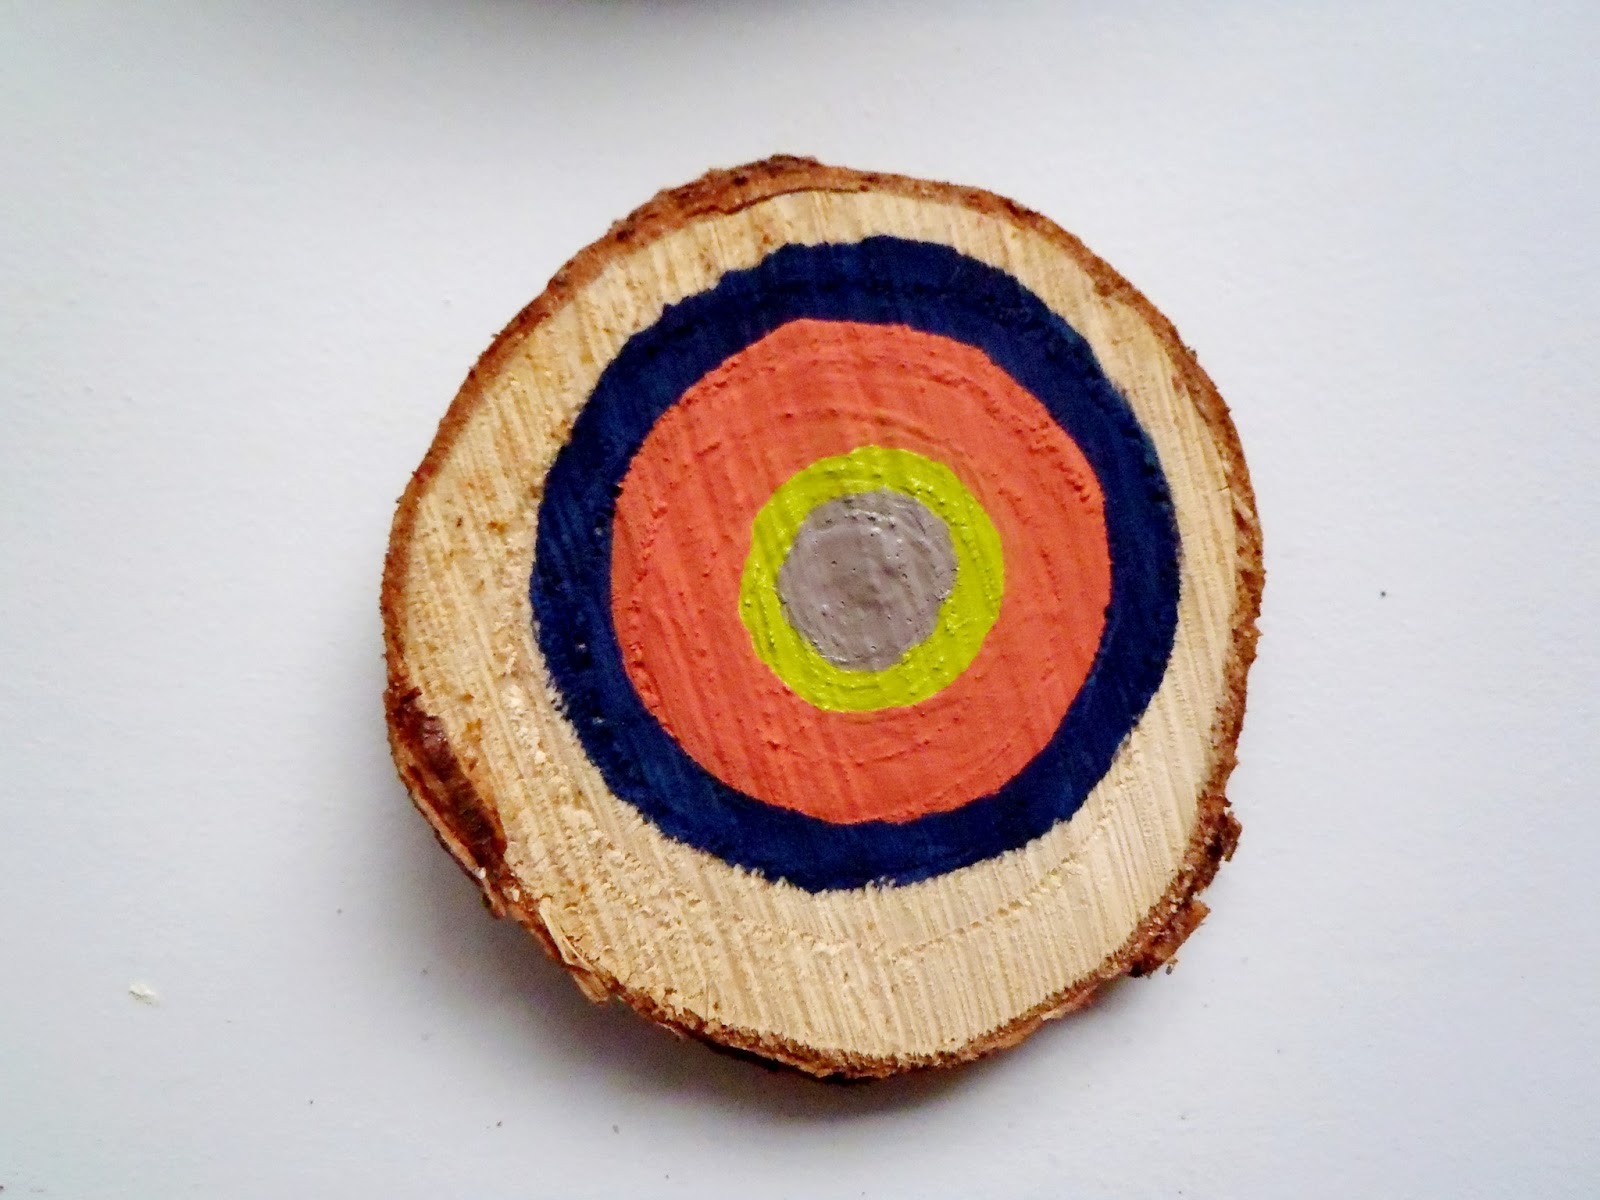


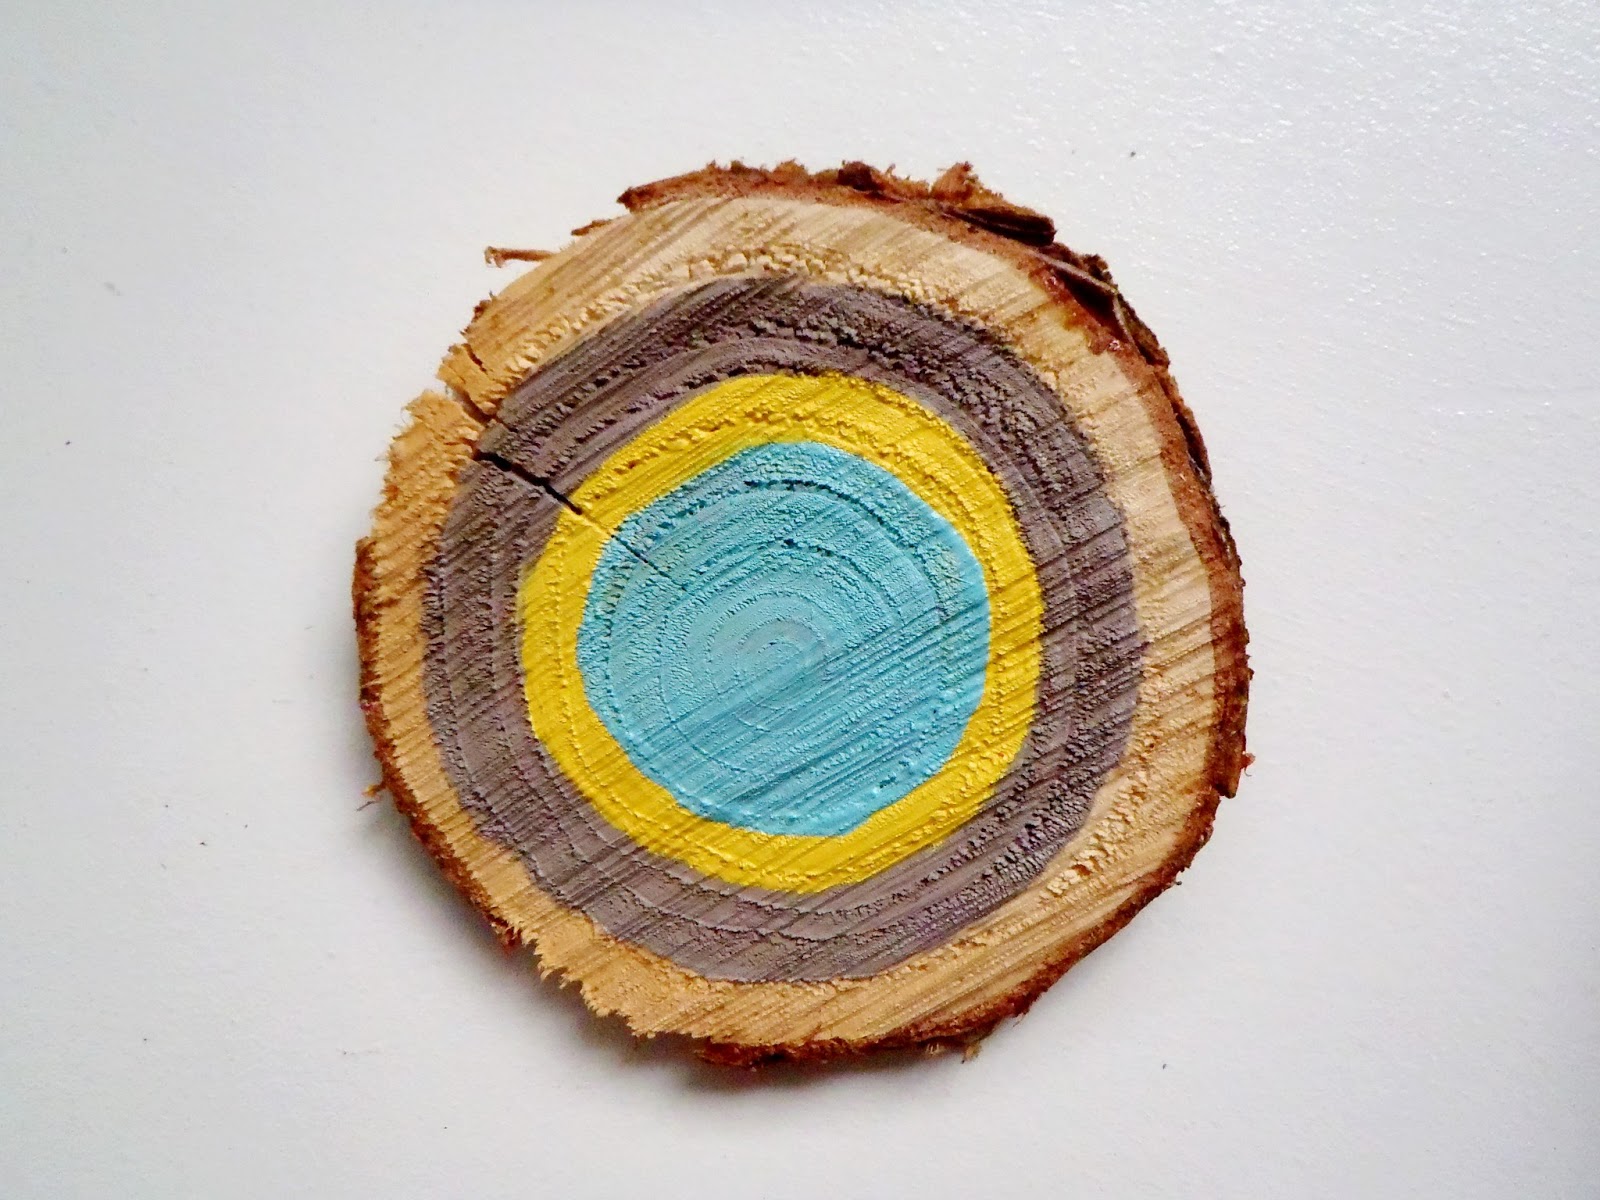
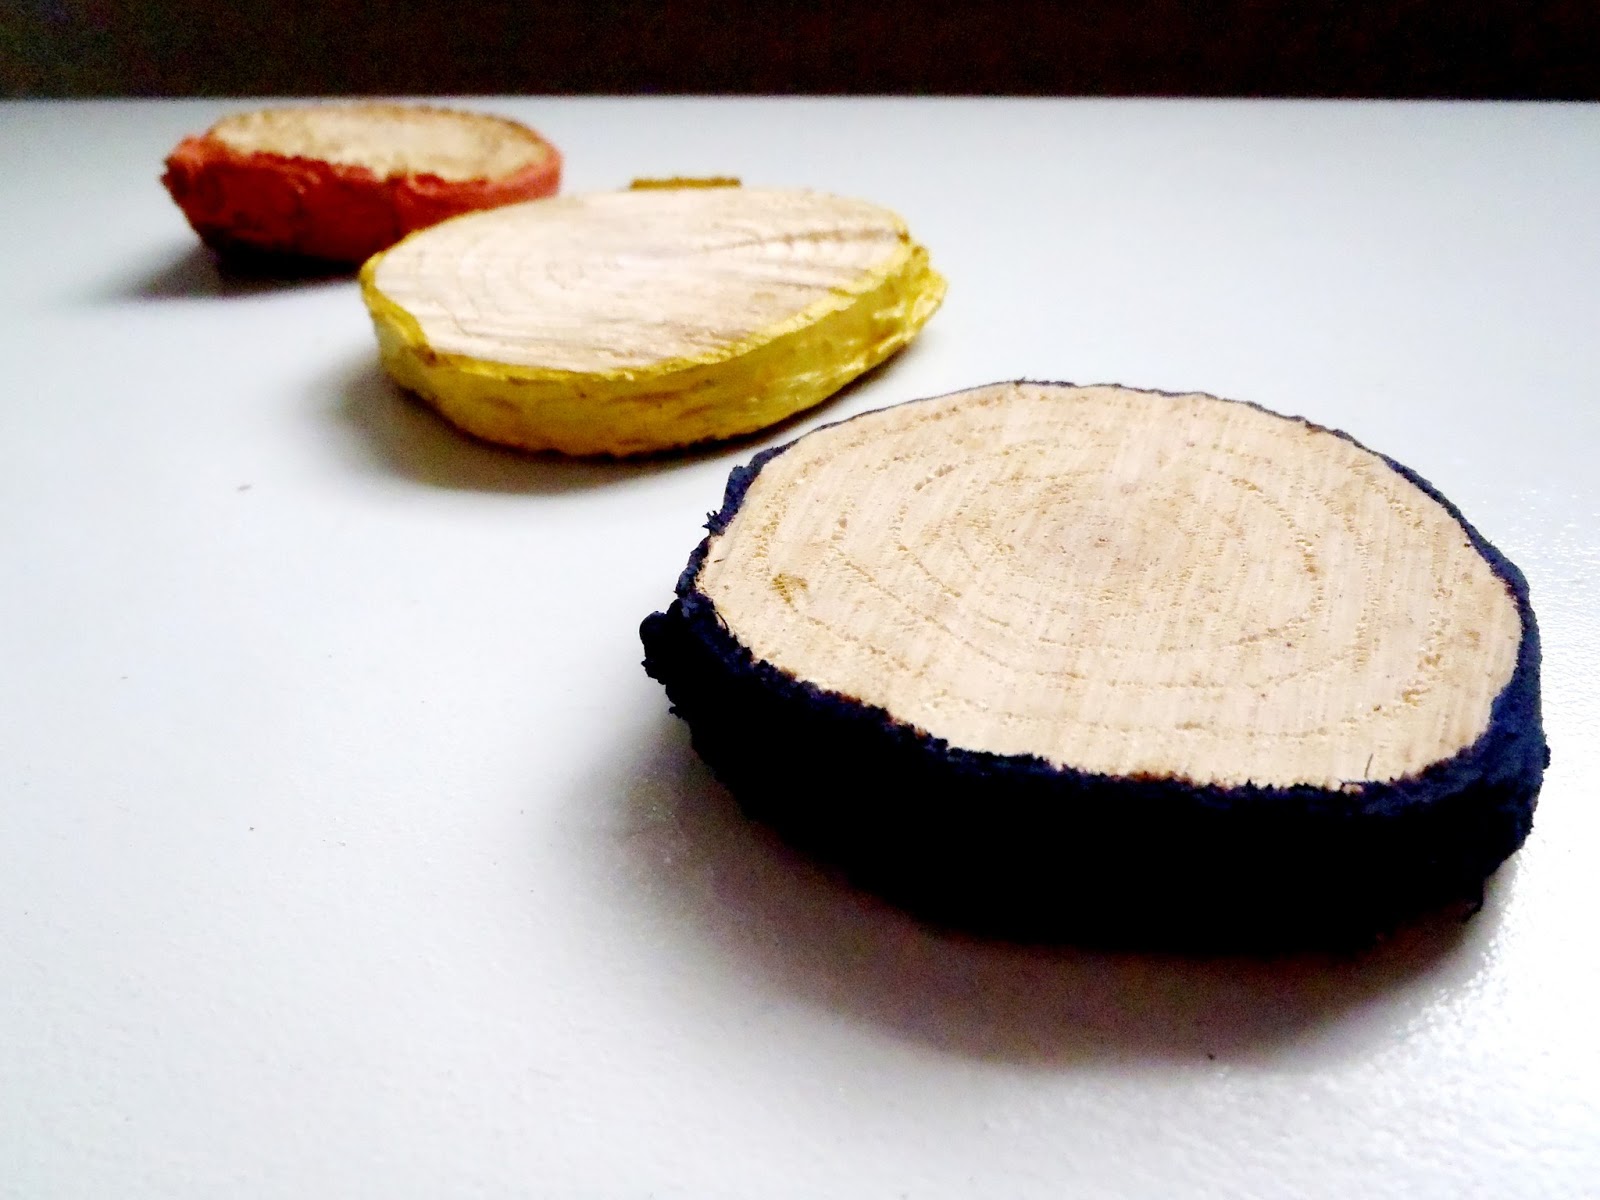
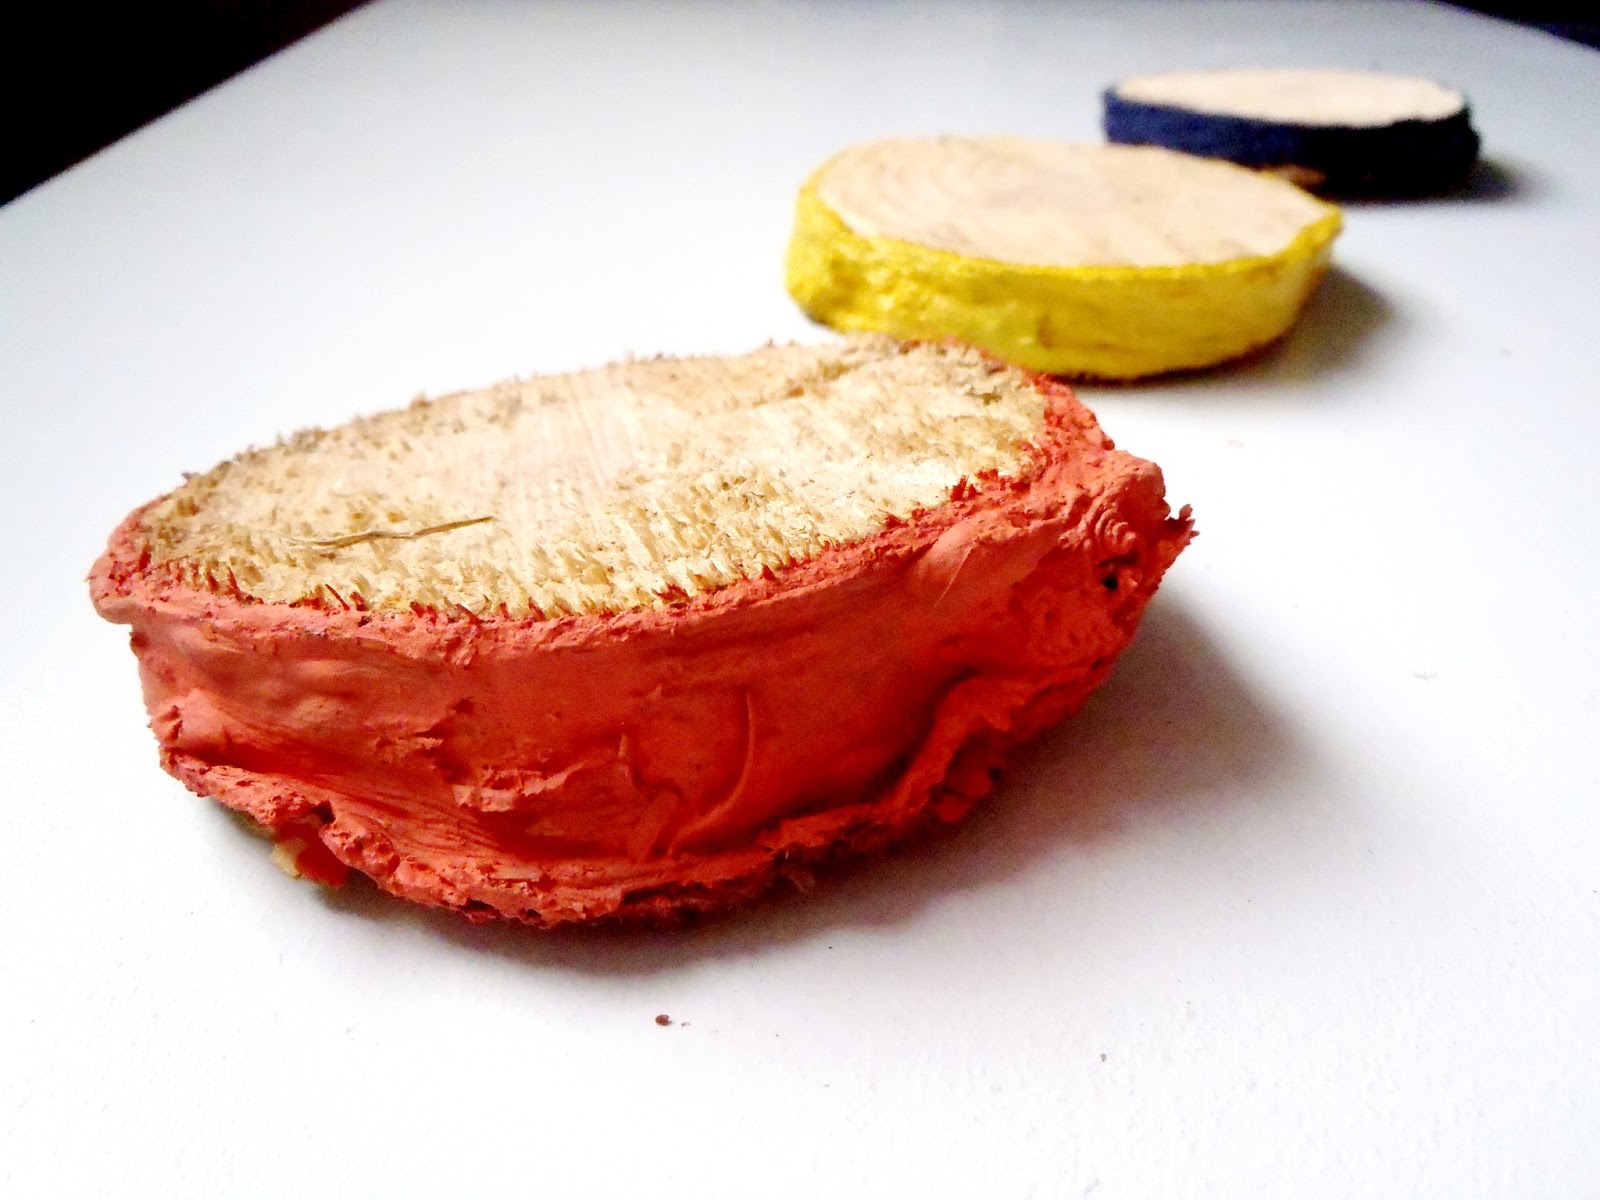
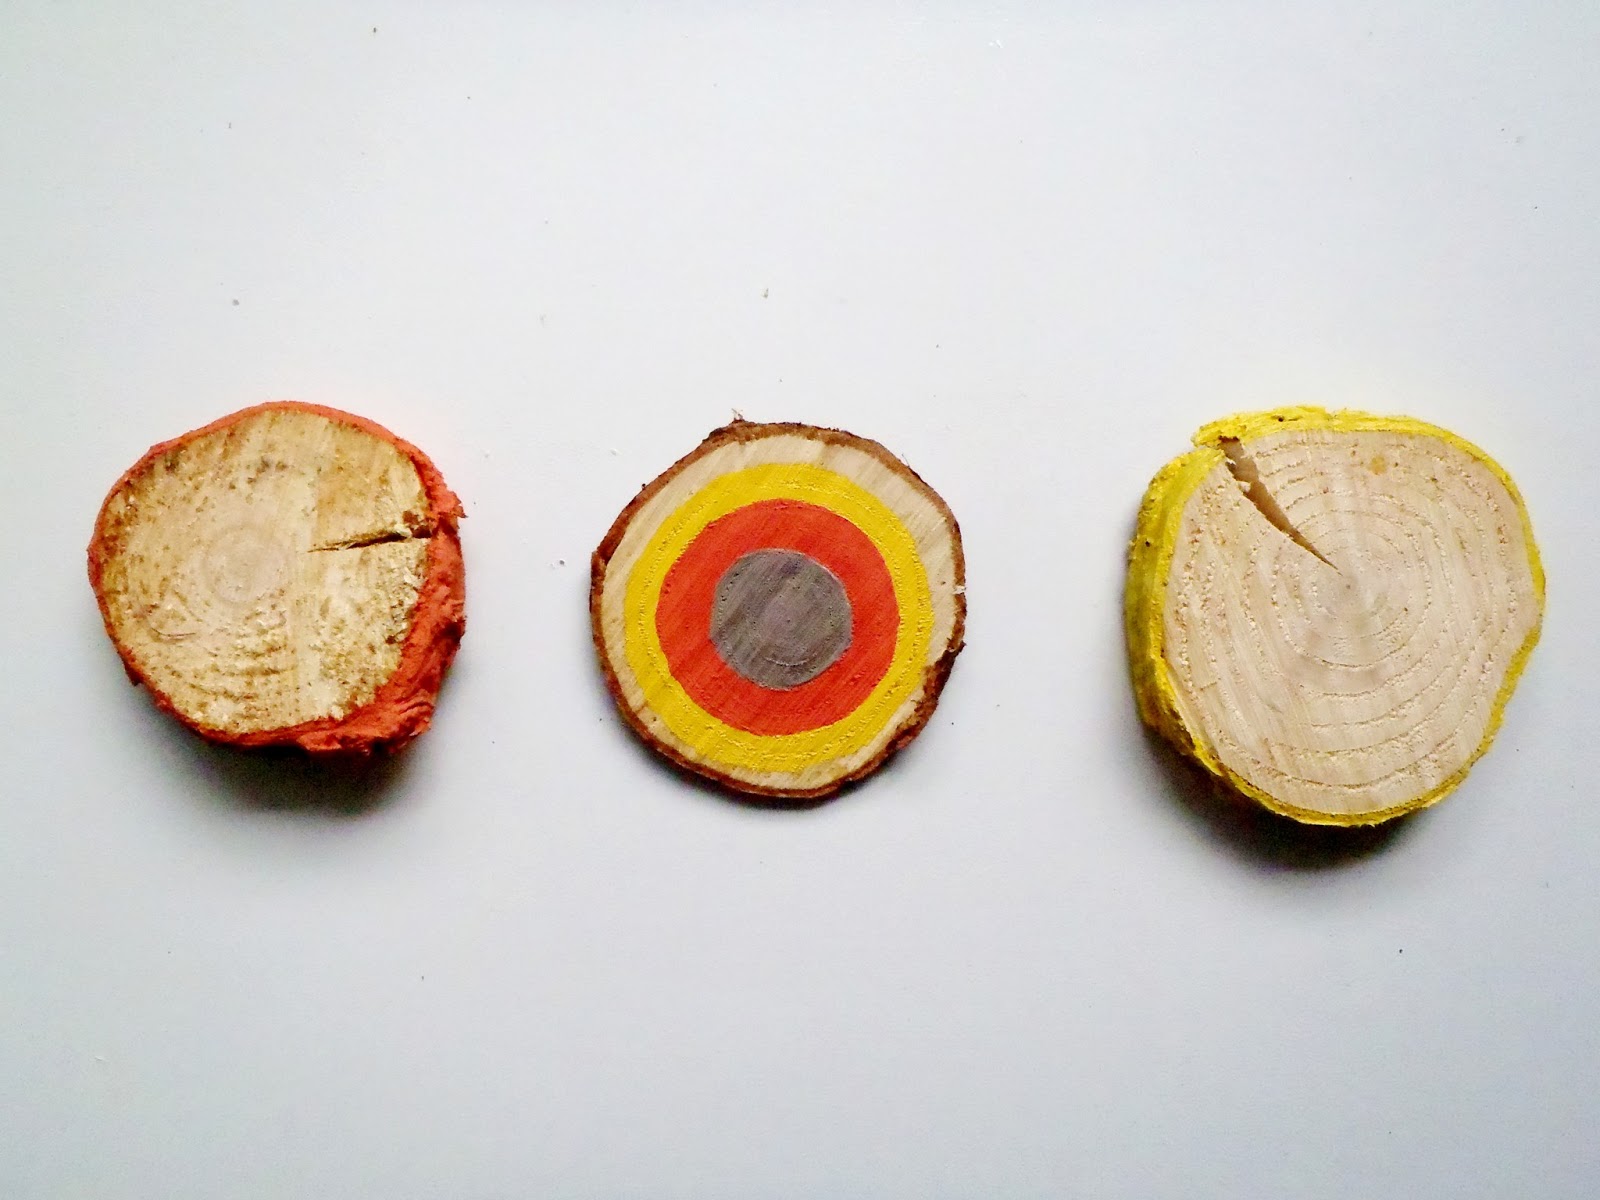
I also changed it up a bit and painted the outer bark on three of the rings. I like ’em!

I know, they aren’t perfect but I am only perfect every other week and this isn’t one of those weeks. Give me a break.
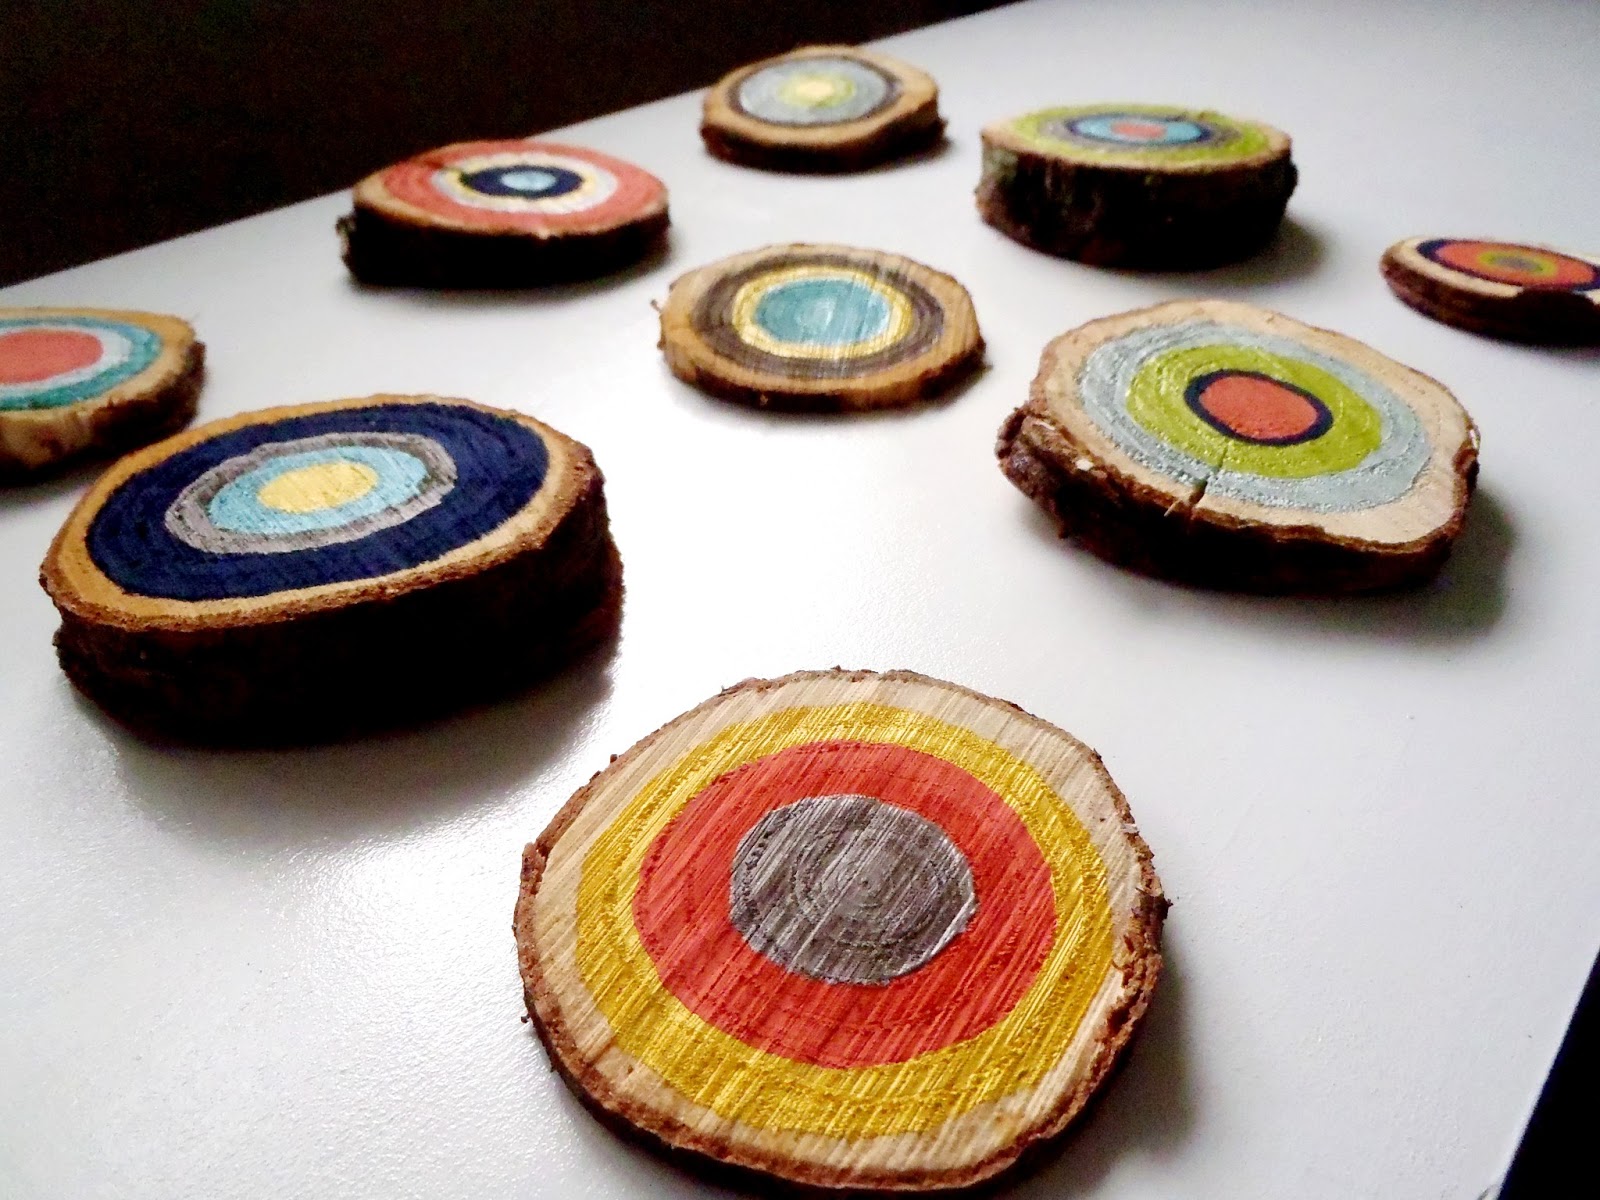
I still can’t decide which ones I like more but it is fun to see all the different color combinations side by side. Which one is your favorite?

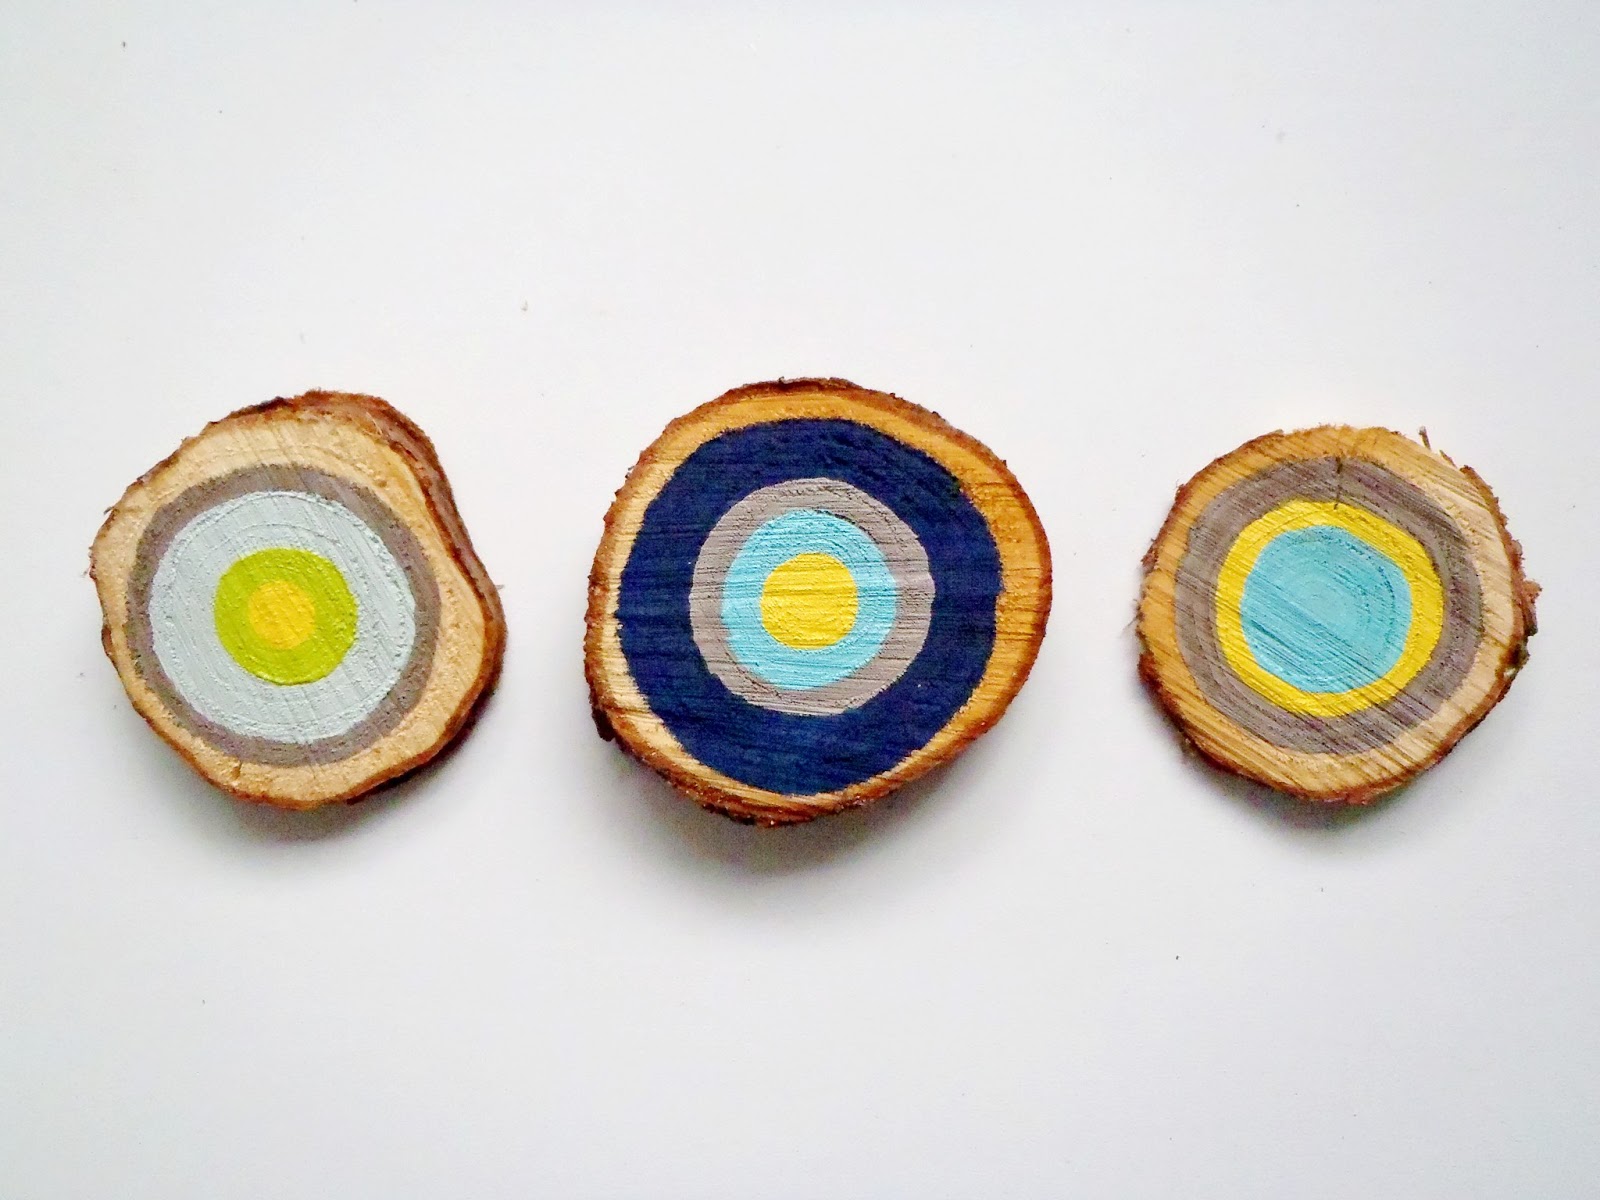
Oh, and for some added durability, it helps to seal these by spray painting them outside with some clear Polycrylic – not to mention it keeps the bugs out. I don’t mind house guests… just not the crawling kind, unless we are talking about babies.
As for where I will hang them, it’s a toss up. I am thinking either in the children’s room or above the gray dresser I refinished once I am done painting or maybe even under the shelf in my living room where the pear lamp used to be. Perhaps they may even serve a purpose of holding hot or cold beverages, if the day ever comes that we set down drinks within a child’s reach on a coffee table…

They could really fit anywhere, they are just so colorful and make me happy. Don’t tell but I am a little fearful of color… but these are making me loosen up a bit.
For more great Pinterest projects check out Megan, Katie, Sherry and Michelle’s posts and all those who linked up to the challenge.


What a great look. Love it! I like that you put nine of them together. Such a nice impact and statement piece!
Katja @ http://shiftctrlart.com
Those look great! I have tree rings pinned as well and have been pinned for years. Maybe one day…
Thank you! I almost feel I need more than nine…. I need more!! Haha!
So cute…another wood slice project to add to my Pinterest board. Thanks for posting! (here from YHL)
Thanks!! I was worried mine would look like a preschool art project (I am not a painter) but they were super easy to make. If you ever get around to making some, I would love to see them!
Thanks for stopping by!
I like that they aren't 100% perfect – that's what makes them look special and handmade. The layered colours look so pretty.
Thank you, Tanya!
I really love this idea! I want to do this for the wall up my stairway!
I would love to see how it turns out!
Love these!
These are amazing! I totally have the originals pinned as a "i could totally make that" but never have. Rest assured next christmas I will be saving the tree trunk! I love the colors you selected too. Fab job!
Thanks!
Thank you, Elisa! Just ask the person at the tree stand for the pieces they saw off. 🙂
These turned out great! I totally saw these before (and the steep price tag!) and thought, I could make those. Hopefully next Christmas I won't be too shy to ask for the tree trunk trimmings so I can make this project 😛
It was a little nerve-racking to ask but the guy made it seem like it was normal, even though I had to dig through some boxes of branches to find them I made it out okay.
Ooh! Those look great! The one with the yellow center reminds me of a sunny side up egg! 🙂
These are so cute! I love the idea of using them as coasters. I wonder if they would get damaged by condensation from beverages…
I don't think they would be damaged if you were to seal them with Polycrylic or some other sealant.
Thank you, Bonnie. Now every time I look at that one, I'll want an egg, lol!
I love the nine painted circles together – they have such pretty colours and really make a great grouping. Clever idea!
Thank you! I think I will end up keeping them all together, I love it too!
These are gorgeous! Great colour combos. What a great project!
These are so cute! They'd look great in a shadow box, or even just in a nice metal bowl on a coffee table. Really smart!
I seriously was just saying the other day how I'd like to think of some neat things to do with slices of a tree. You've totally nailed it!! These are so cute! I think my favorite from the last picture is the far right of the middle row.
Thank you!
Ooh they would, thanks for stopping by!
Thank you!
I saw that Sherry and Katie from Young House Love and Bower Power were doing their quarterly Pinterest challenge, I hopped right on the opportunity to get this little project done. how to use embroidery sewing machine