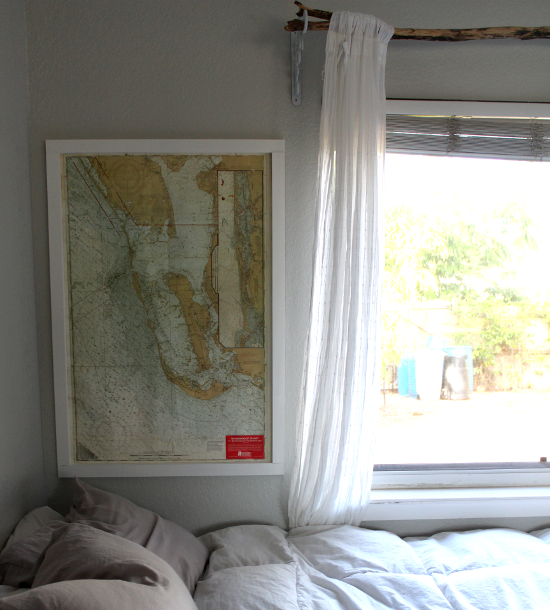
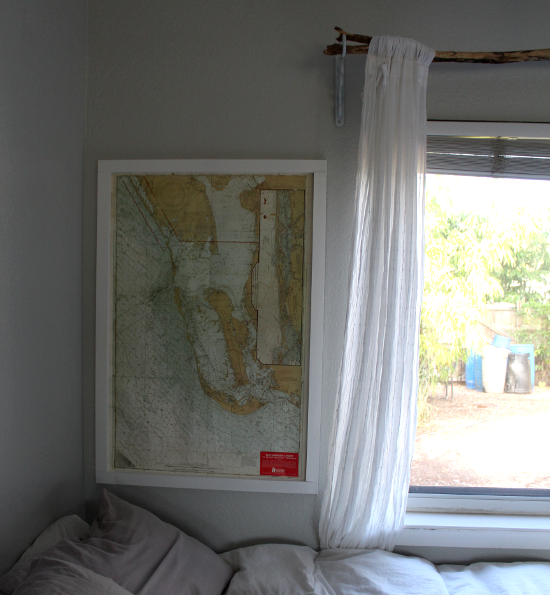
Earlier this week I shared pictures of our new bedroom, which is also our new living room. Over our bed hung a large map framed in a frame that I built in an afternoon. It is a waterproof map, made for boaters, making it unnecessary to frame it under any glass or the like to protect it from humidity. For that reason, and for already having everything else on hand, it only cost me $5 for the wood to make. So if you are framing something that is affected by humidity, you may want to factor in the cost of plexiglass or glass.
Here’s what you’ll need:
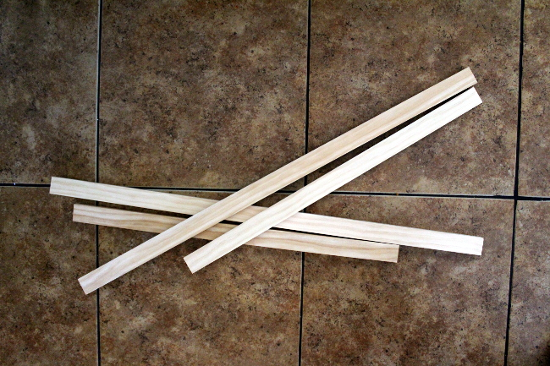
- 4 – 1 x 2’s, cut to size
- 4 screws
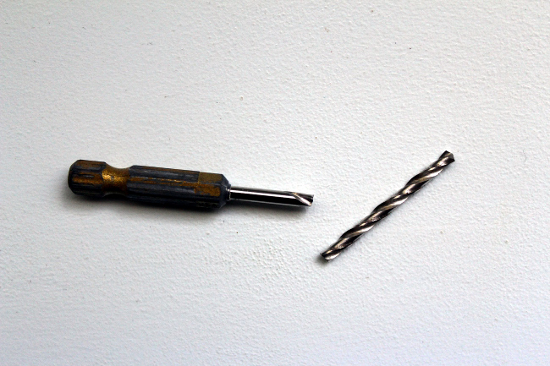
- drill gun and appropriate drill bit
- paint or stain and sealer
- sawtooth hangers
Step 1 Measure your map. Learn from my mistake and subtract 1/2 inch to 1 inch per side for your wood measurements so the map will properly fit behind the frame.
I measured from edge to edge of the map/poster/picture, had an associate cut the pieces for me at Home Depot, and came home to realize my map barely fit. We don’t have a saw, so thankfully I had about 1/8th of an inch to tape the edges of my map to the back of the frame. Wait, I lied; we do have a saw, but it’s sketchy so I don’t use it, and I was too impatient to wait for Philip to come home to use it for me.
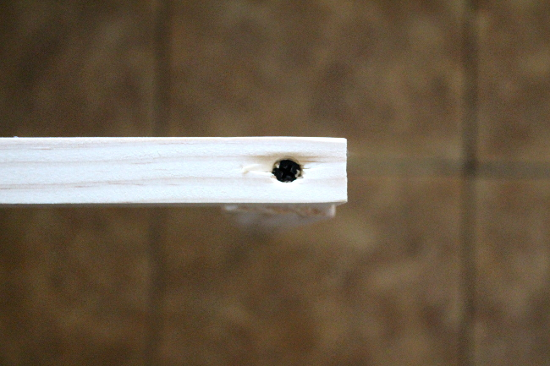
Step 2 Line up the top or bottom piece of wood with one side piece, clamp together or press them on a table and pre-drill then screw them together. Repeat with the other pieces.
Oh, and don’t let this happen.
Yes, this has happened to me before. Drill-bits come to me to died, it’s pretty pathetic.
Update: Good news! I just found the last remaining drill bit of this size, maybe this one will last a while.Step 3 Paint or stain and seal the pieces of wood. This could be moved up to step one if that’s your cup of tea, either way works. For the record, this took me one month to do. I should win the world record for painting-procrastinator. If there is no such thing, there should be.
Might I remind you of my living room and kitchen, which still isn’t completely painted.
Step 4 Attach your object-to-be-framed to the back of the frame using staples or, in my case, washi tape. It works like a charm and won’t tear the map if I ever decided to remove it. Also attached your
sawtooth hangers.
Step 5 Hang on the wall and admire your handy work. That’s the best part.
For those wondering, I bought this map at a local store called Paper Street Market for $3. The owners are the same lovely folks who started up the Brocante Market. Along with this map, I also brought home two others that are still sitting in my closet waiting for their proper place in our home. One is so big, though, that I don’t have any room to hang it in our tiny home. Therefore I am saving it for the possibility of one day moving into a home with a big wall to display it on. Until then, this lovely map will do. Which ironically pictures the river (Peace River) that I cut my foot open on as a little girl. Fun times, I tell ya, fun times.