
Amias Charles was born on October 14th 2019. Normally, I share my birth stories soon after my baby is born, but this time was harder to share, emotionally. He was born two months after divorce papers were filed and at that time, that was something I didn’t know how to say. Now, a year later, […]
Our Laundry Room + My Favorite Broom
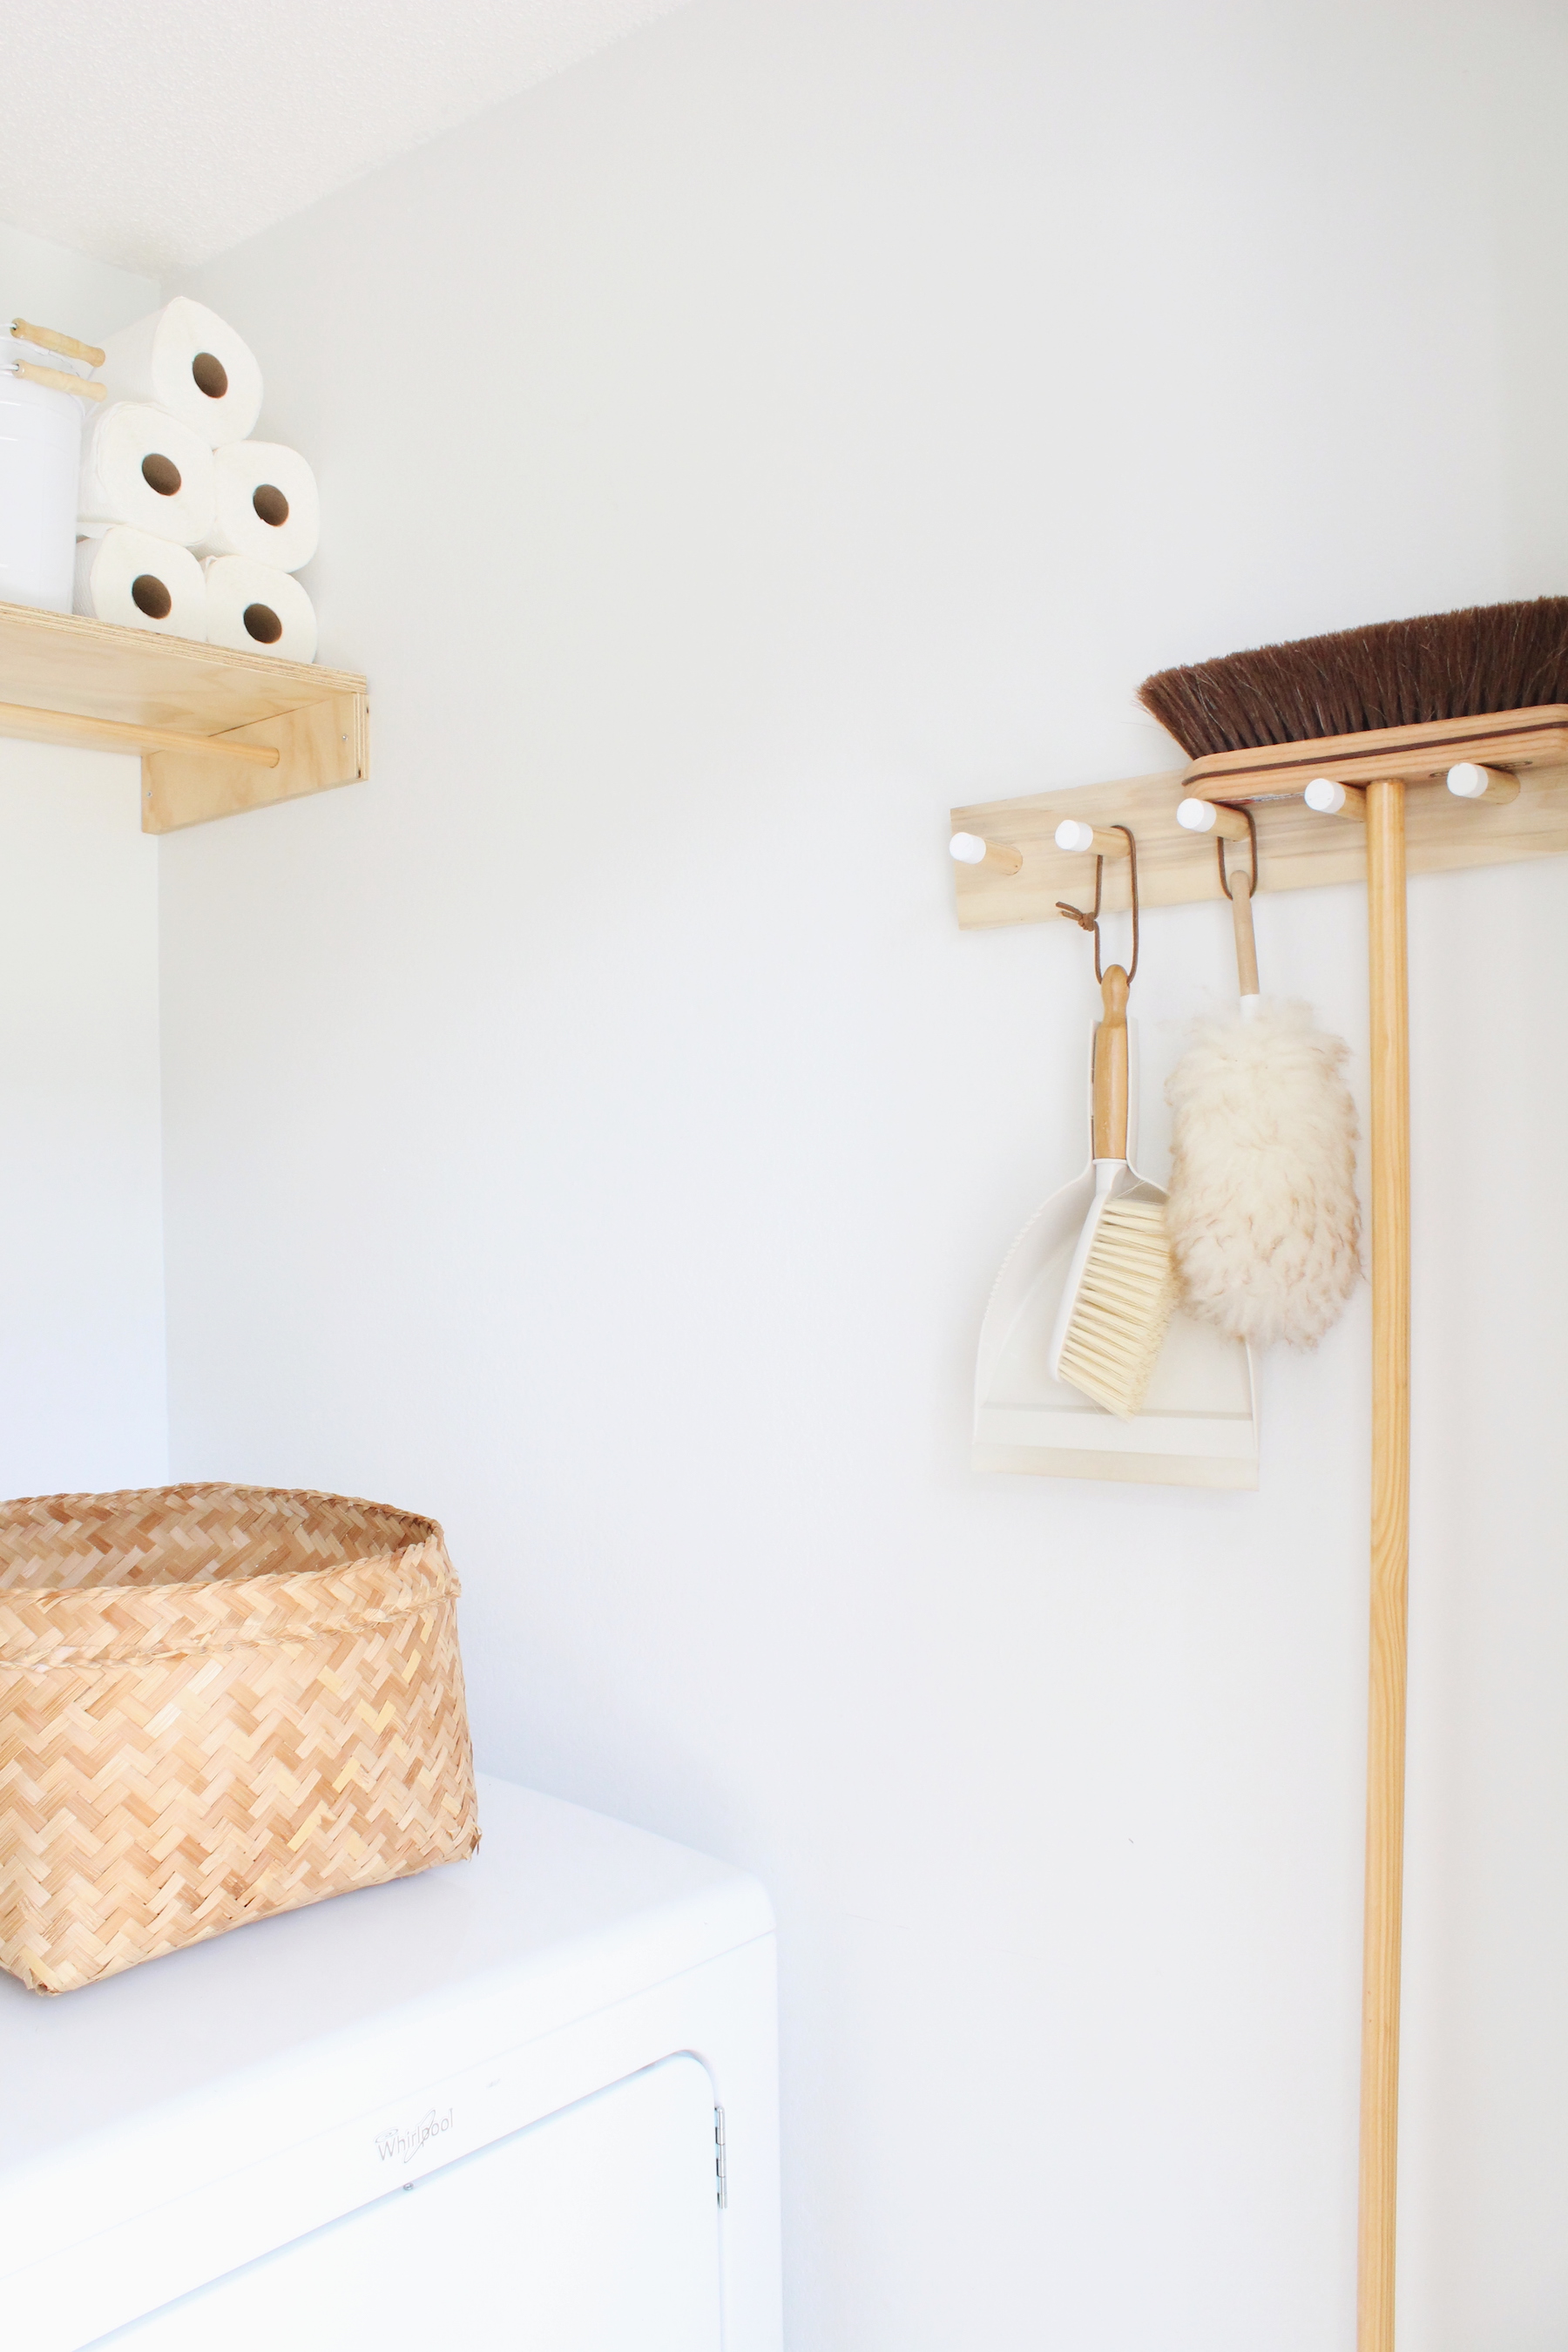
I’m a little late to the tidying-up craze since I’ve been preoccupied with launching my small business. I participated in our first big event this past weekend and have devoted this past week to regaining order in my shambles of a home. I’ve been mainly focusing on closets, reducing clutter, and reorganizing the essentials. It […]
A Proper Desk
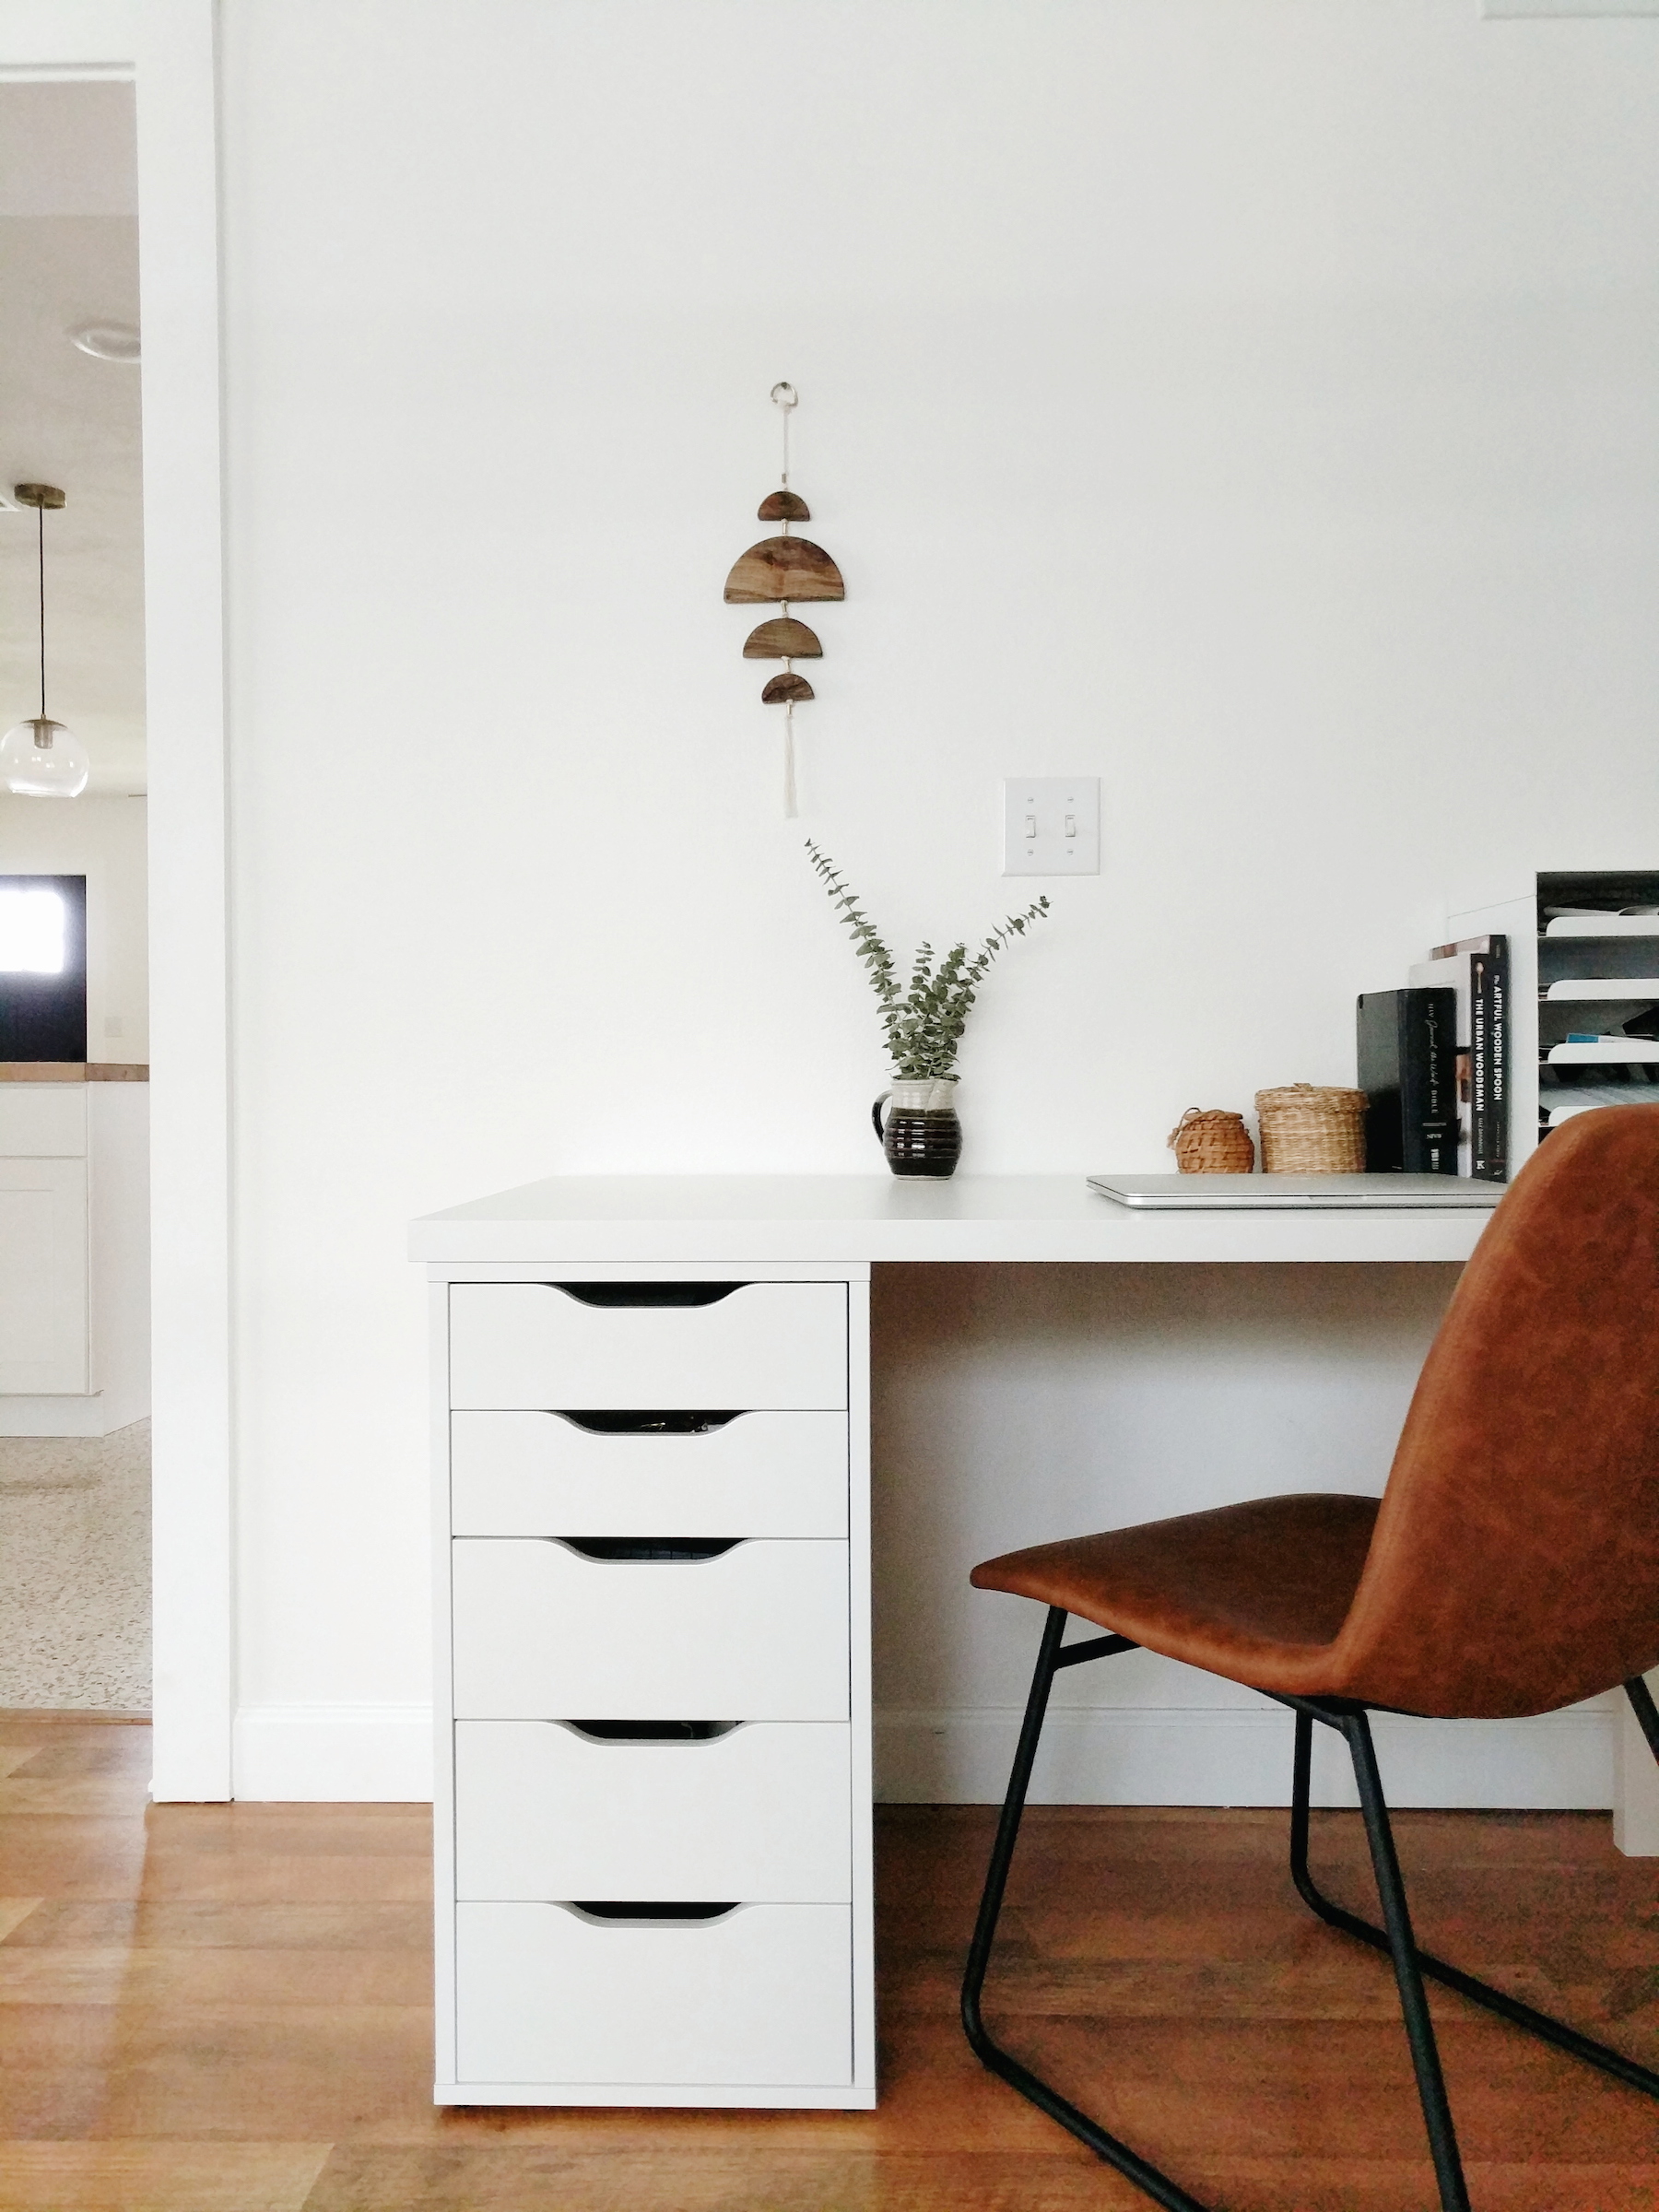
One of the biggest goals for the living room was installing an IKEA desk. After two years of living in this home, and eight years of marriage, it was time for a proper adult-like desk. And now, we have one! I used a set of Alex drawers and two legs with two desk tops to […]
Thankful + A New Beginning
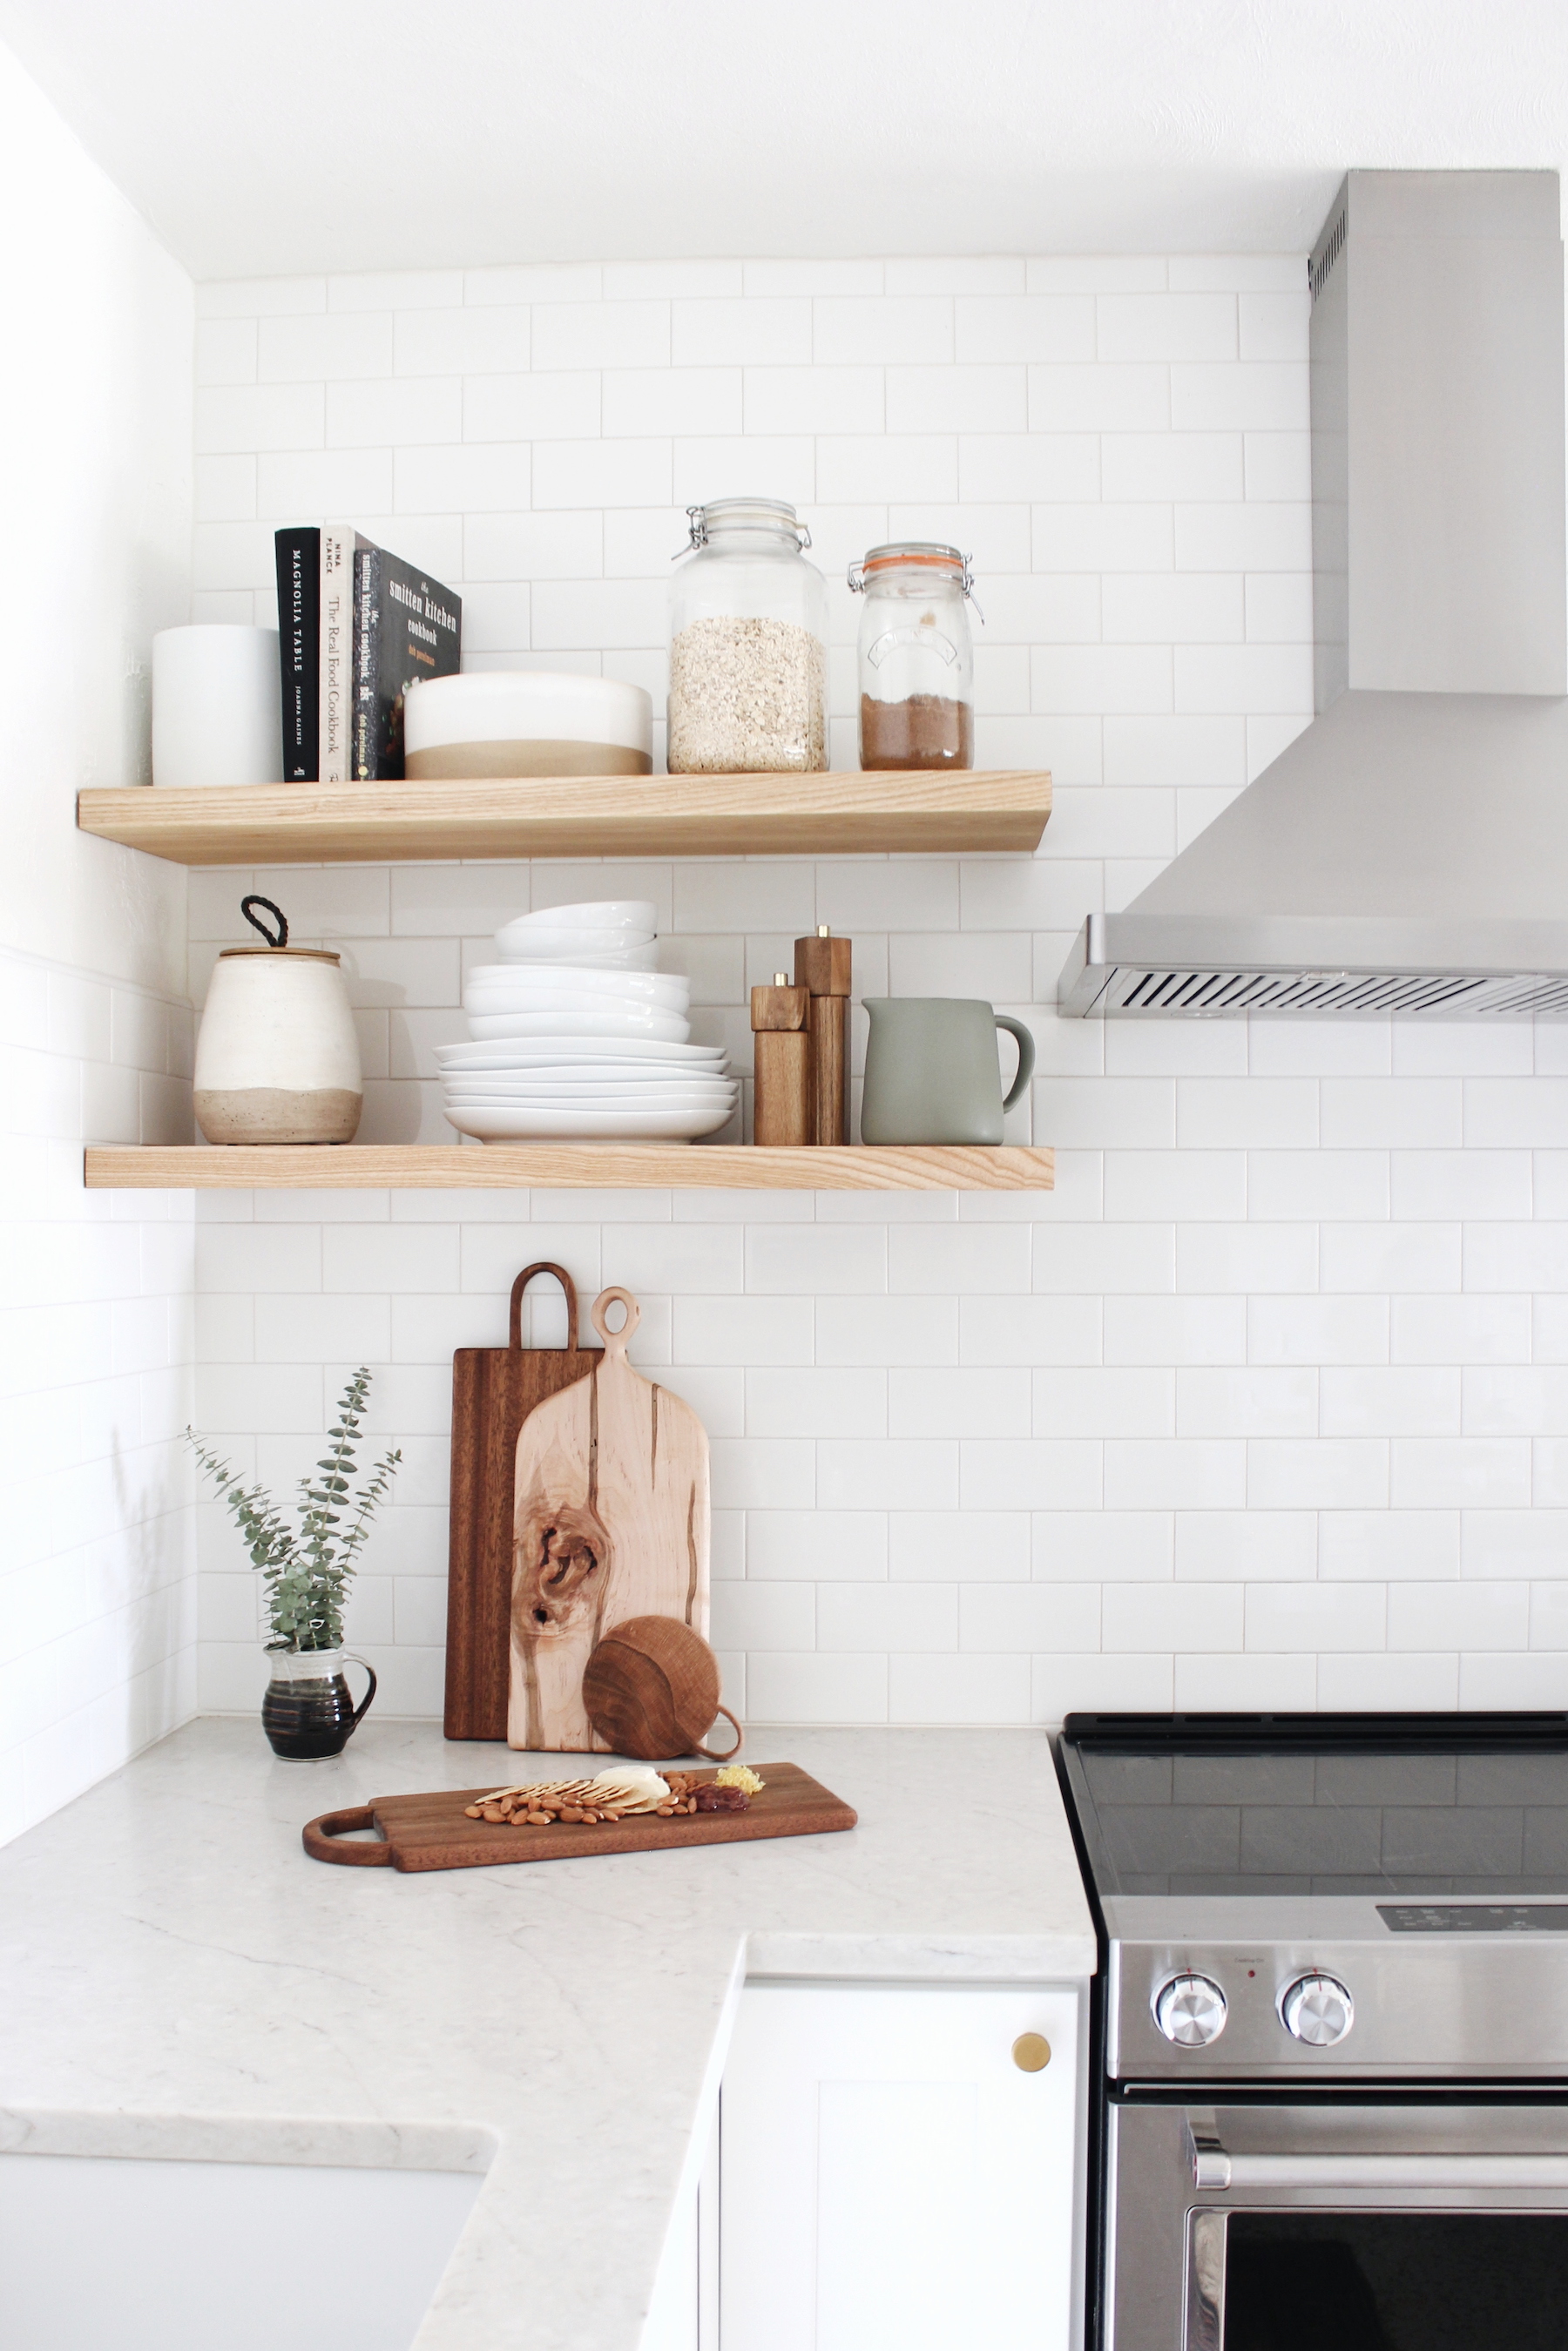
I’ve spent the past two weeks working towards launching a new online shop, Wilder Provisions, offering handcrafted wooden provisions. After busy days and long nights of learning the ropes of ecommerce, I managed to meet my deadline of today. I opened up shop with a select amount of hand carved spoons, boards, and other utensils. […]
Living Through a Kitchen Renovation in Photos
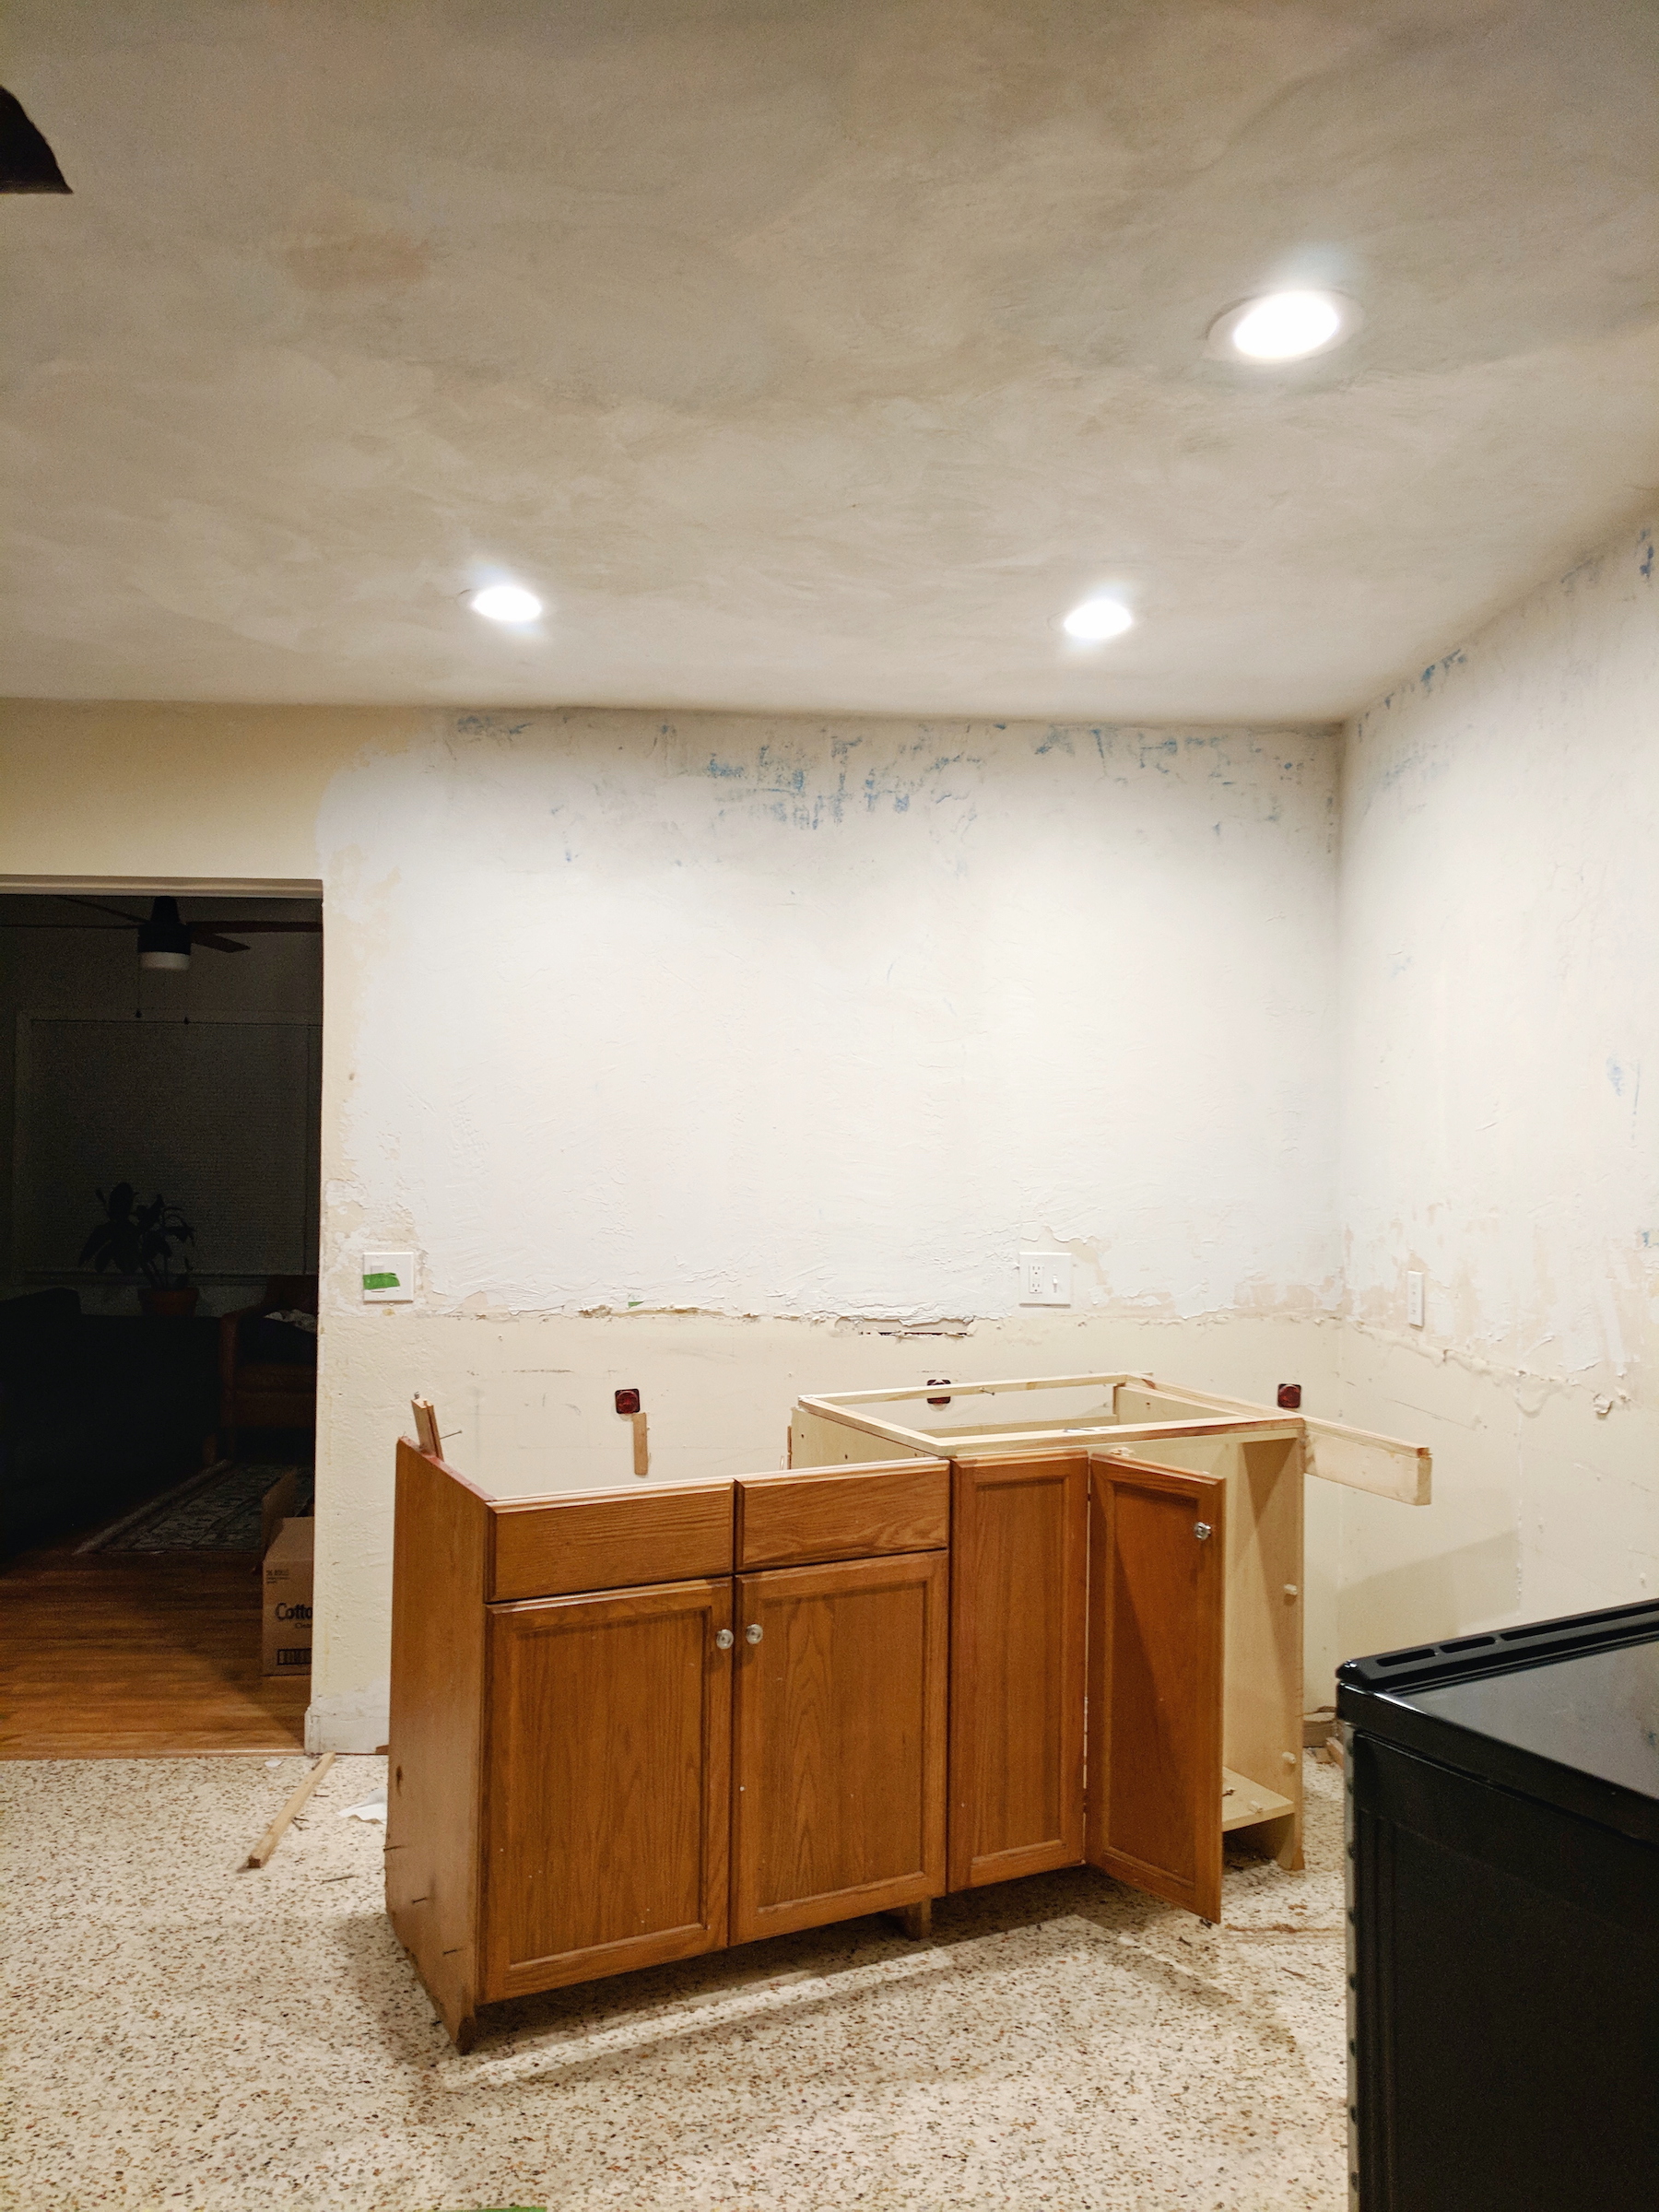
It’s been over a year since we broke ground (rather, plaster wall) and began our kitchen renovation. On November 5th, 2017 we spent the day tearing down the wall that turned our kitchen into a cave in the center of our home. We thought we would have the essentials done in time for Christmas. How […]
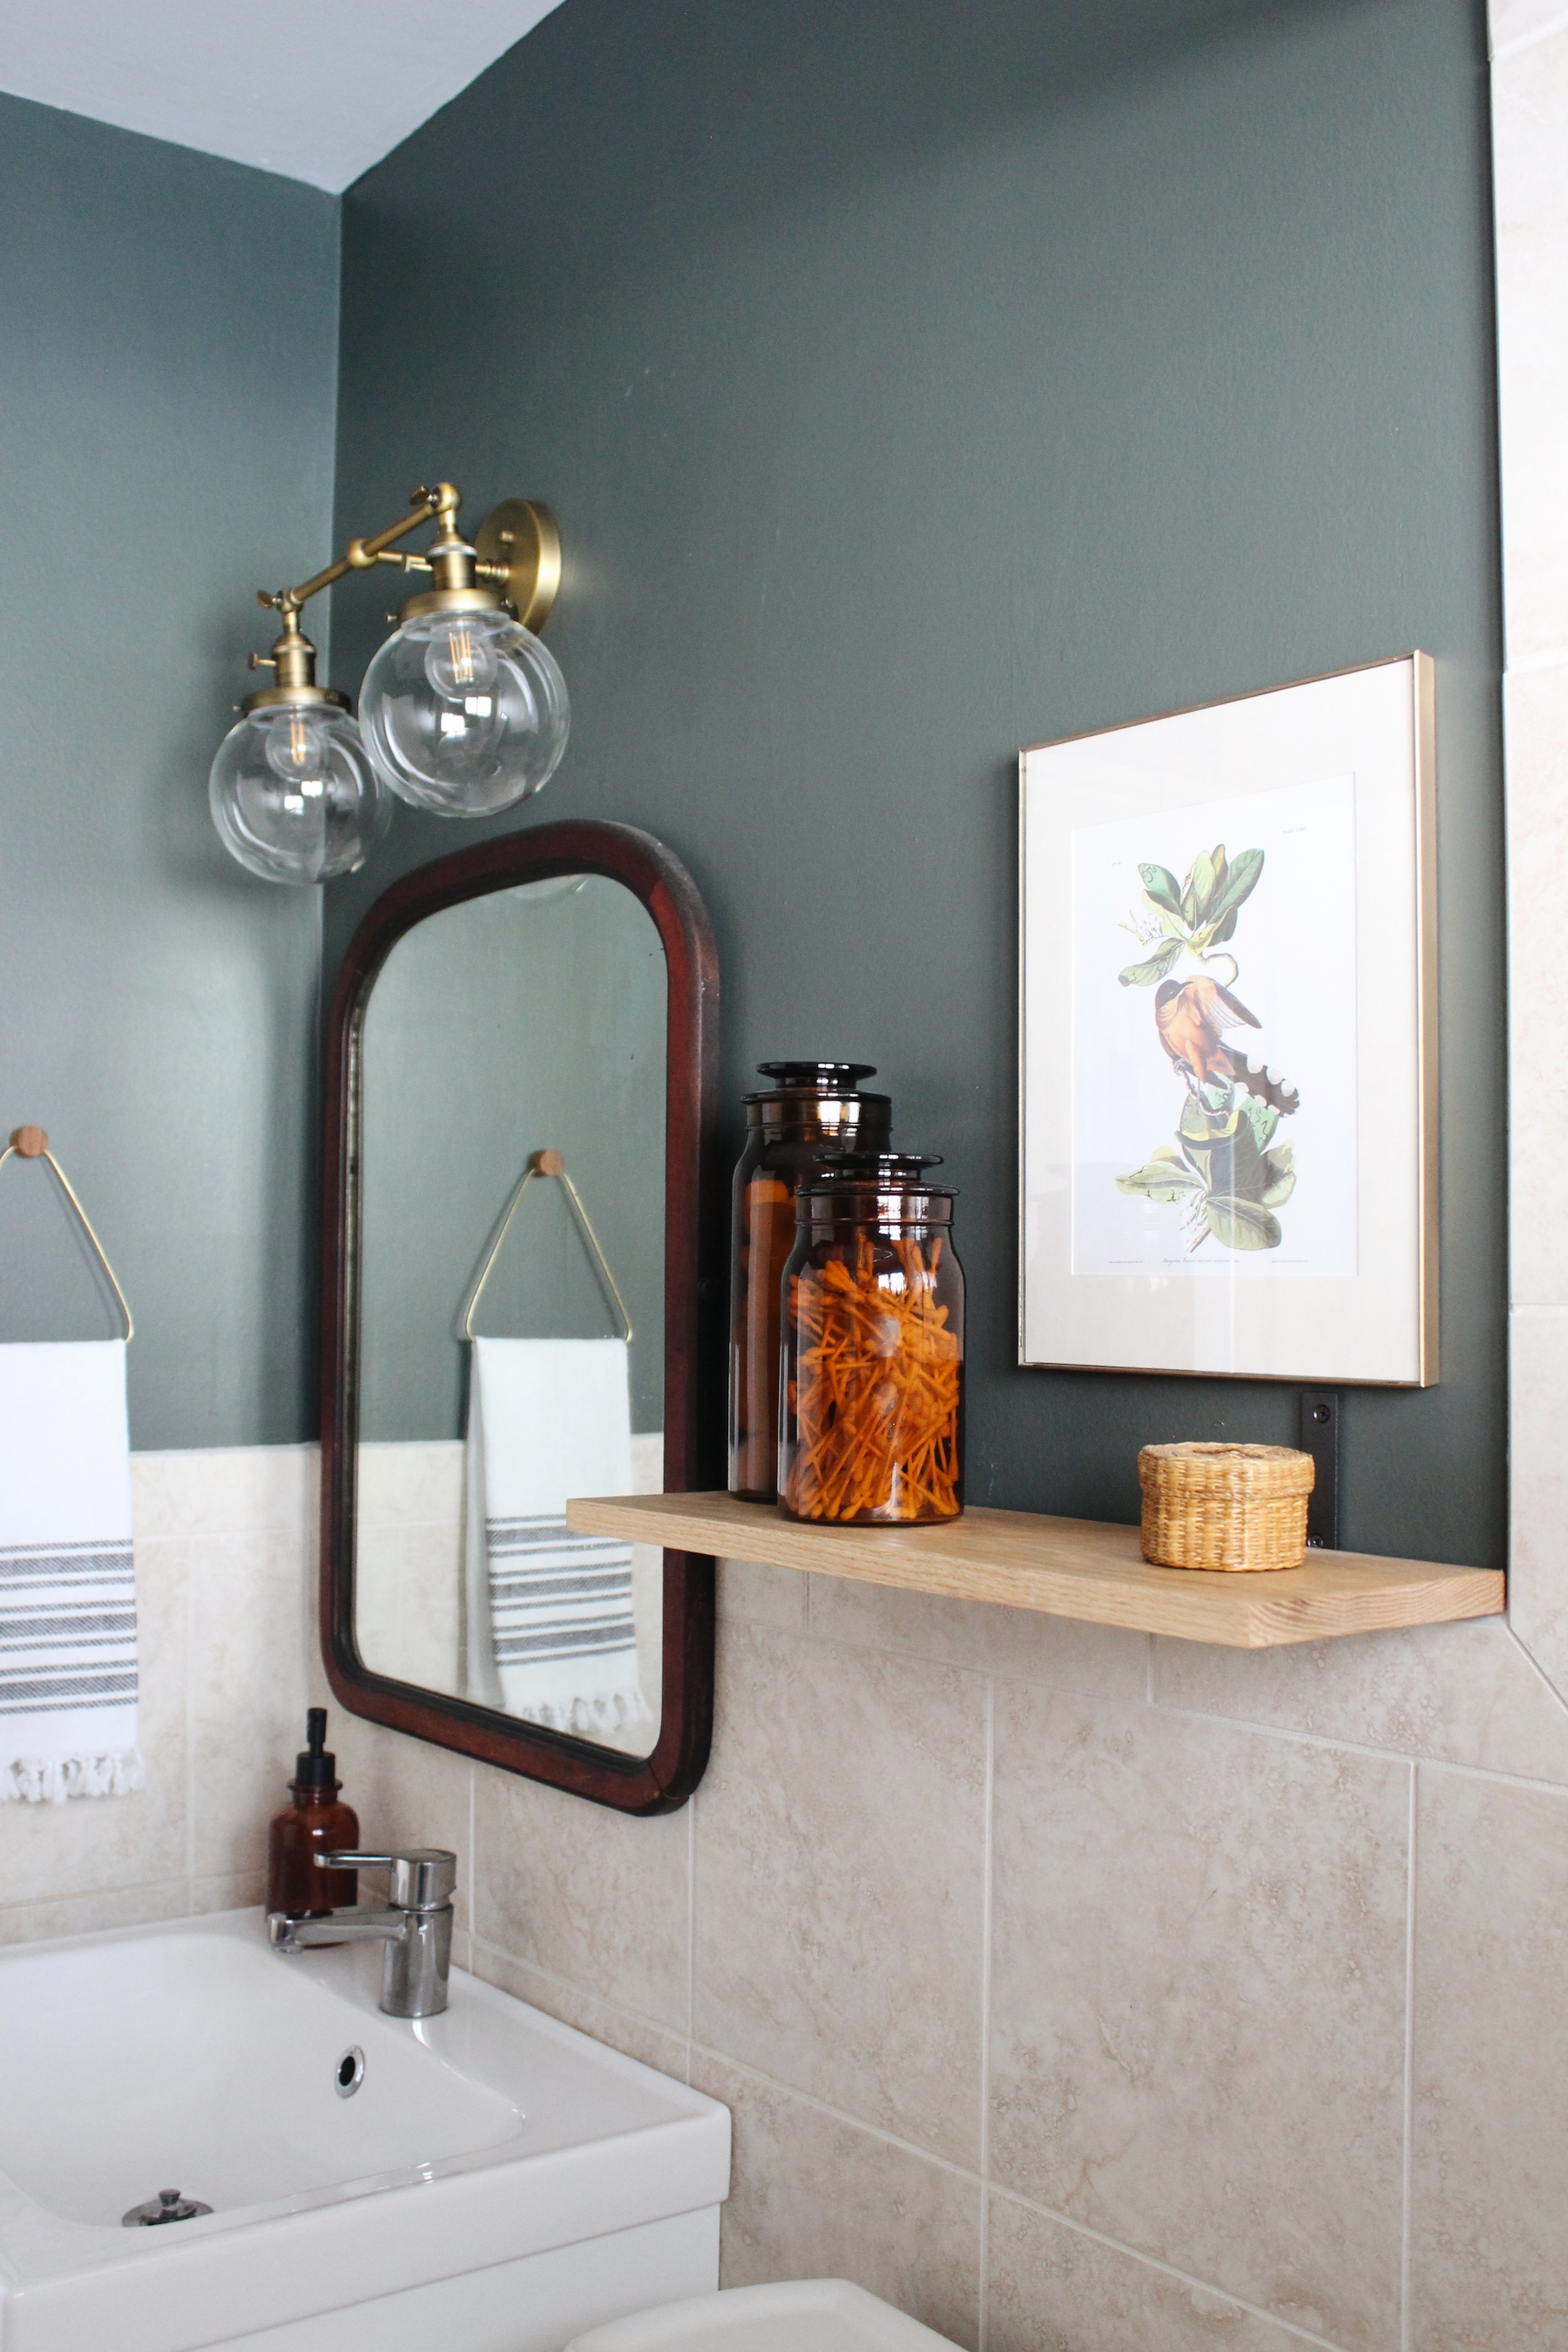
Moody Green Bathroom Makeover – One Room Challenge Week 6
It’s reveal day for the Fall 2018 One Room Challenge! To see what I’ve been up to, check out week one, week two, week three, week four, and week five. It’s been six weeks since I first showed you before photos of my hall bathroom. With it’s blank white walls and beige wall tiles, it really wasn’t […]
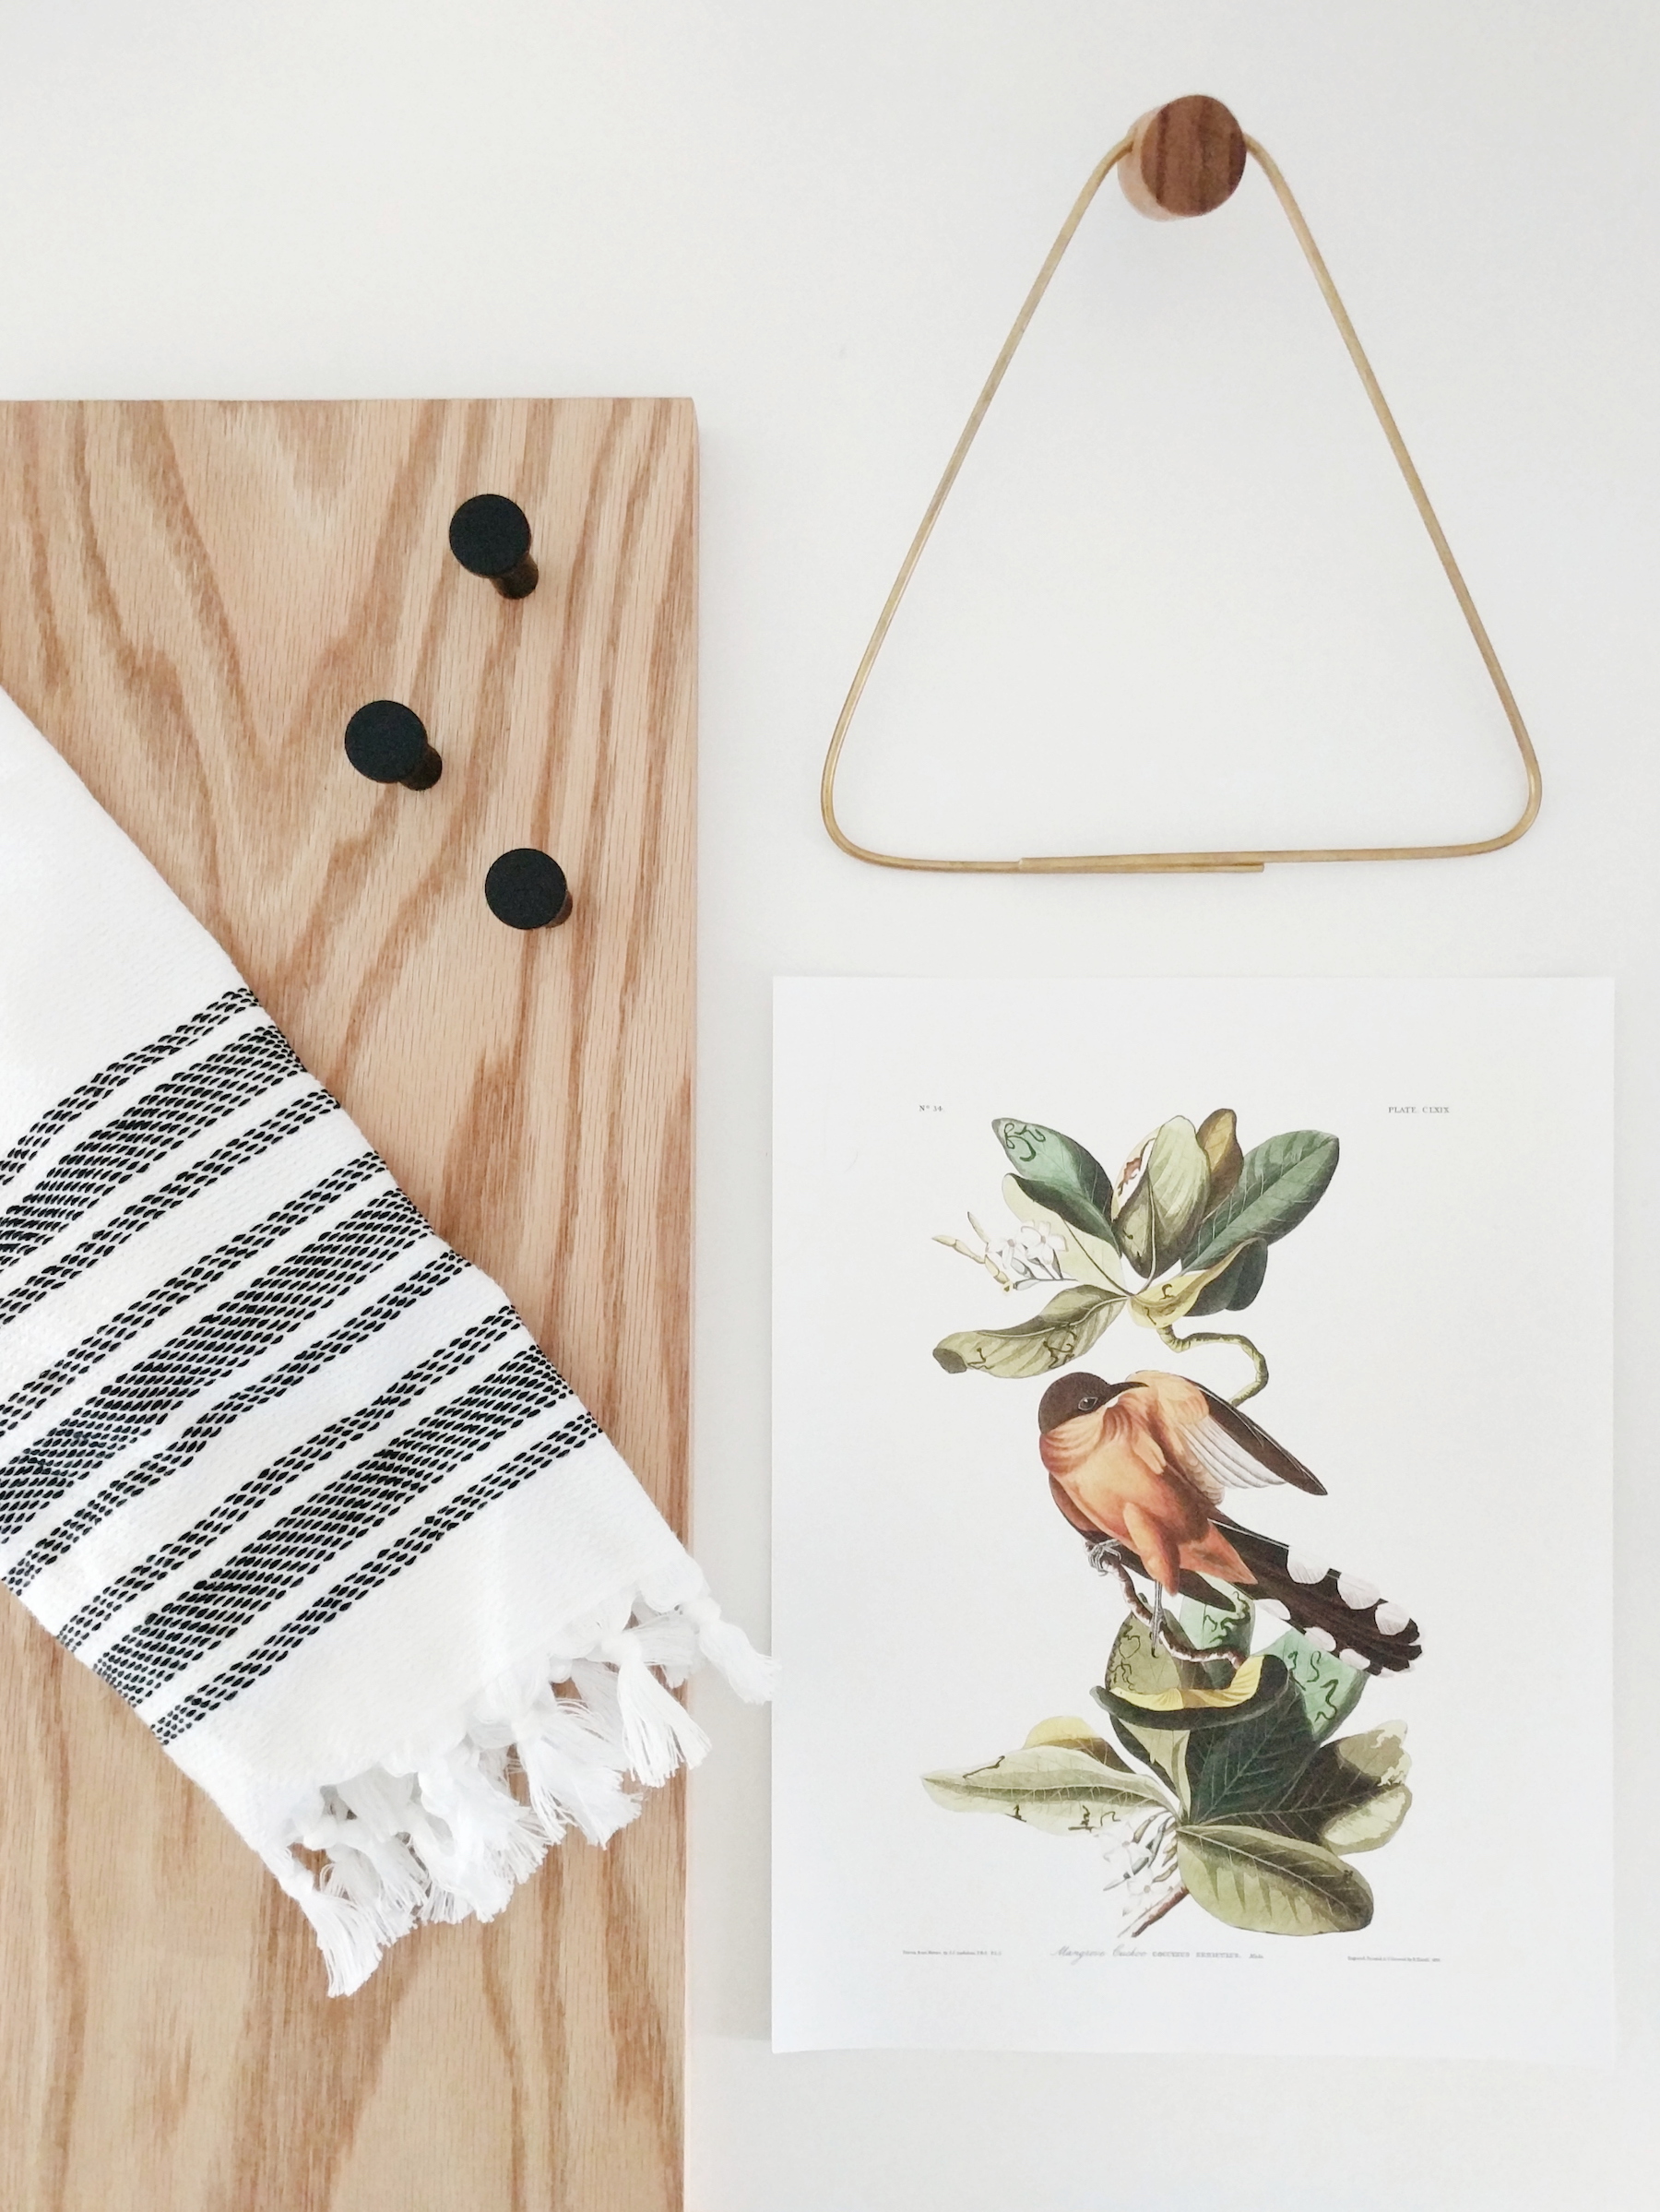
Bathroom Accessories and Art: One Room Challenge Week 5
It’s week five of the One Room Challenge and I’m excited about how my bathroom is turning out. To recap, check out the posts for week one where I shared before photos of the bathroom, week two about painting the bathroom a dark (too dark?) green, week three where I made a bathroom lighting mistake, […]
DIY Brass Hand Towel Holder

It’s week four of the Fall 2018 One Room Challenge and the green bathroom is slowly moving along. There isn’t much left to do for this makeover, actually. I still need to hang proper bath towel hooks, replace the light fixture, add a shelf and accessorize – my favorite part!I didn’t accomplish much this week, […]
One Room Challenge Week 3: Bathroom Lighting Options
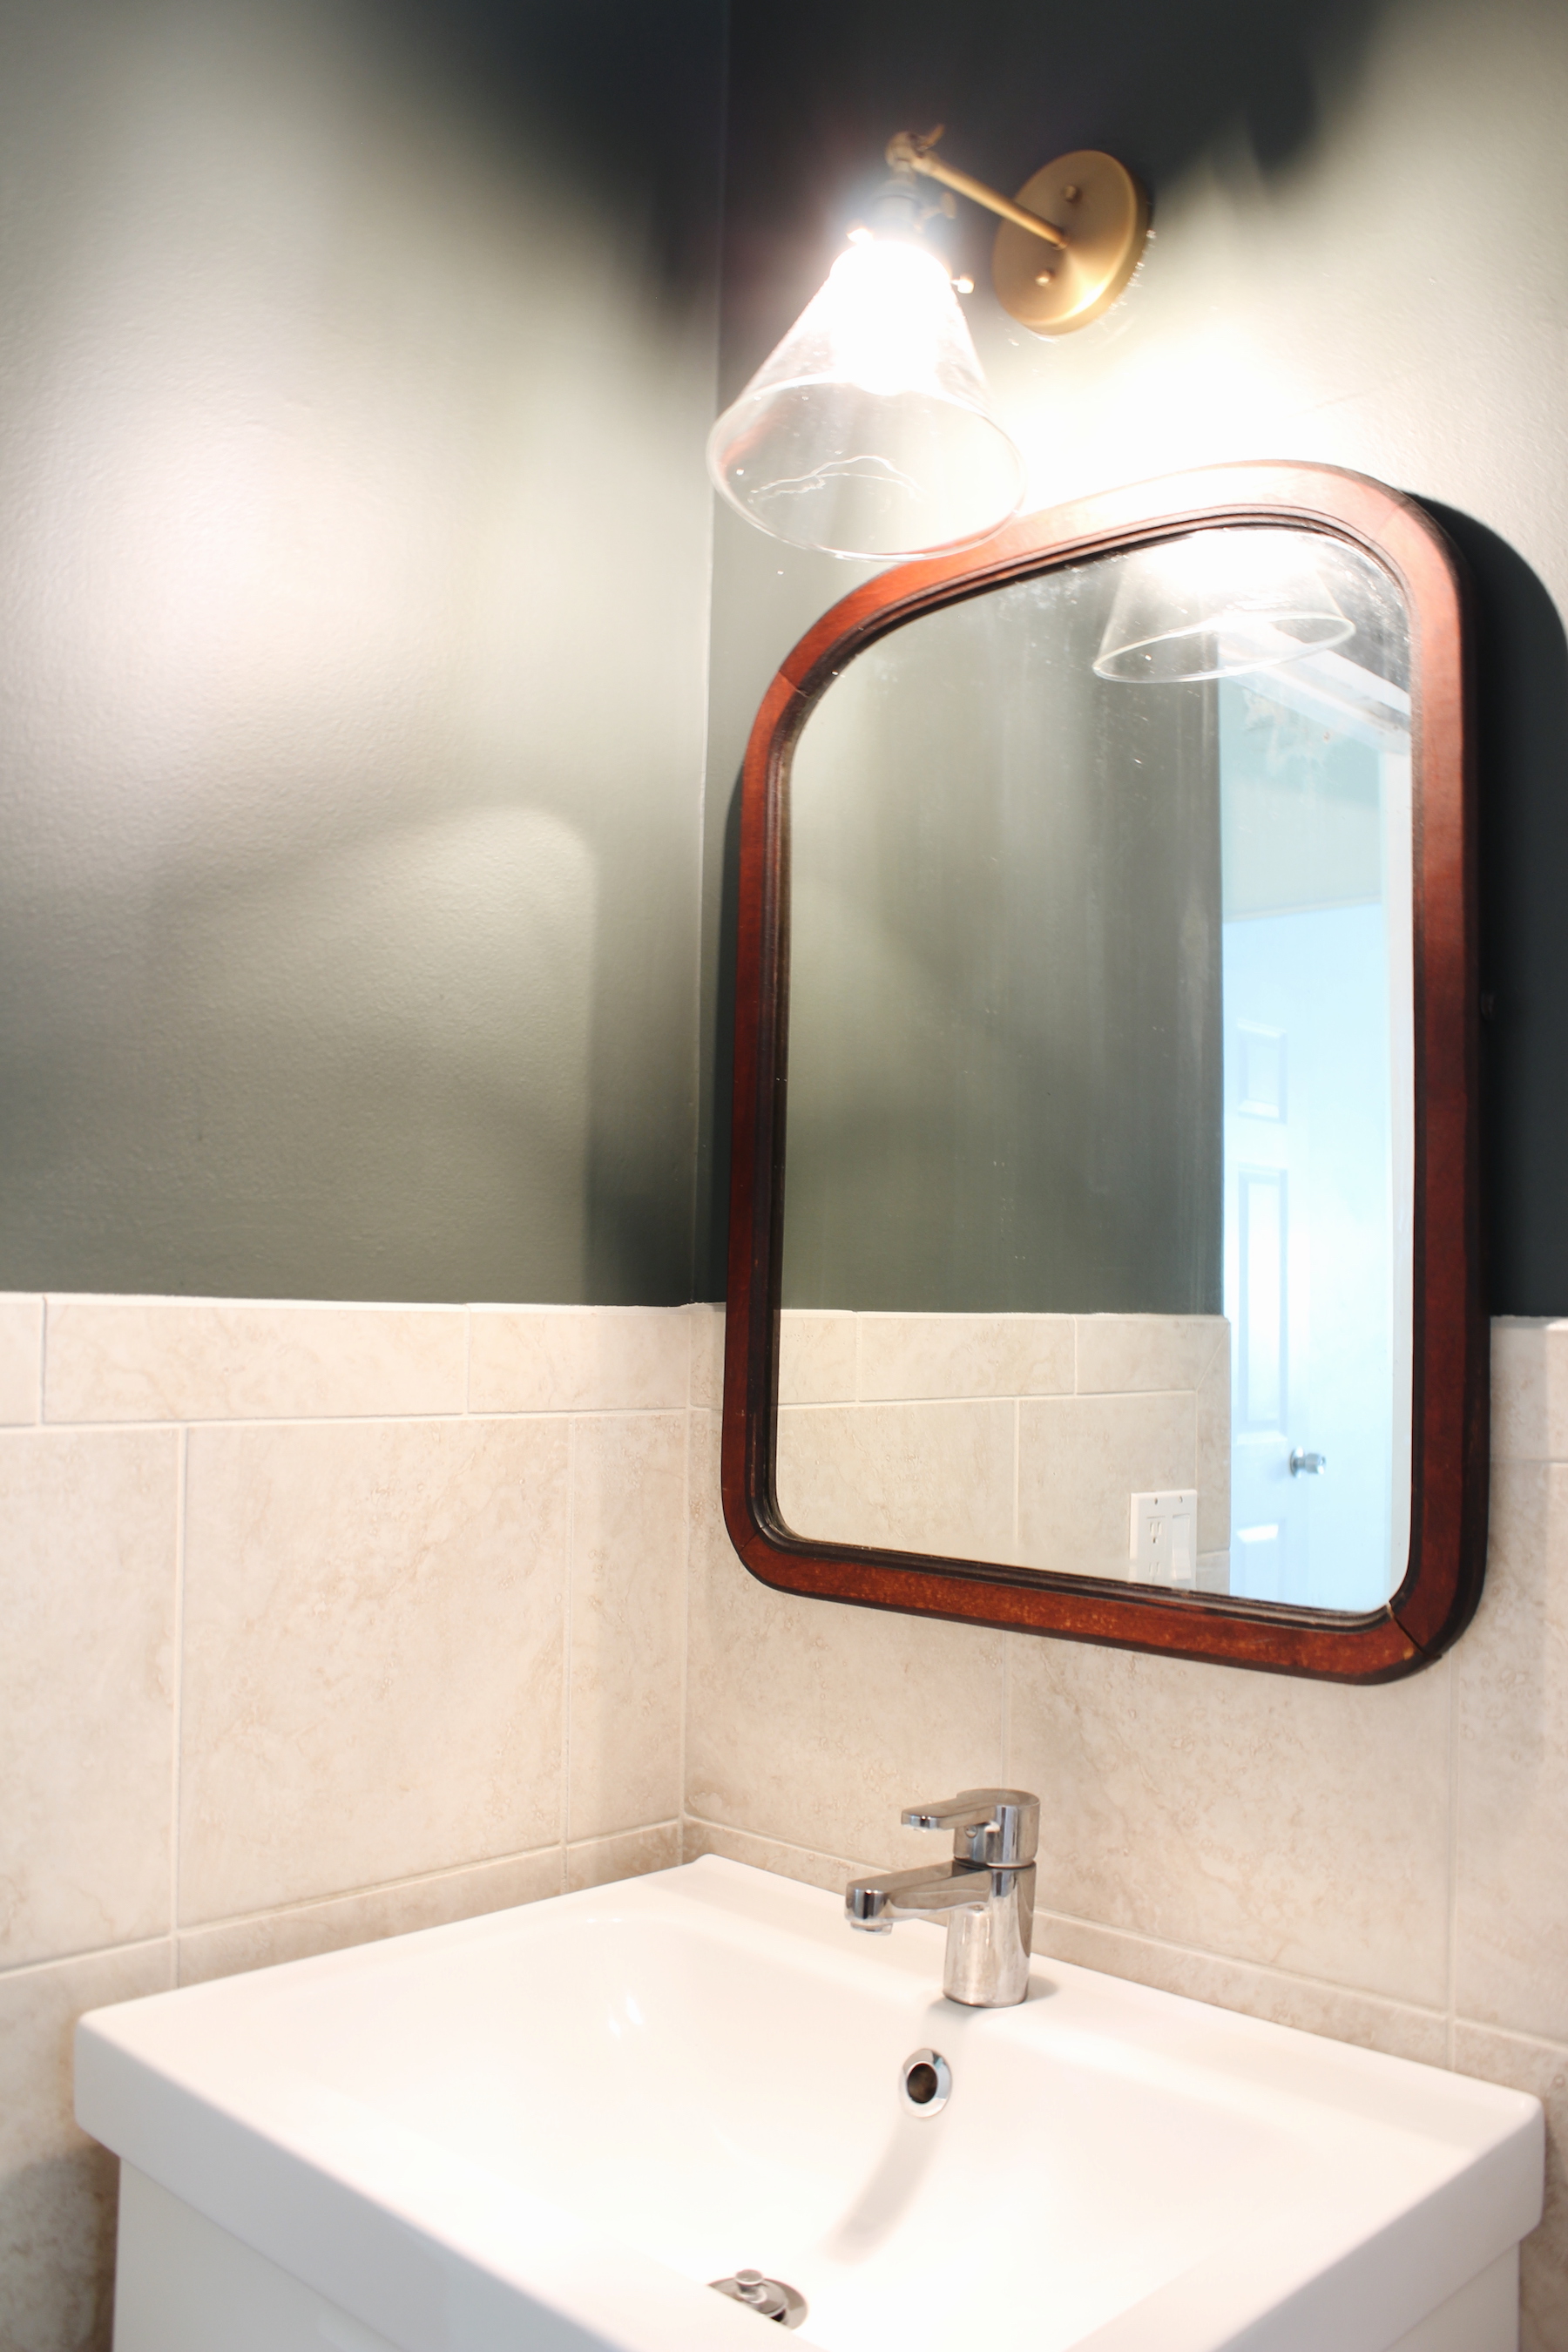
It’s week three of the Fall 2018 One Room Challenge! Be sure to check out week one for the before photos and week two for the paint I decided on. This week I want to talk about lighting. I knew from the get go that I wanted to replace the vanity light with a brass […]
Living Room: Goals
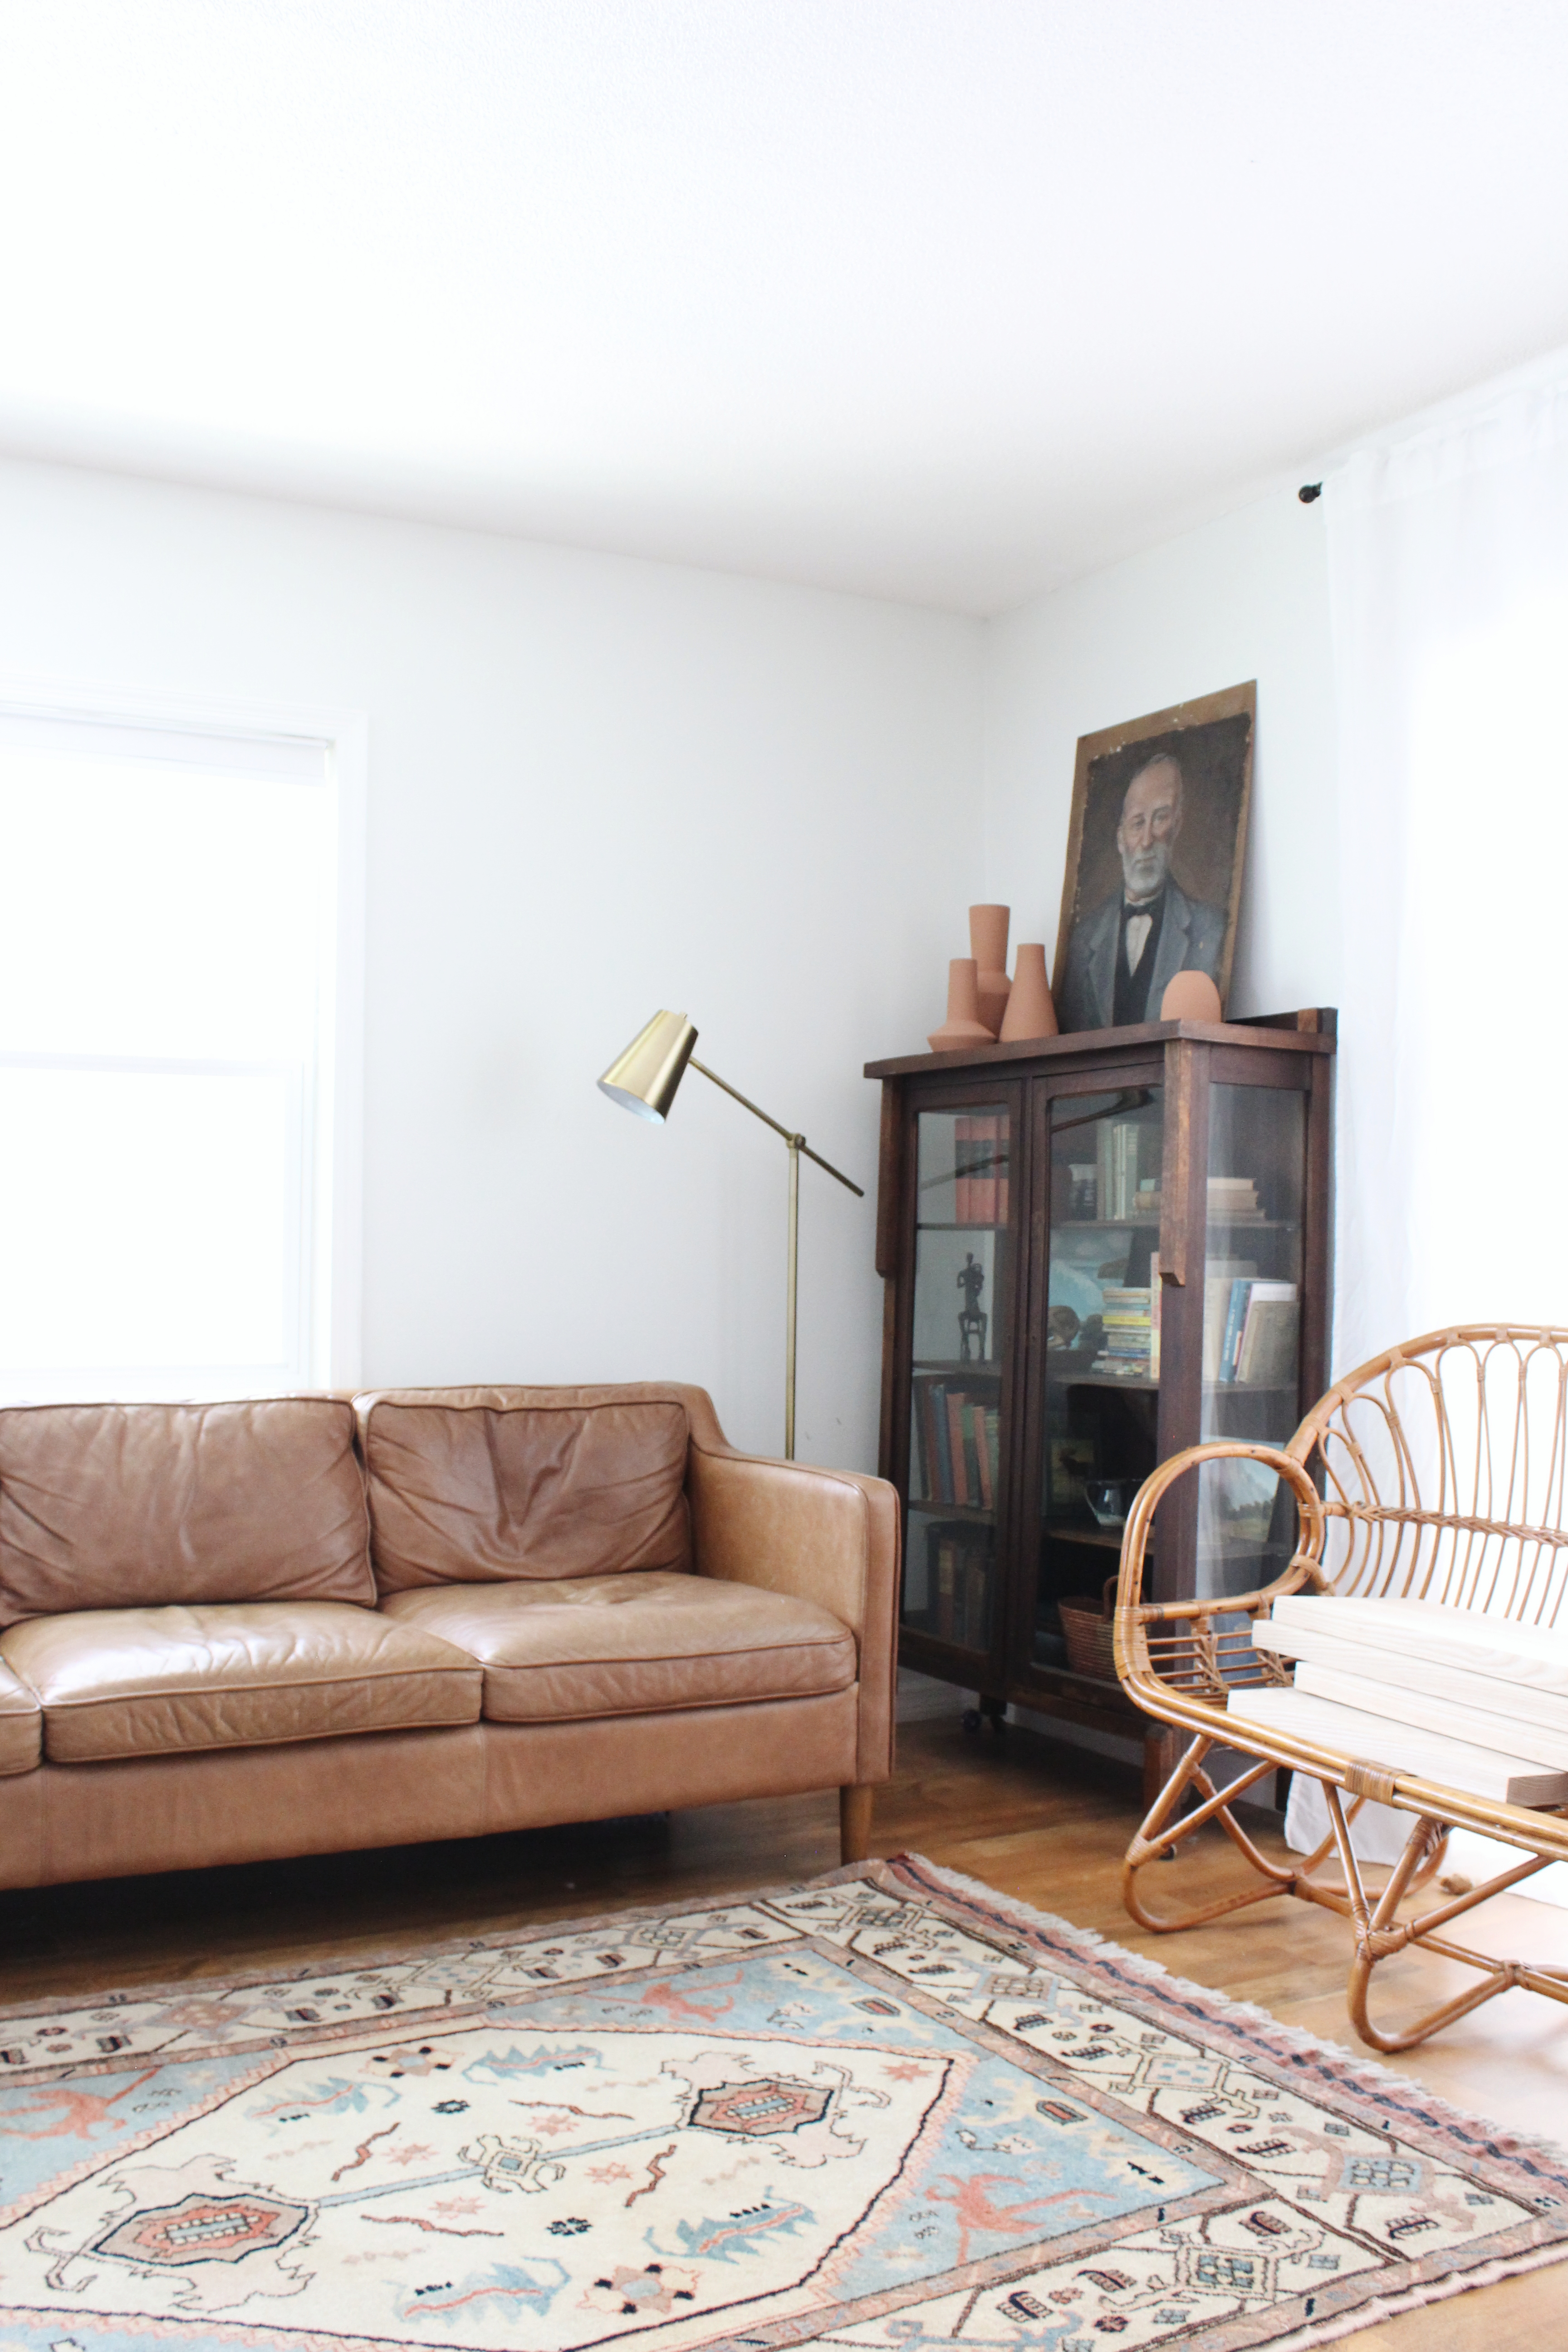
Our living room has undergone some changes since the last time I showed you and even since these photos it has gone through some more. In this post, I’m going to walk you through those changes, the current state, and some short-term goals for the living room. I took these photos as a second thought […]