
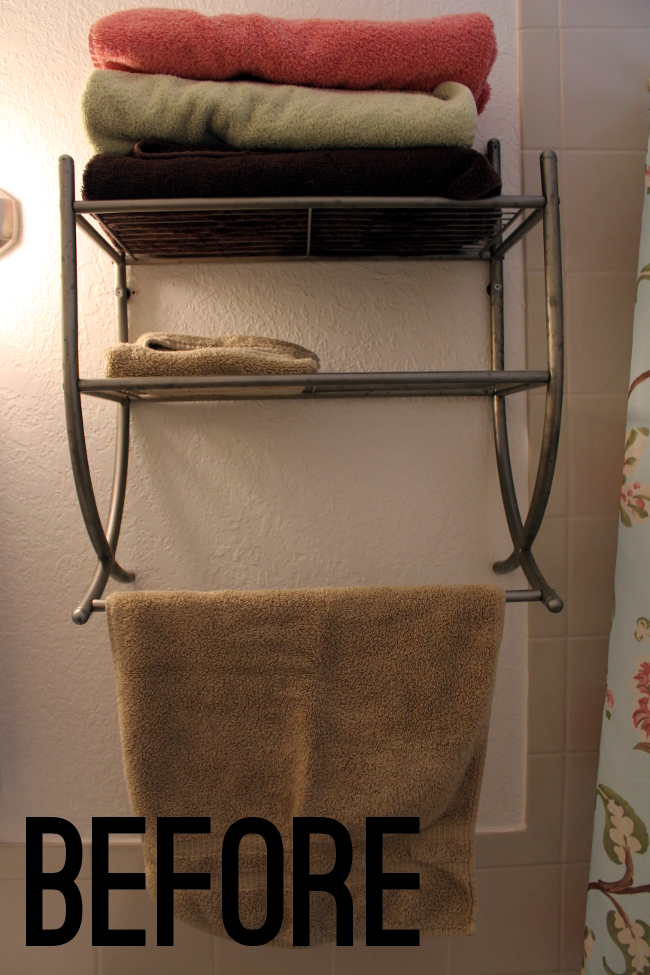
If you’ve been following along, you’ve watched our bathroom go from this…

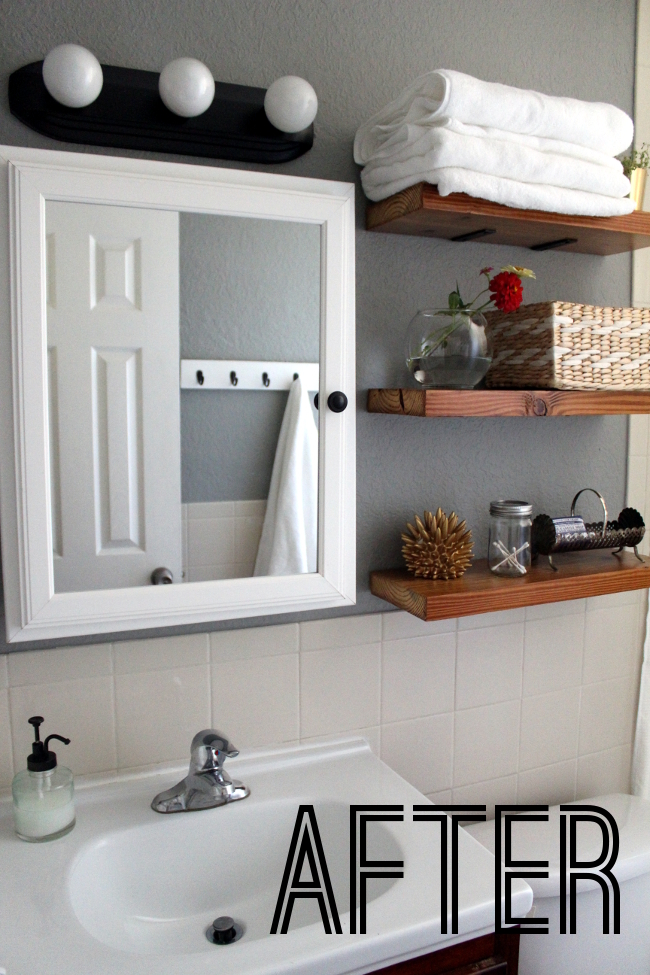
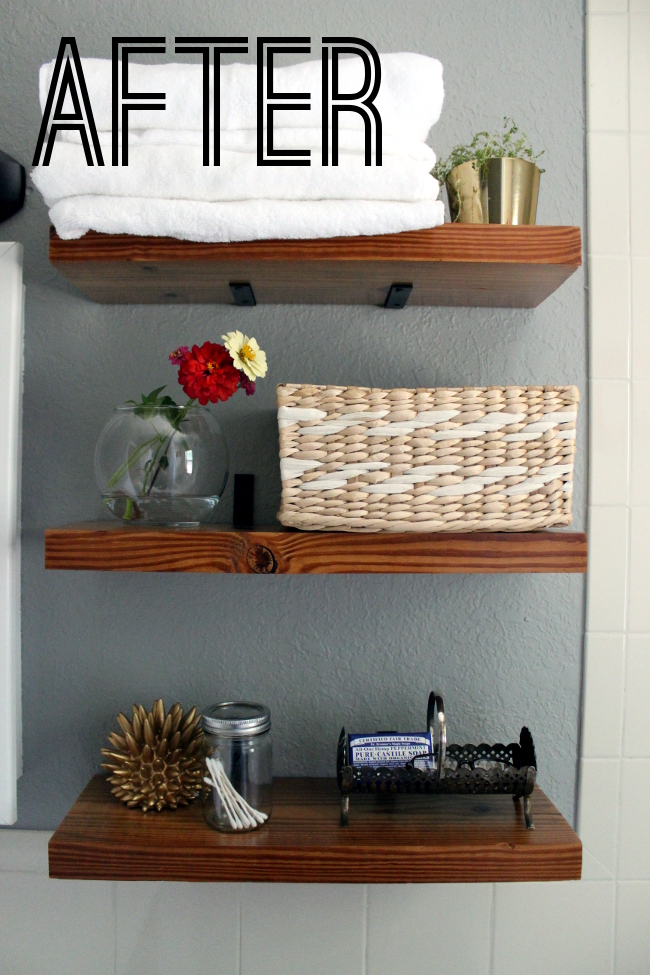
…to this.
Seriously, I’m kind of in shock. If you had told me one month ago my bathroom would look like this, I wouldn’t have believed you. I did that?! No way!
All it took was a quart of free paint, one can of spray paint (actually, less than one can!), some scrap wood and various accessories. Pretty crazy, huh?
You see, I have this problem with finishing projects. My walls are still only half gray, our kitchen still needs some love, and don’t even get me started on our bedroom. So seeing this bathroom in all of its splendor is a bit surreal.
I know, I know… it’s just a bathroom, but it’s easily my new favorite room in our house. There. I said it.
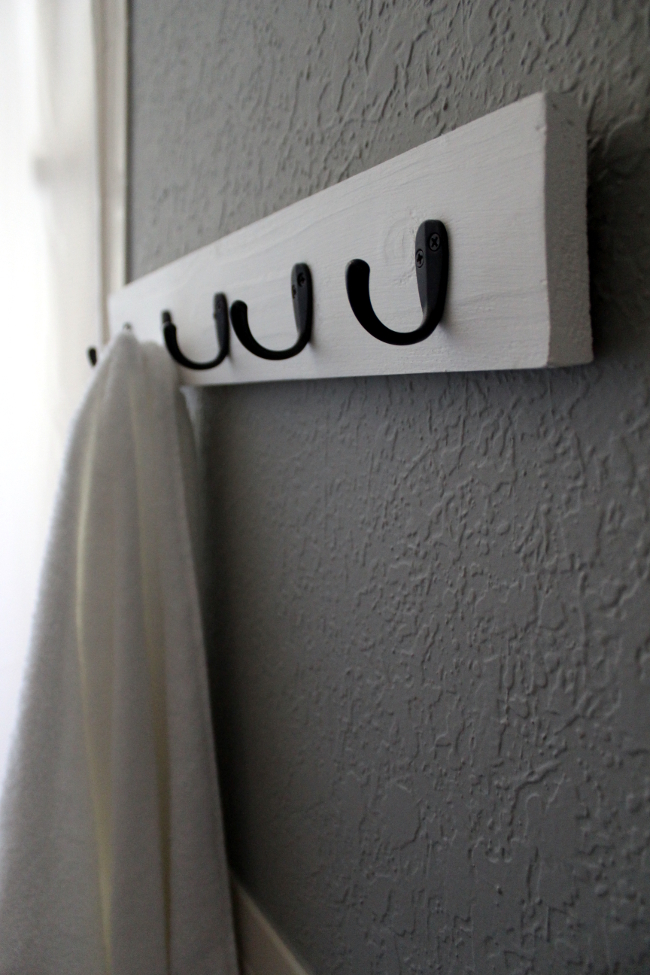
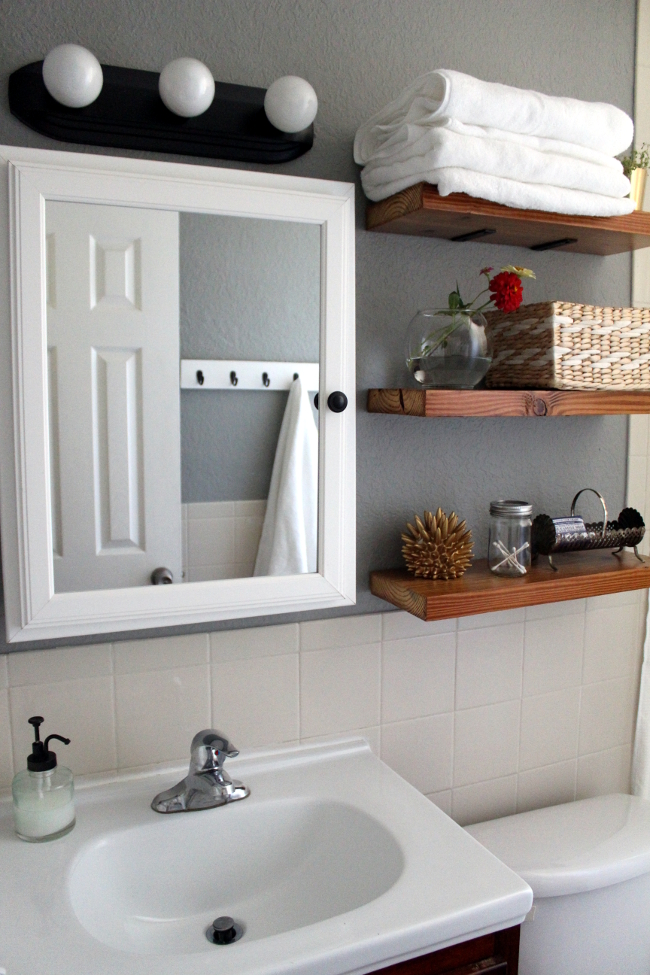
With that now out in open, let’s get down to details. When I last updated you, I had just installed the rustic wood shelves. Since then, I’ve hung the towel rack by attaching standard sawtooth picture hangers to the back of the wood.
I replaced our busy shower curtain with a floor-to-ceiling length white shower curtain, which I love.
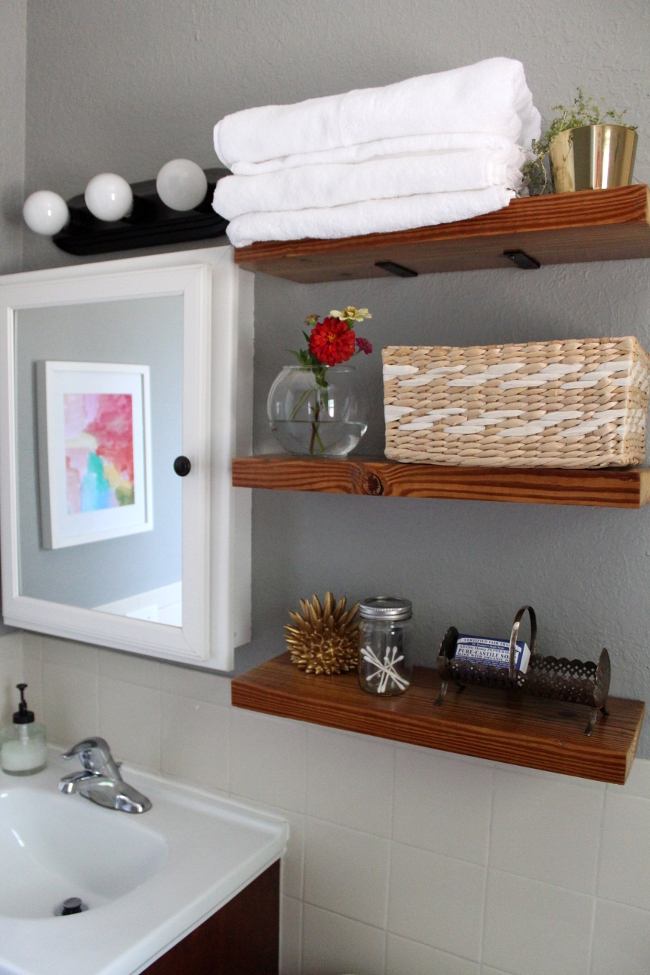
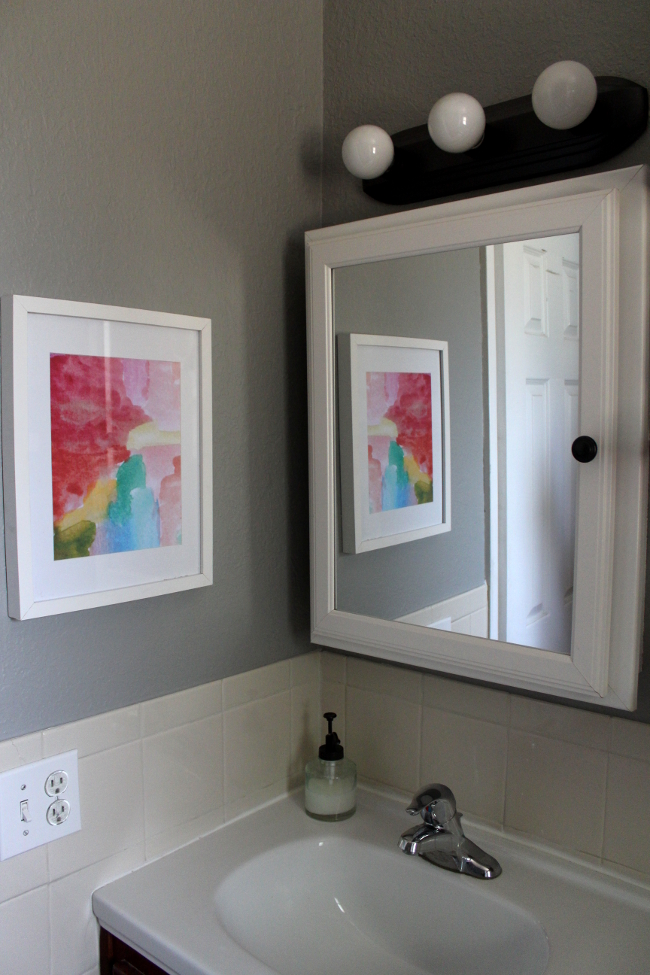
I’ve also added some pretty art, which I printed from Young House Love’s watercolor downloads. (Thanks, guys!) I love the bright colors it adds to the room.
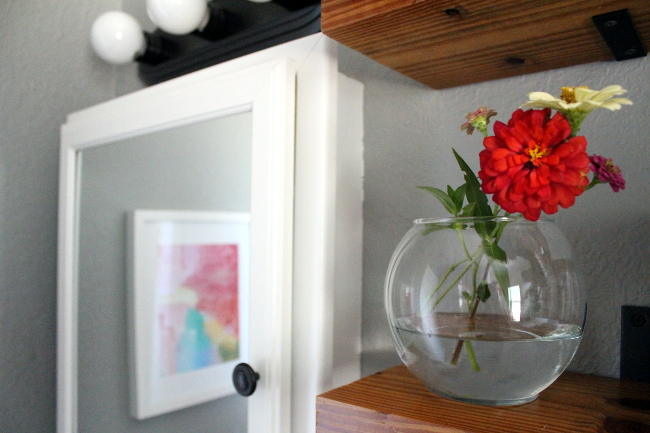
And seriously, I’m convinced flowers were meant to be in bathrooms. These ones make me happy.
Now, how about a budget breakdown? That sounds good to me!
Spray paint used for the soap pump and cabinet knob, shelf brackets, and light fixture – $7
Chalkboard paint and Polycrylic – Already owned
New towels – $16 on sale from Target
Wood for the shelves – Already owned
Brackets for the shelves – $18
Picture frame and free art – $5
Paint – Free, thanks to Ace Hardware’s free paint promotion
Shower curtain – $16 from Amazon (Now it is even lower at $13)
Hooks for the towel rack – $8 from Lowes
Total – $70
By using what I already had on hand (like the wood, chalkboard paint, and Polycrylic), and updating existing fixtures with spray paint (the light, cabinet knob, and soap pump) instead of buying new I saved a lot of money, which makes me one happy gal.
In the end I decided not to paint the ceiling. Philip urged me not to, since it is a big pain and because we’re still not sure this if place is ours, and I eventually agreed. Maybe one day though… but for now, that brings the bathroom to a complete status. Write that down as the first time completing something in this house. Oh yeah!
If you’d like to read more about each project, you can do so by clicking on the following links; bathroom before photos, bathroom mood board, spray painting the hardware, a medicine cabinet makeover, diy towel rack, painting, light fixture redo, and installing the shelves.


Wow wow wow wow wow wow it looks amazing!!!! Well done!! You've really done a great job! It looks so luxurious!
very impressed 🙂
Love Ida (craft and upcycle)
Thank you so much, Ida!
Oh my Gosh. Your redo is a-maz-ing! Great work.
(saw your post on Apartment Therapy and came by)
Thank you, Keia!!
Great job, and on a tight budget, too!
Hooray for "using what you have"!
Could you please add the following info: color of gray paint on walls? thanks!
-Alix
Thank you! The color is "medium gray" found at Ace Hardware. It's linked up in the bathroom mood board post (found here: http://www.turningithome.com/2013/08/style-cure-bathroom-mood-board.html).
Wow! I love those shelves; they make the bathroom. The whole transformation is gorgeous. It really feels more sophisticated. Congratulations on finishing the Style Cure! 🙂
Thank you!
Love what you did to your bathroom. You achieved a lot on a small budget. Well done!!
You did an amazing job! You ought to be really proud.. some designers have not done as well nor would have!
Did you paint the wall tiles or is it just the lighting??? Looks great!
Love those shelves! I saved those for a future project of mine. Do you remember where the gold/brass object on the lowest shelf is from?
Thank you, Brandi!
That's such an awesome compliment, thank you!
I didn't paint the tiles. Painting the walls gray had a huge impact on the look of the tiles. Crazy, right!?
Thanks, Brenda! That is from the Nate Berkus line at Target. I think they've discontinued it, though.
I love the watercolor artwork! I followed your link to Young House Love's website but could not see where to download art. Is there a more direct link or would you mind giving me direction? Thanks.
Did the tile color change too? It's tan in the before photo & white in the after photo.
Where did you get the shelf brackets from? I see the part under the shelf but not the back. I've been looking for a fairly easy bracket for semi floating shelf
I actually did not paint the tile, although they look so much brighter I almost think the tile-fairy's must have come in to paint them! I kid – it's pretty crazy what some light and new wall paint can do, right!?
I bought them at Lowe's, here's some more info on the shelves for you: http://www.turningithome.com/2013/08/hello-bathroom-shelves.html
If you click on the watercolor images on Young House Love's page, a high-res version should pop up at which point you can save them to your computer. Hope this helps!
wonderful – where do you get that wonderful urchin accent? and where did you use chalkboard paint?
Got it! Thank you!
The urchin is from an old Nate Berkus collection at Target and I used the chalkboard paint inside of my medicine cabinet. There are some pictures here: http://www.turningithome.com/2013/08/style-cure-bathroom-mood-board.html
Amazing! This is almost exactly what I had in my head for our main floor bathroom! I will unfortunately HAVE to do our ceiling as it's pretty gross-looking, but I'm hoping to bang it out soon. Love those shelves. They're definitely going to be part of our design too. Great post!
Thanks! I'd love to see how your bathroom turns out!
What a lovely makeover! The shelves bring such warmth and texture. Can you tell me what was used to treat the them? They look amazing!
I sealed them with Polycrylic. I wrote more about the process here: http://www.turningithome.com/2013/08/hello-bathroom-shelves.html.
Click on the links below to take you to any and all uploads of that type. The labels system has always been a part of TNWS.com but since many people have said that it has been difficult to find what they were looking for, I decided to make them more visible. how to sew with a sewing machine
WOW! I was going to ask the same question. Awesome job.
[…] a whim last week I submitted my newly styled bathroom for Apartment Therapy’s Room for Color. Surely it won’t make it in, I thought, there […]